

| App Store | | https://apps.apple.com/in/app/squadcast-incident-management/id1501689101 | |
| Google Play Store | | https://play.google.com/store/apps/details?id=com.squadcast.incidents |
| Status | Description |
|---|---|
| All | Lists all the incidents Note: Includes suppressed incidents as well. |
| Open | List all open incidents. Note: Open includes all the triggered as well as acknowledged incidents. |
| Triggered | Lists all the triggered incidents |
| Acknowledged | Lists all the acknowledged incidents |
| Resolved | Lists all the resolved incidents |
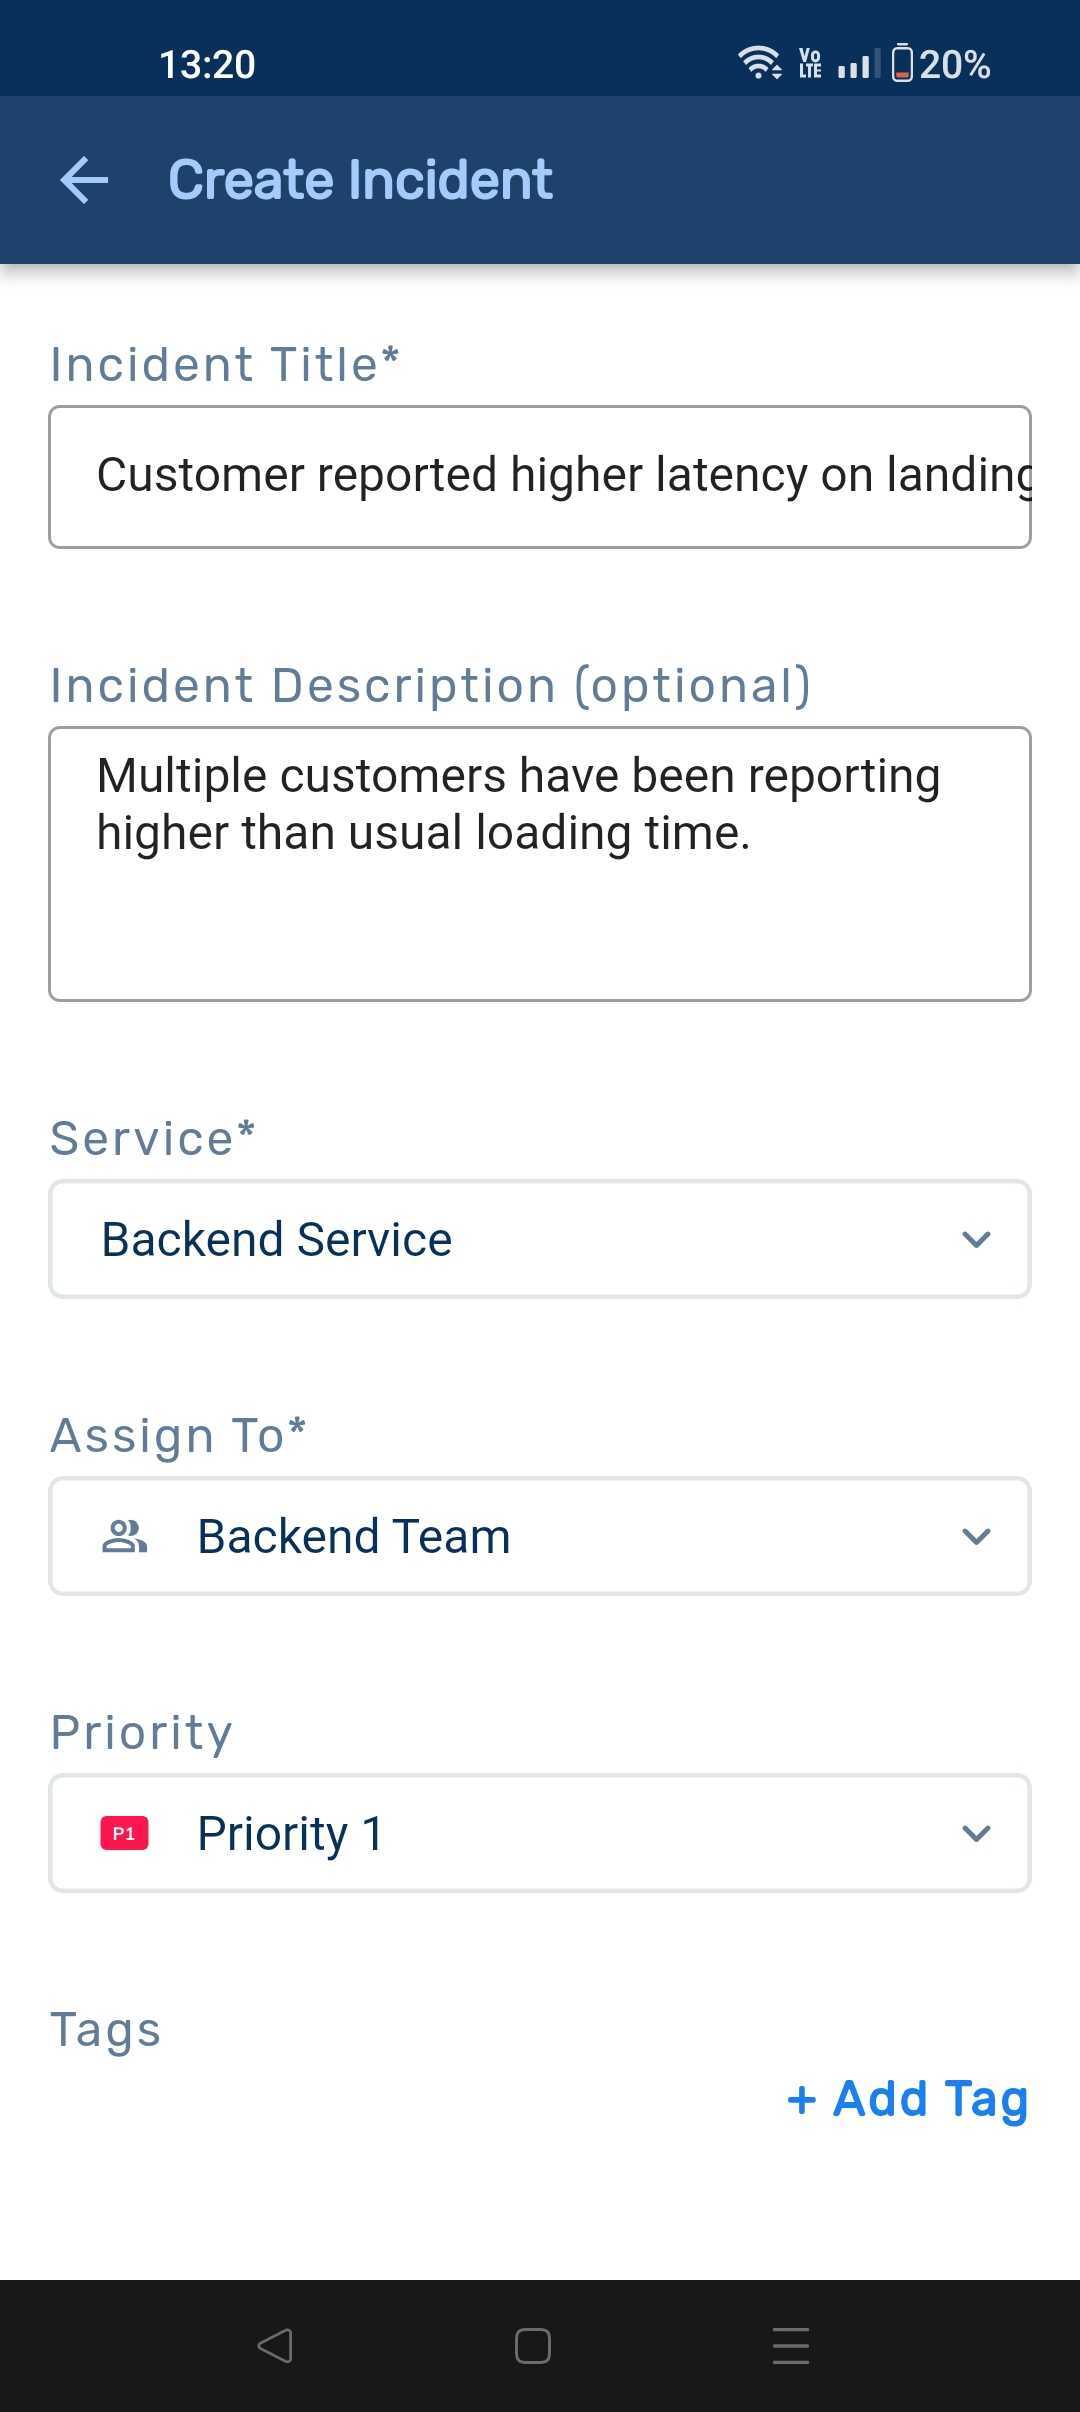
Image. Create new incident
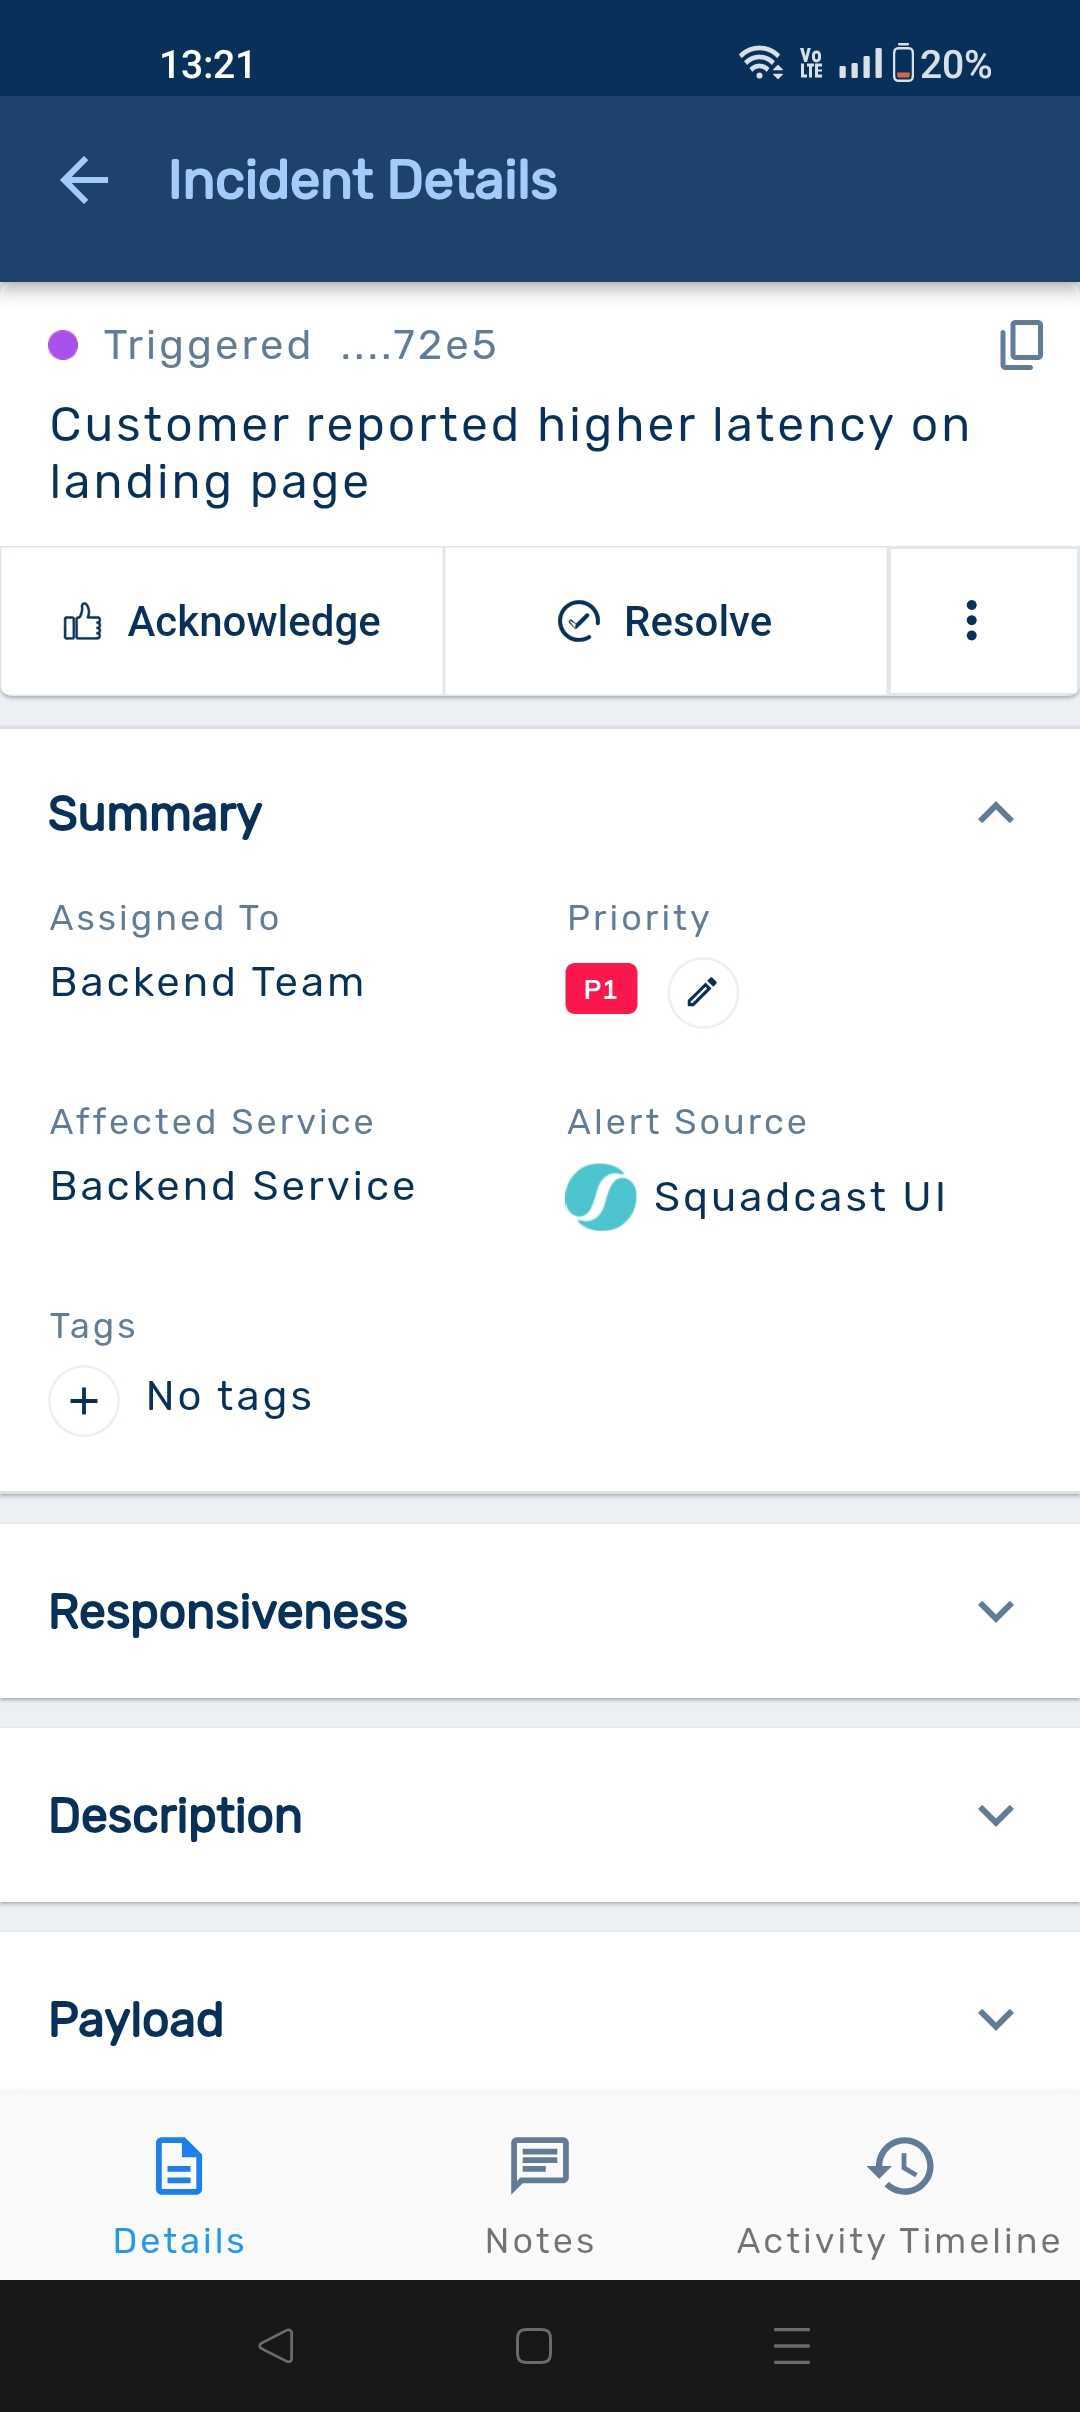
Image. View newly created incident

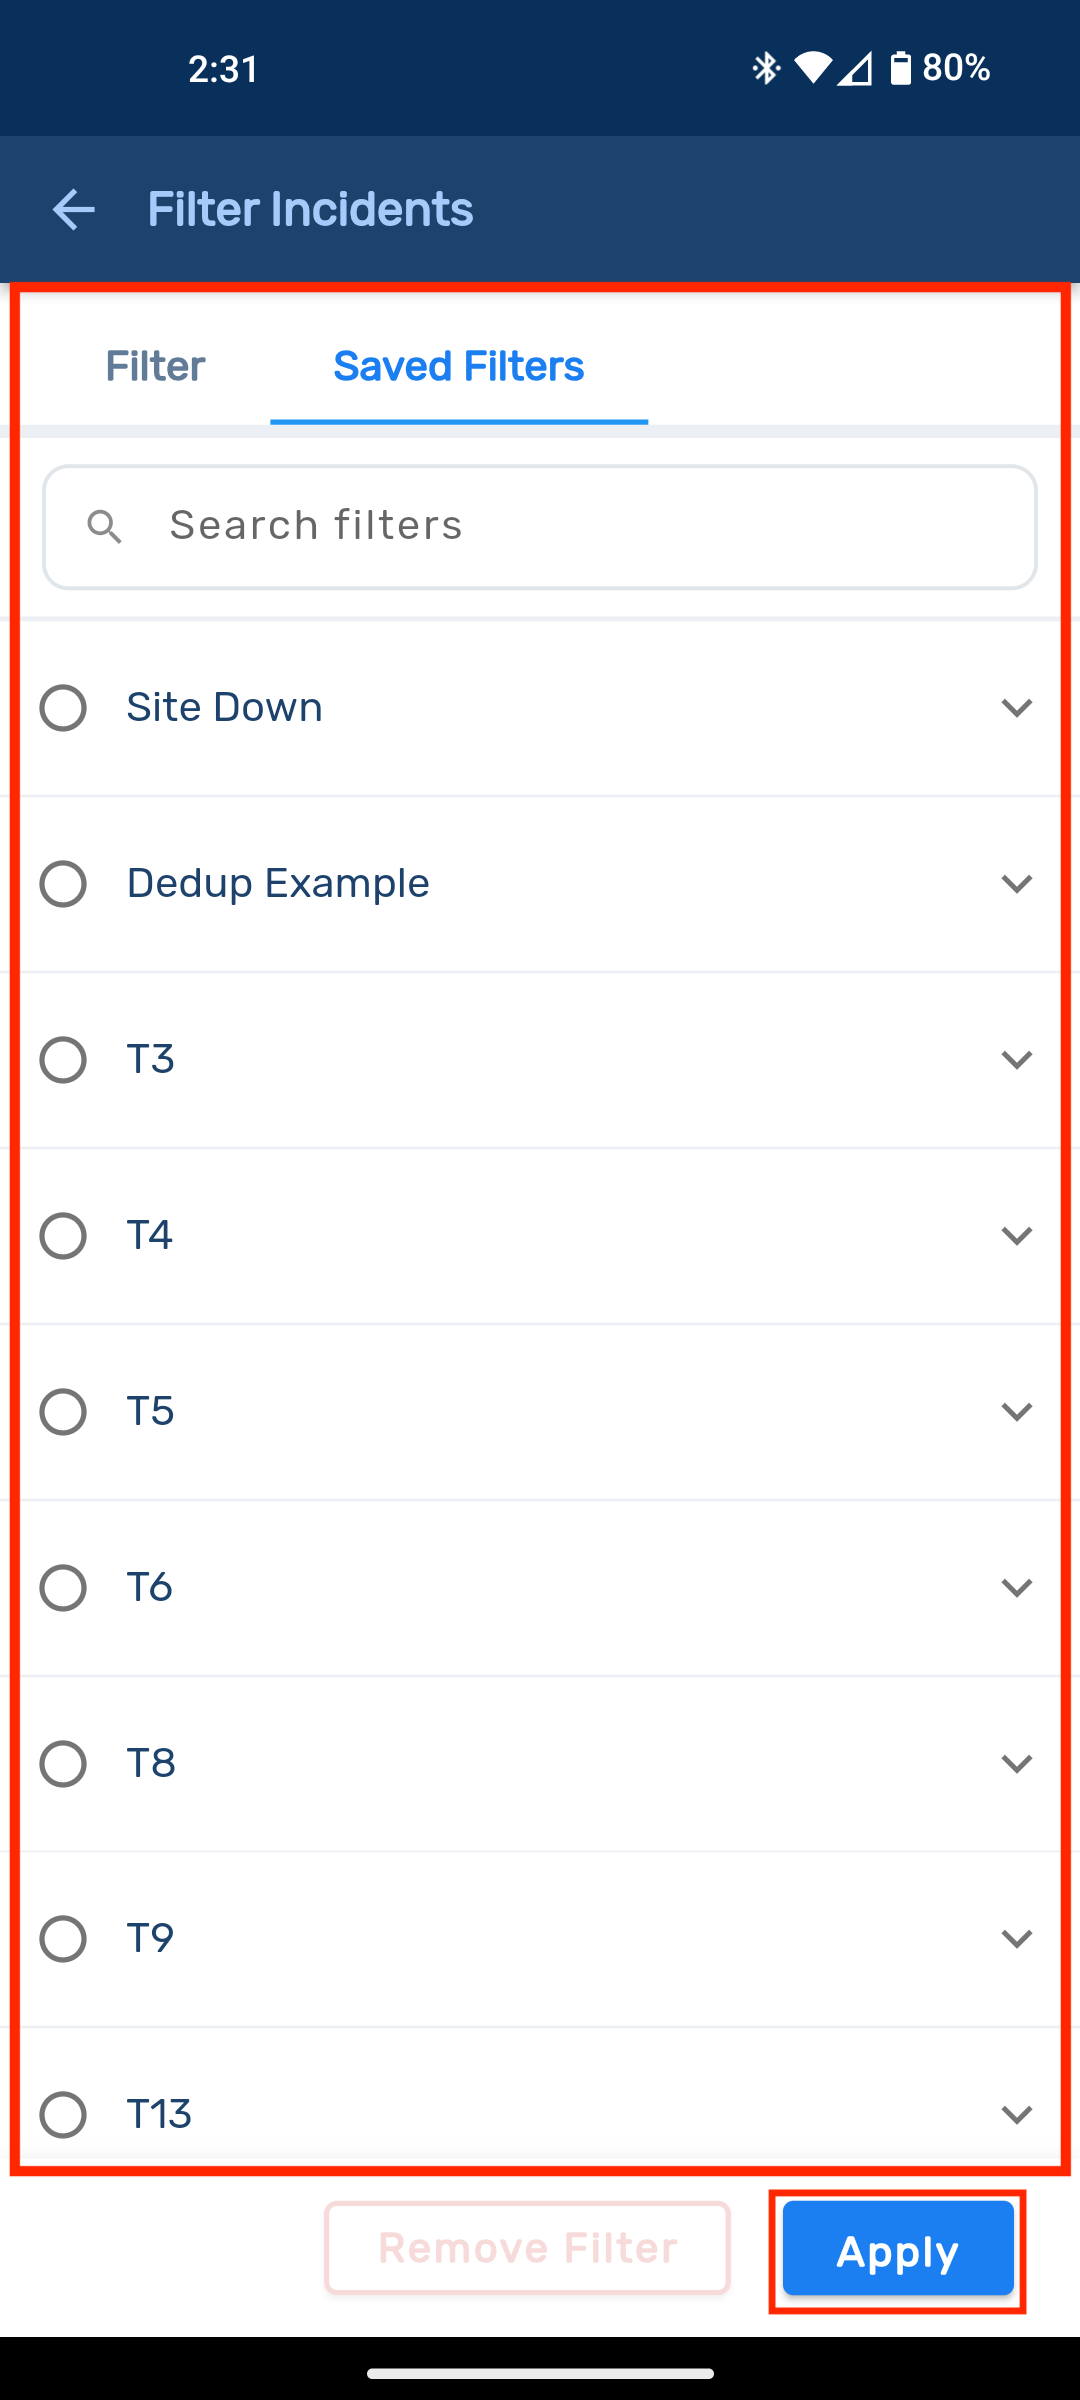
Image. Select a team and apply filters
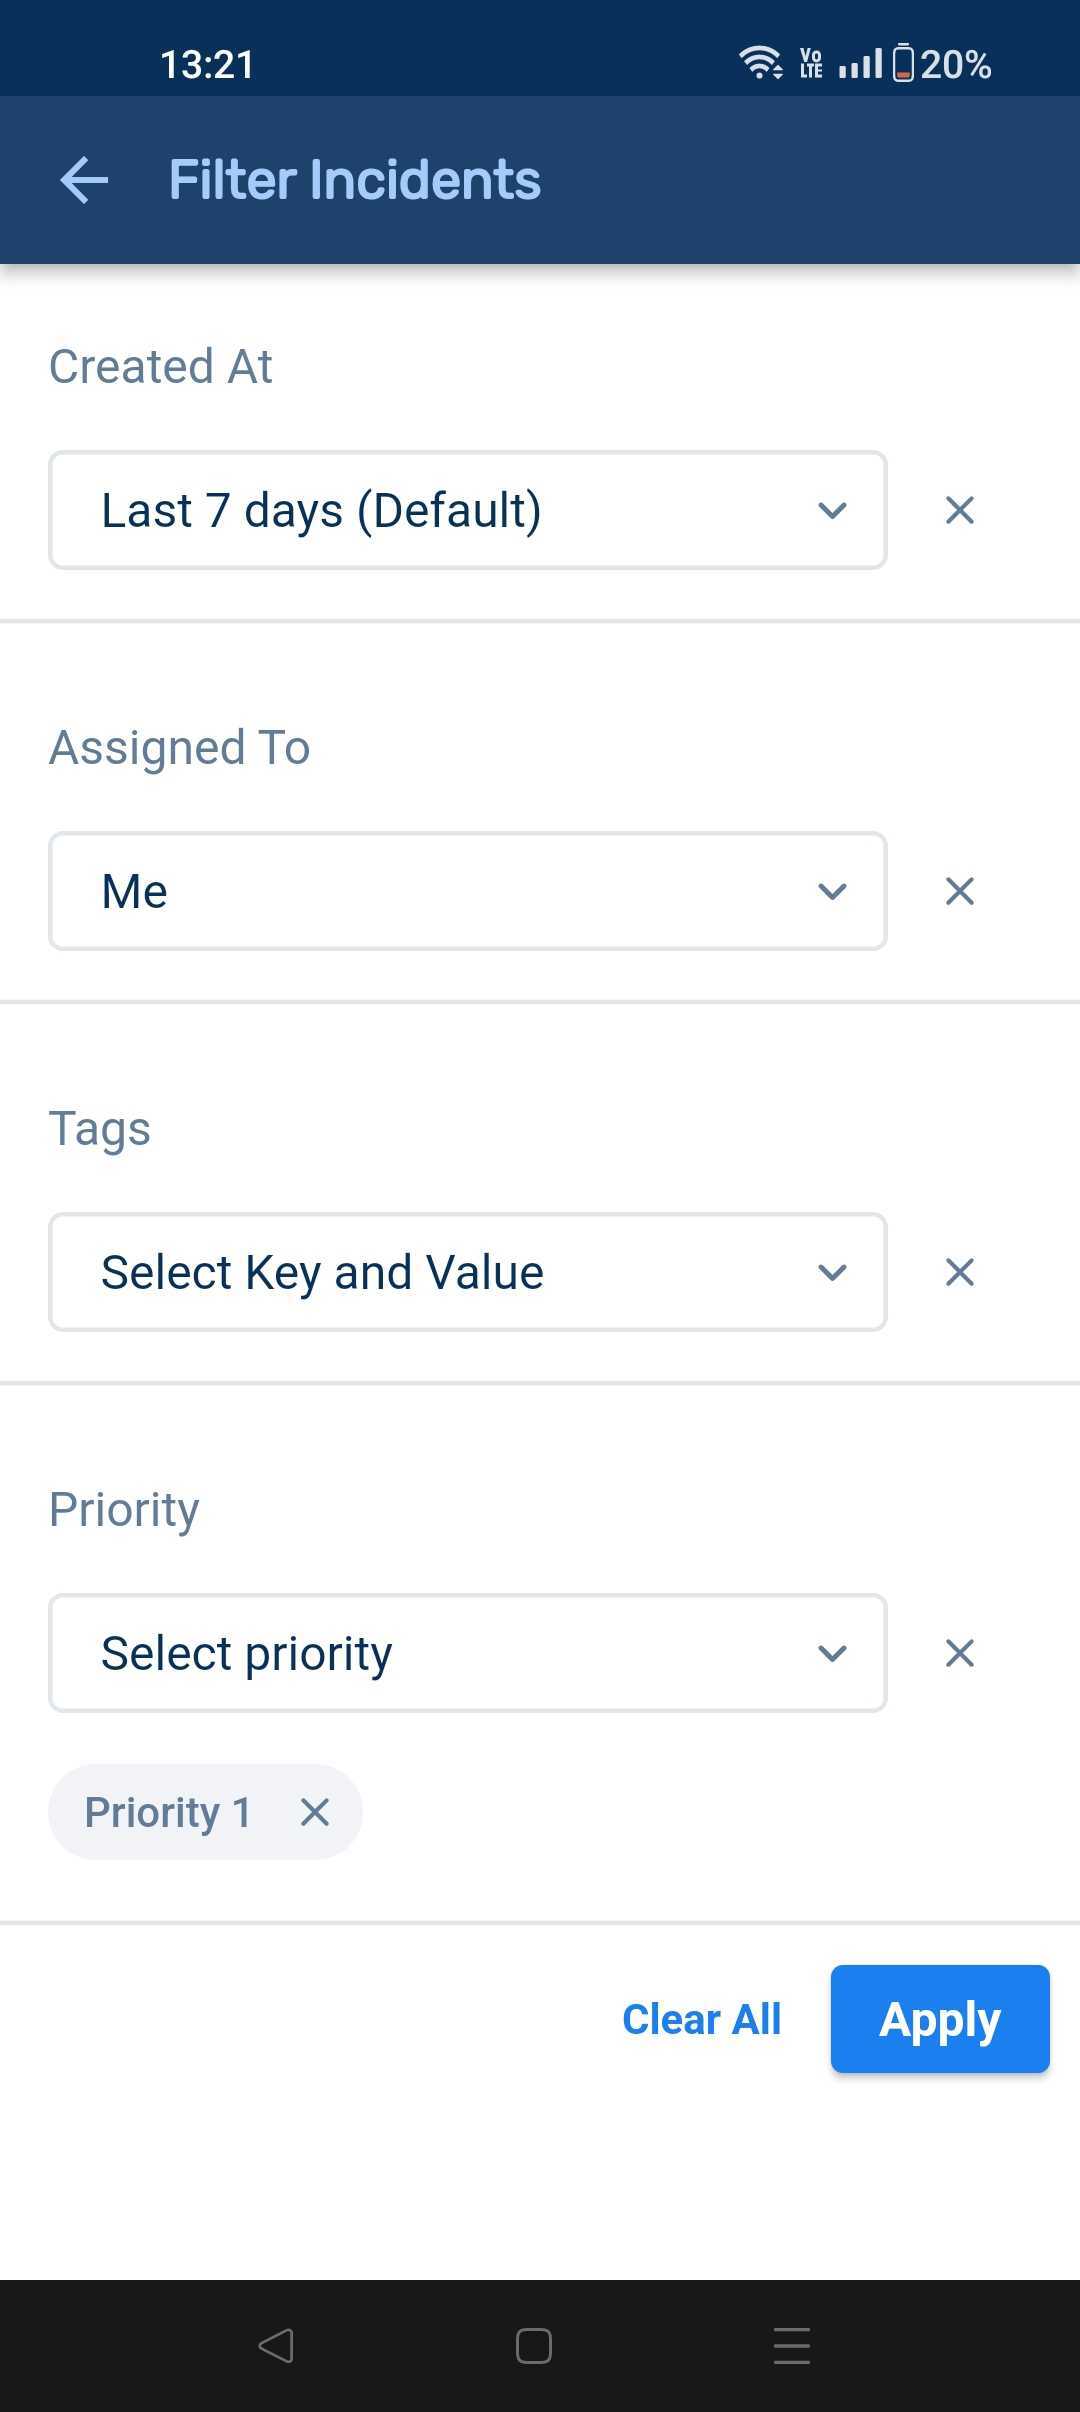
Image. Apply filters
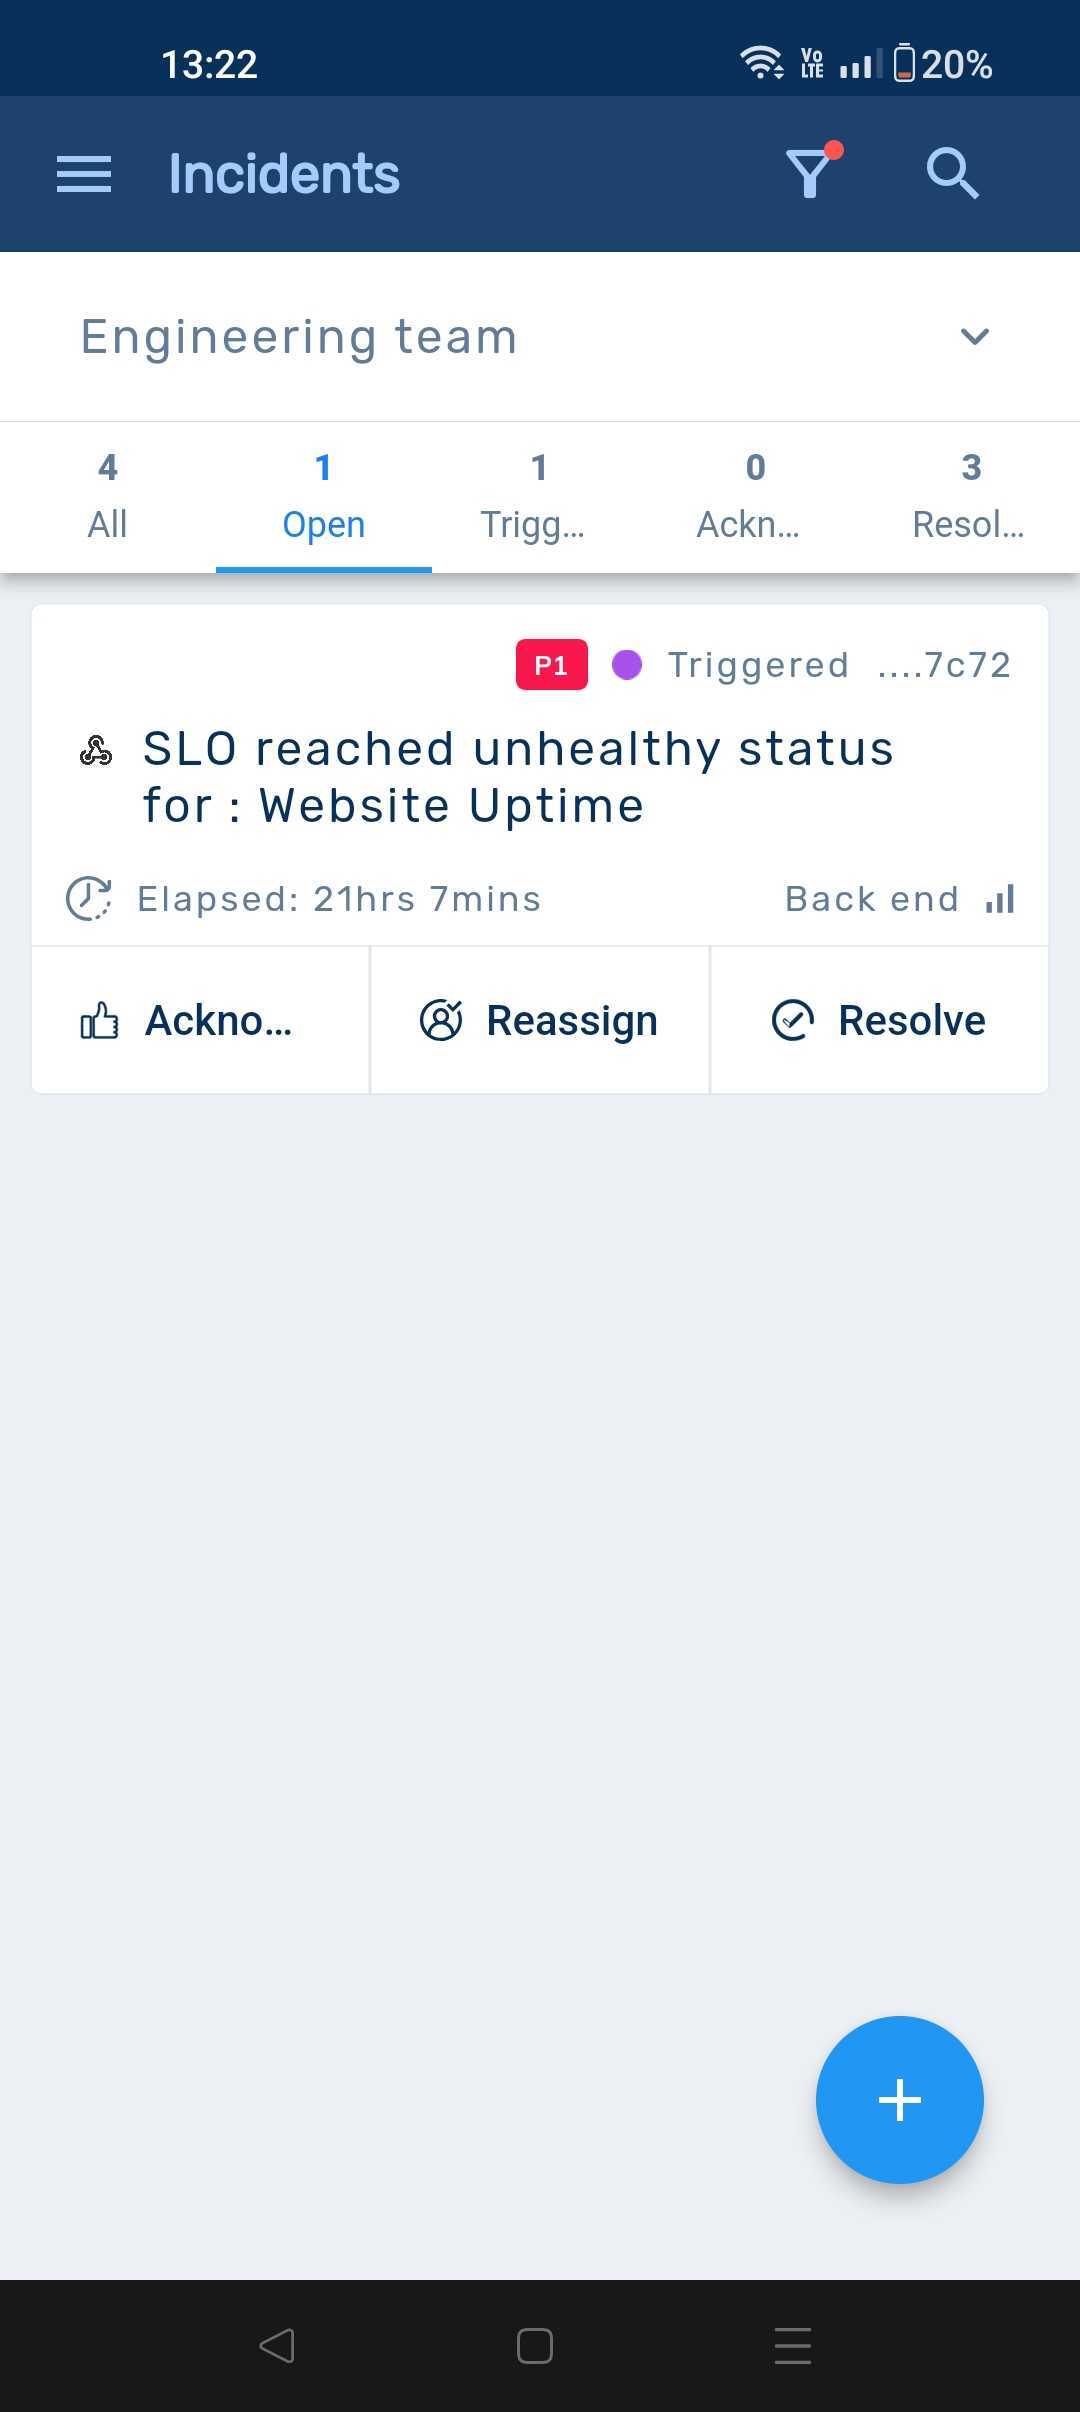
Image. Incident List with the filter applied
 {% endhint %}
### Search
You can make use of the Search function to easily explore incidents by searching through their titles, descriptions, and notes.
{% hint style="info" %} **Note**: By leveraging this feature, you can retrieve the 30 most recent and relevant results that match your search criteria.
{% endhint %}
## Incident Details Page
The Incident Details page offers a comprehensive set of actions, equivalent to those available on our web app.
This page is divided into three key sections, namely:
{% tabs %}
{% tab title="Details" %}
This contains a concise summary, description, and payload of the incident. Here, you will find a list of all available actions associated with the incident.
{% endhint %}
### Search
You can make use of the Search function to easily explore incidents by searching through their titles, descriptions, and notes.
{% hint style="info" %} **Note**: By leveraging this feature, you can retrieve the 30 most recent and relevant results that match your search criteria.
{% endhint %}
## Incident Details Page
The Incident Details page offers a comprehensive set of actions, equivalent to those available on our web app.
This page is divided into three key sections, namely:
{% tabs %}
{% tab title="Details" %}
This contains a concise summary, description, and payload of the incident. Here, you will find a list of all available actions associated with the incident.
Image. Details section
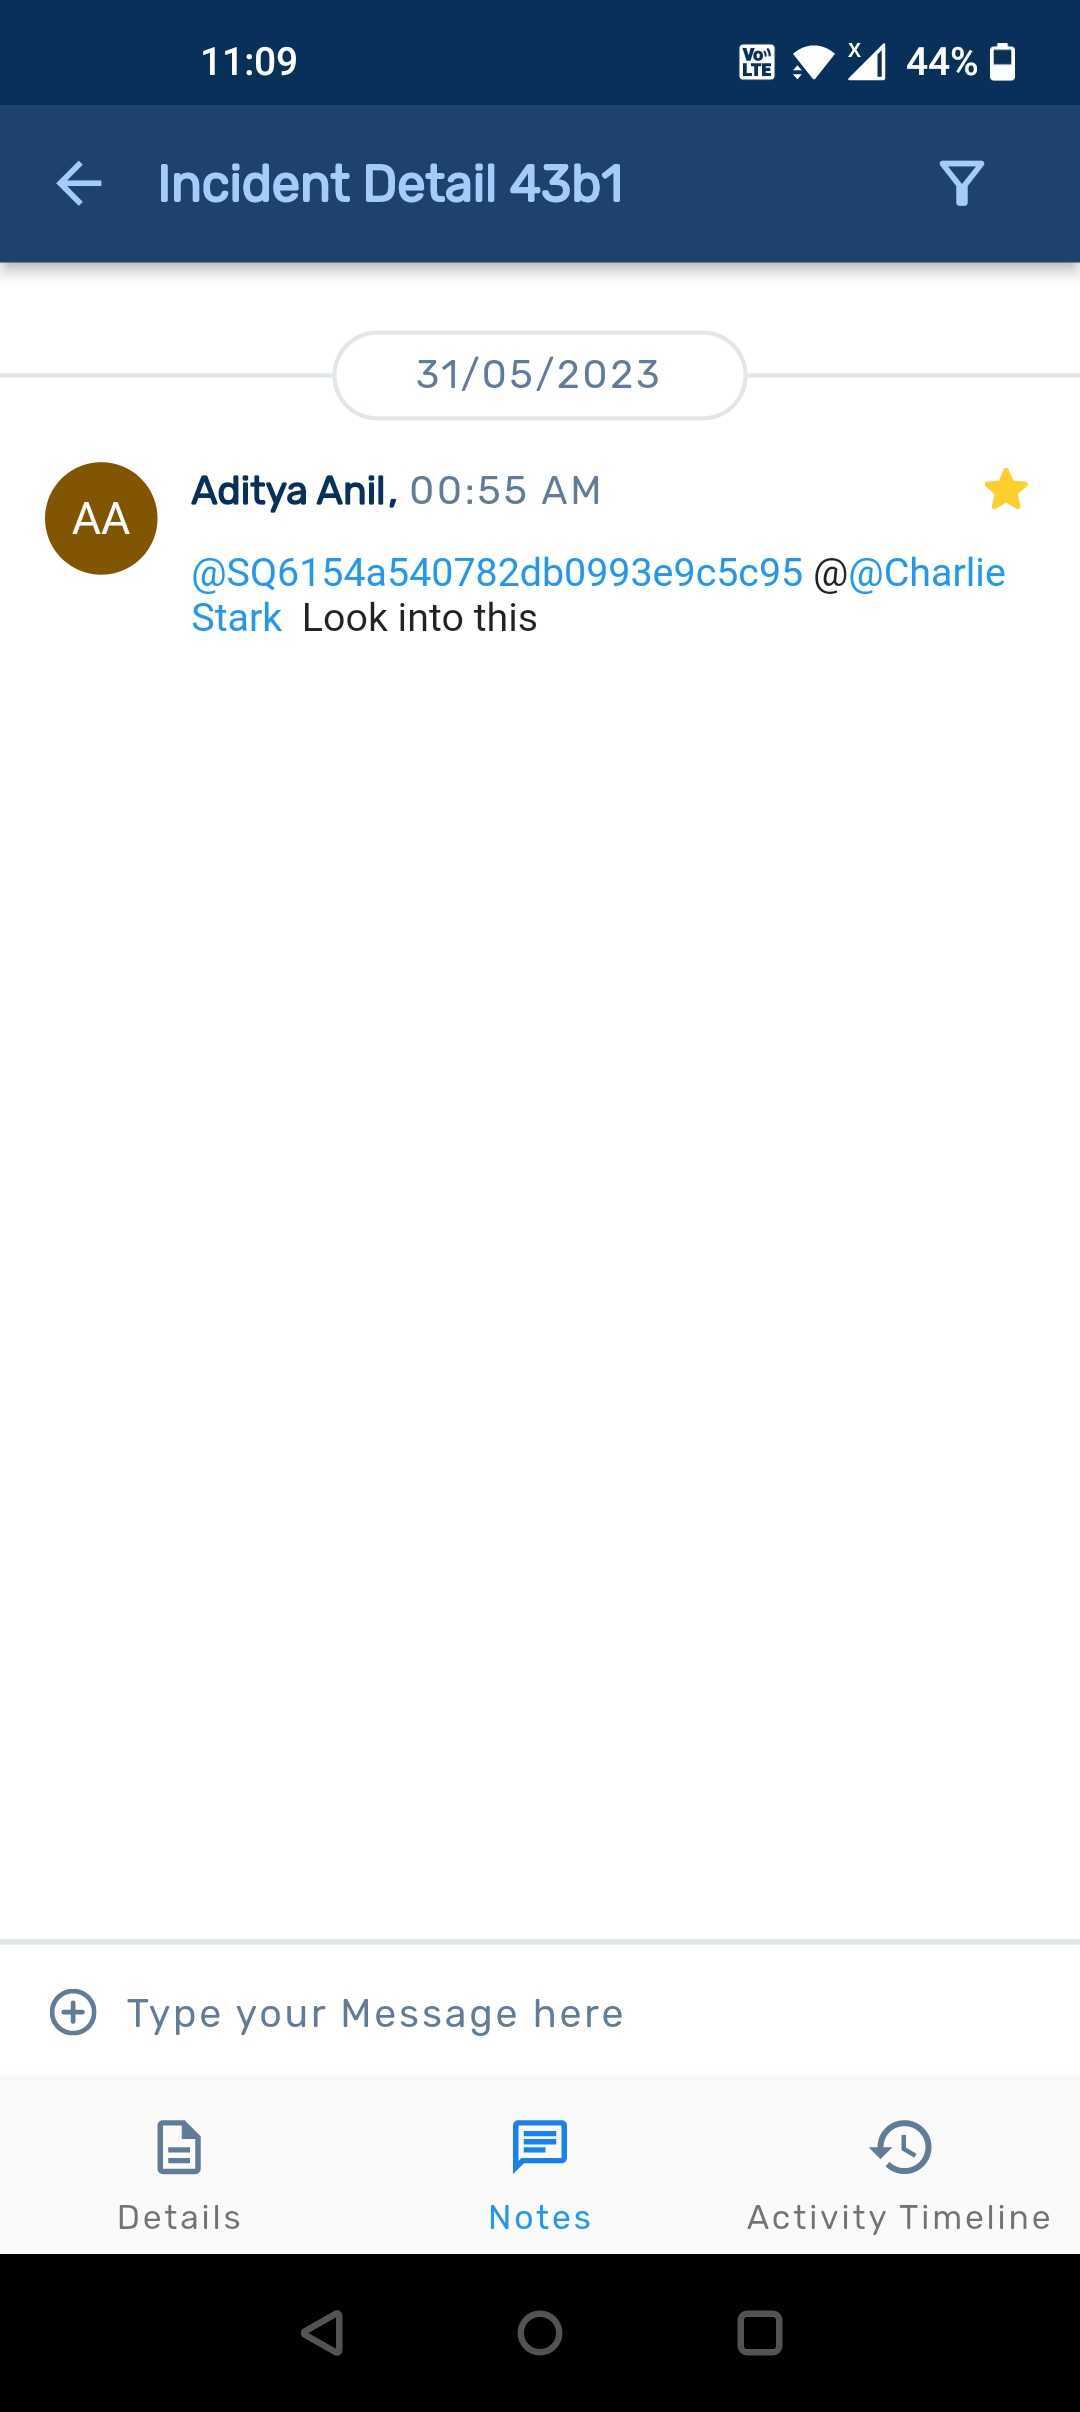
Image. Notes section
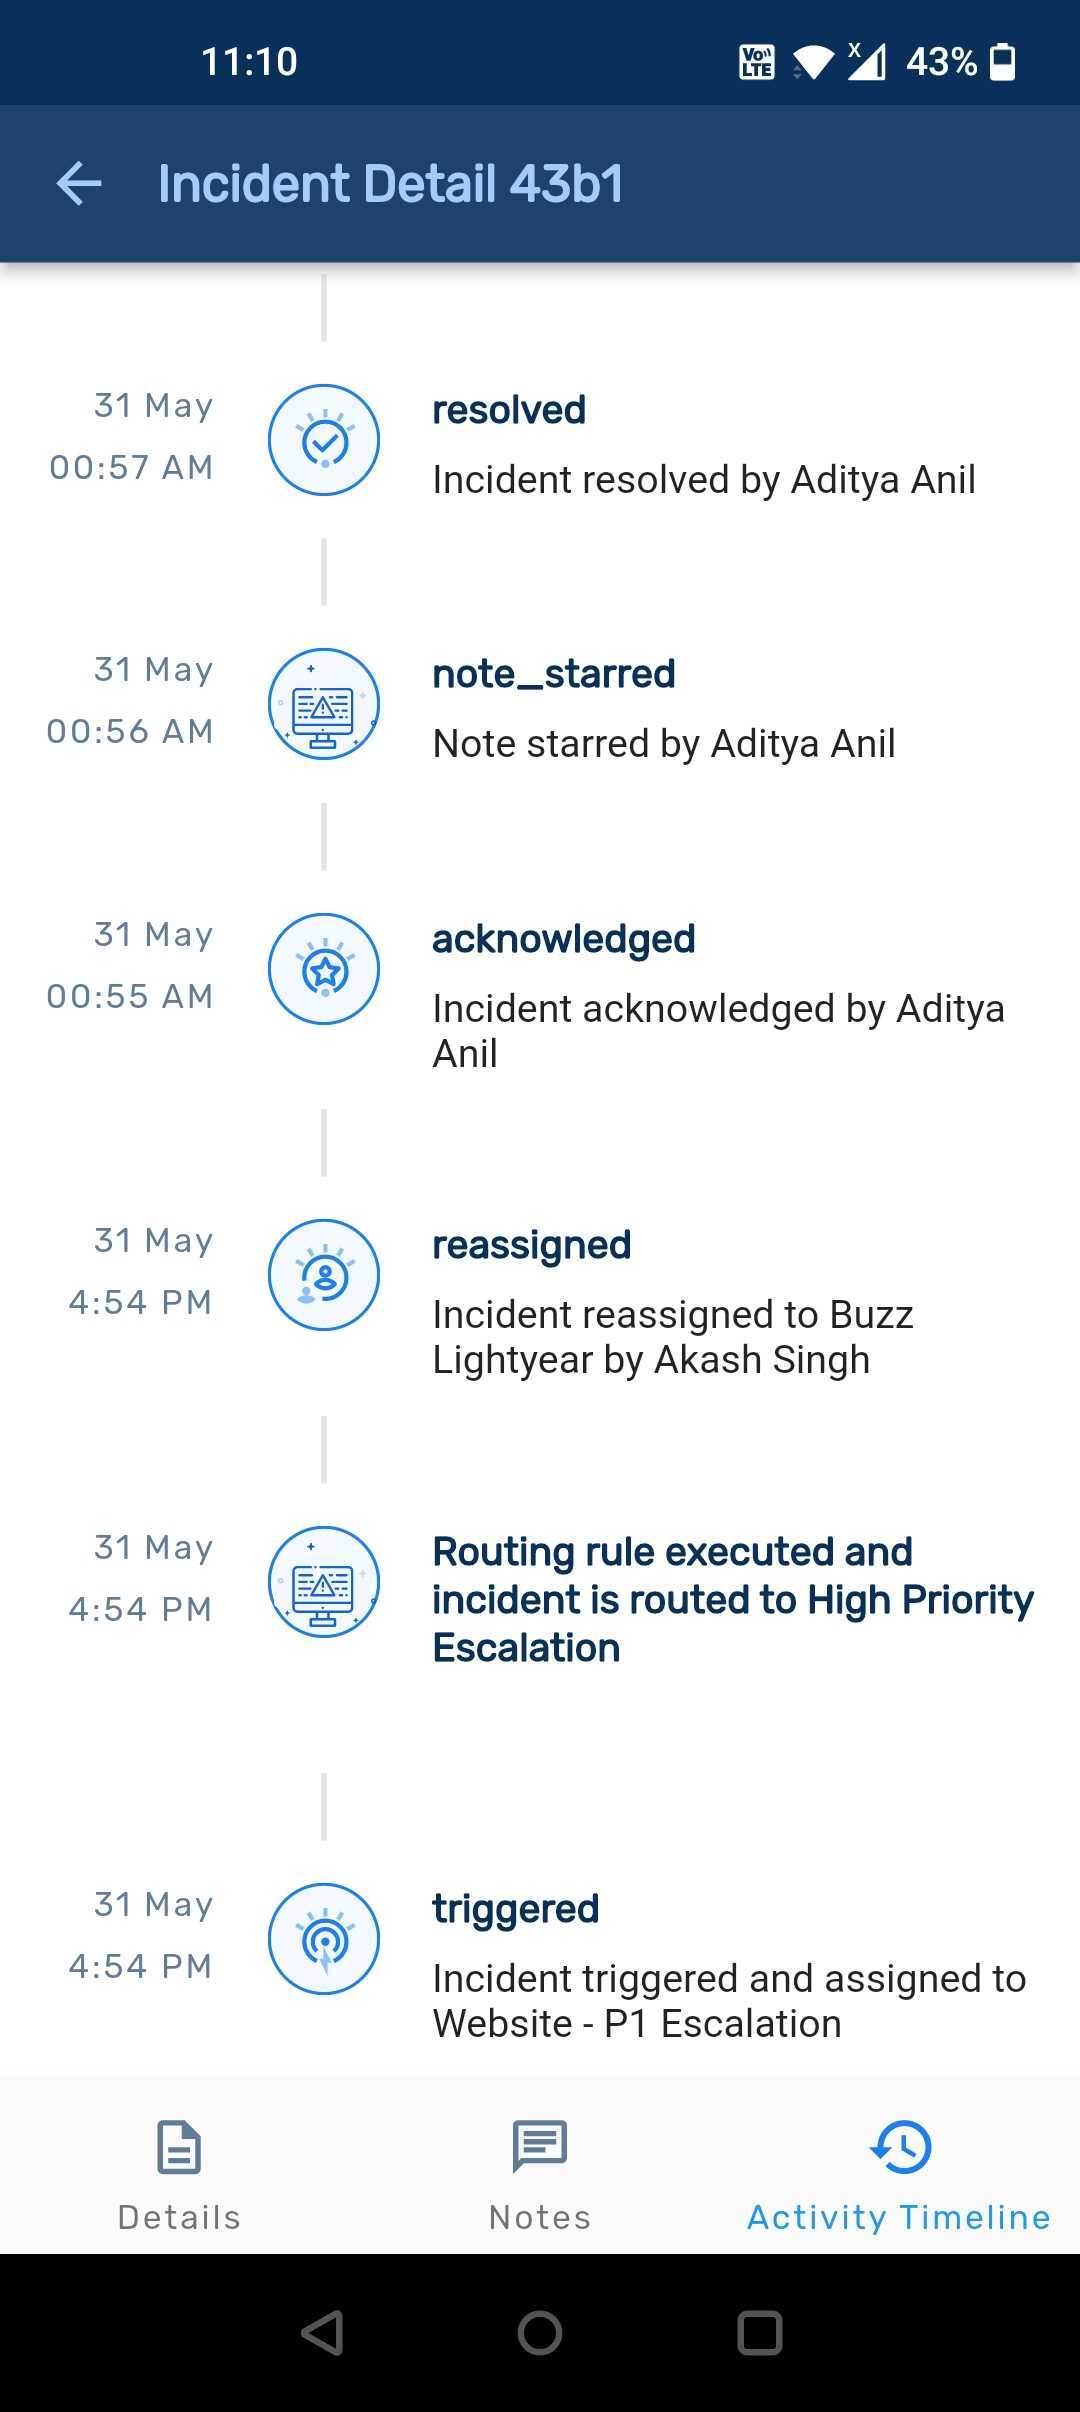
Image. Activity Timeline section
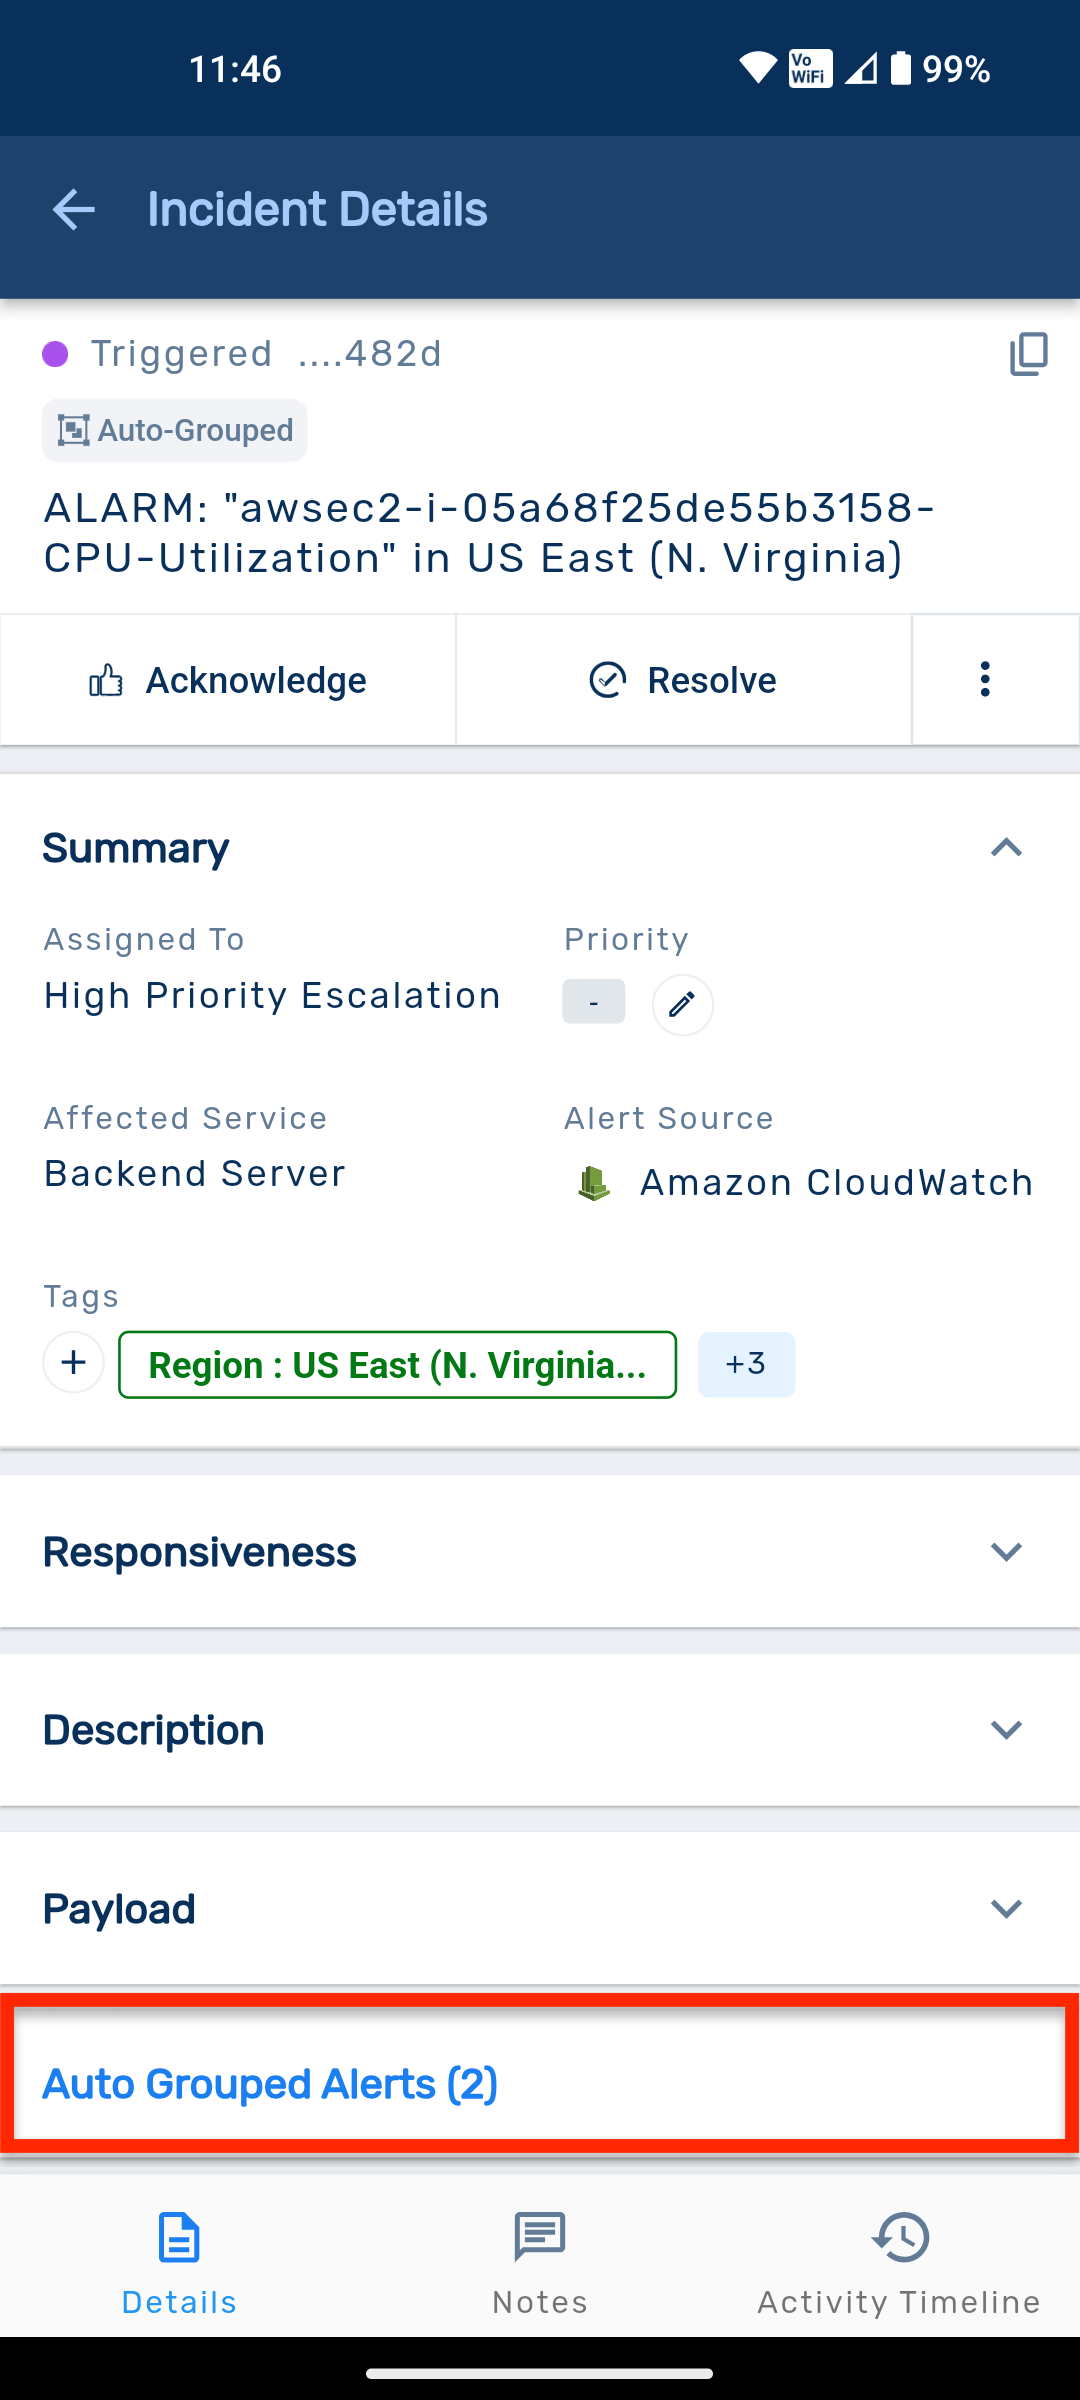
Image. IAG on Mobile App
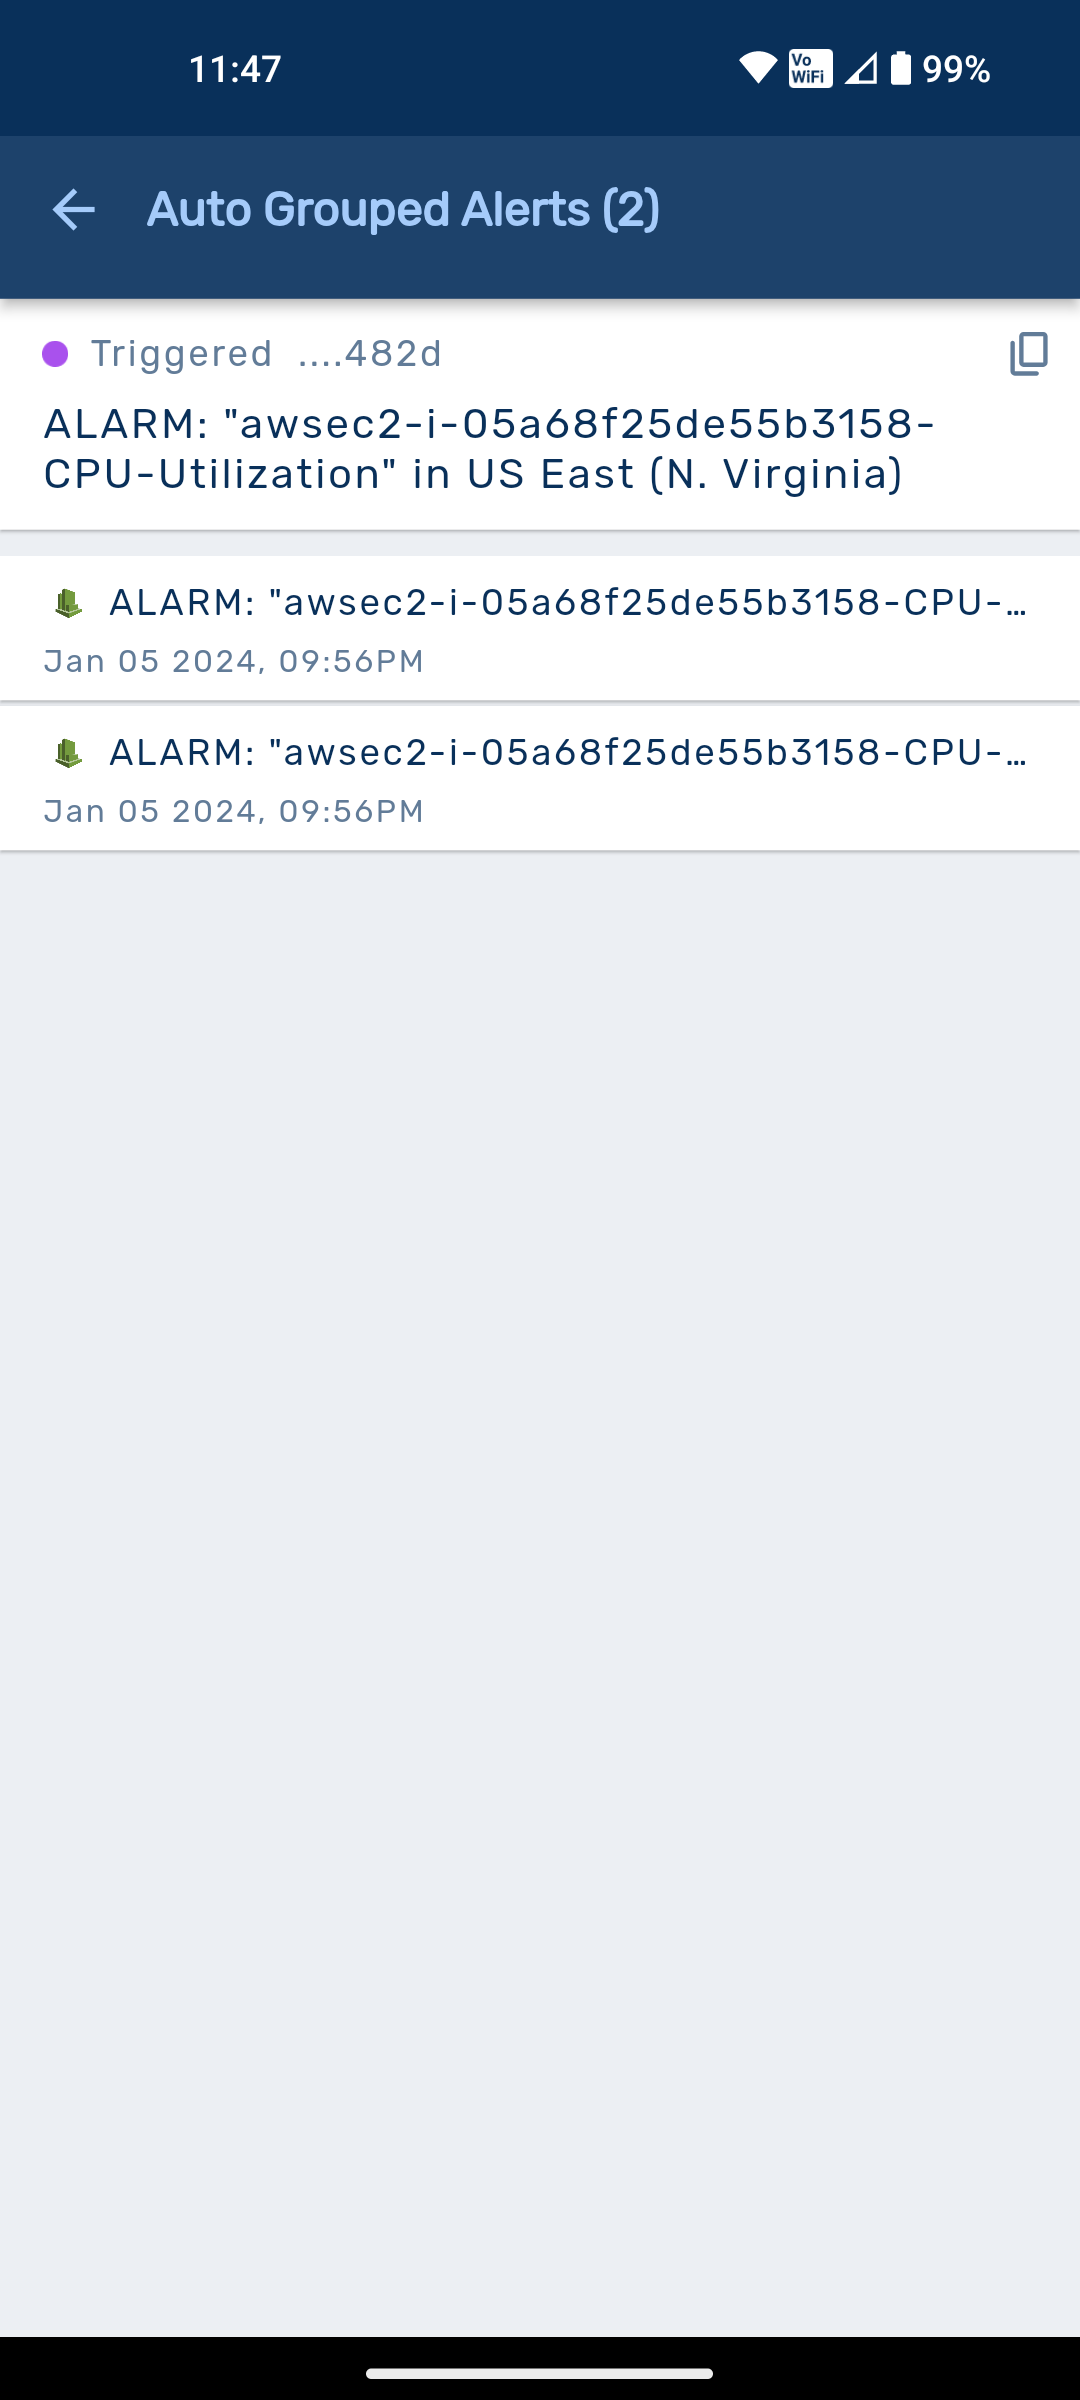
Image. Auto-grouped alerts
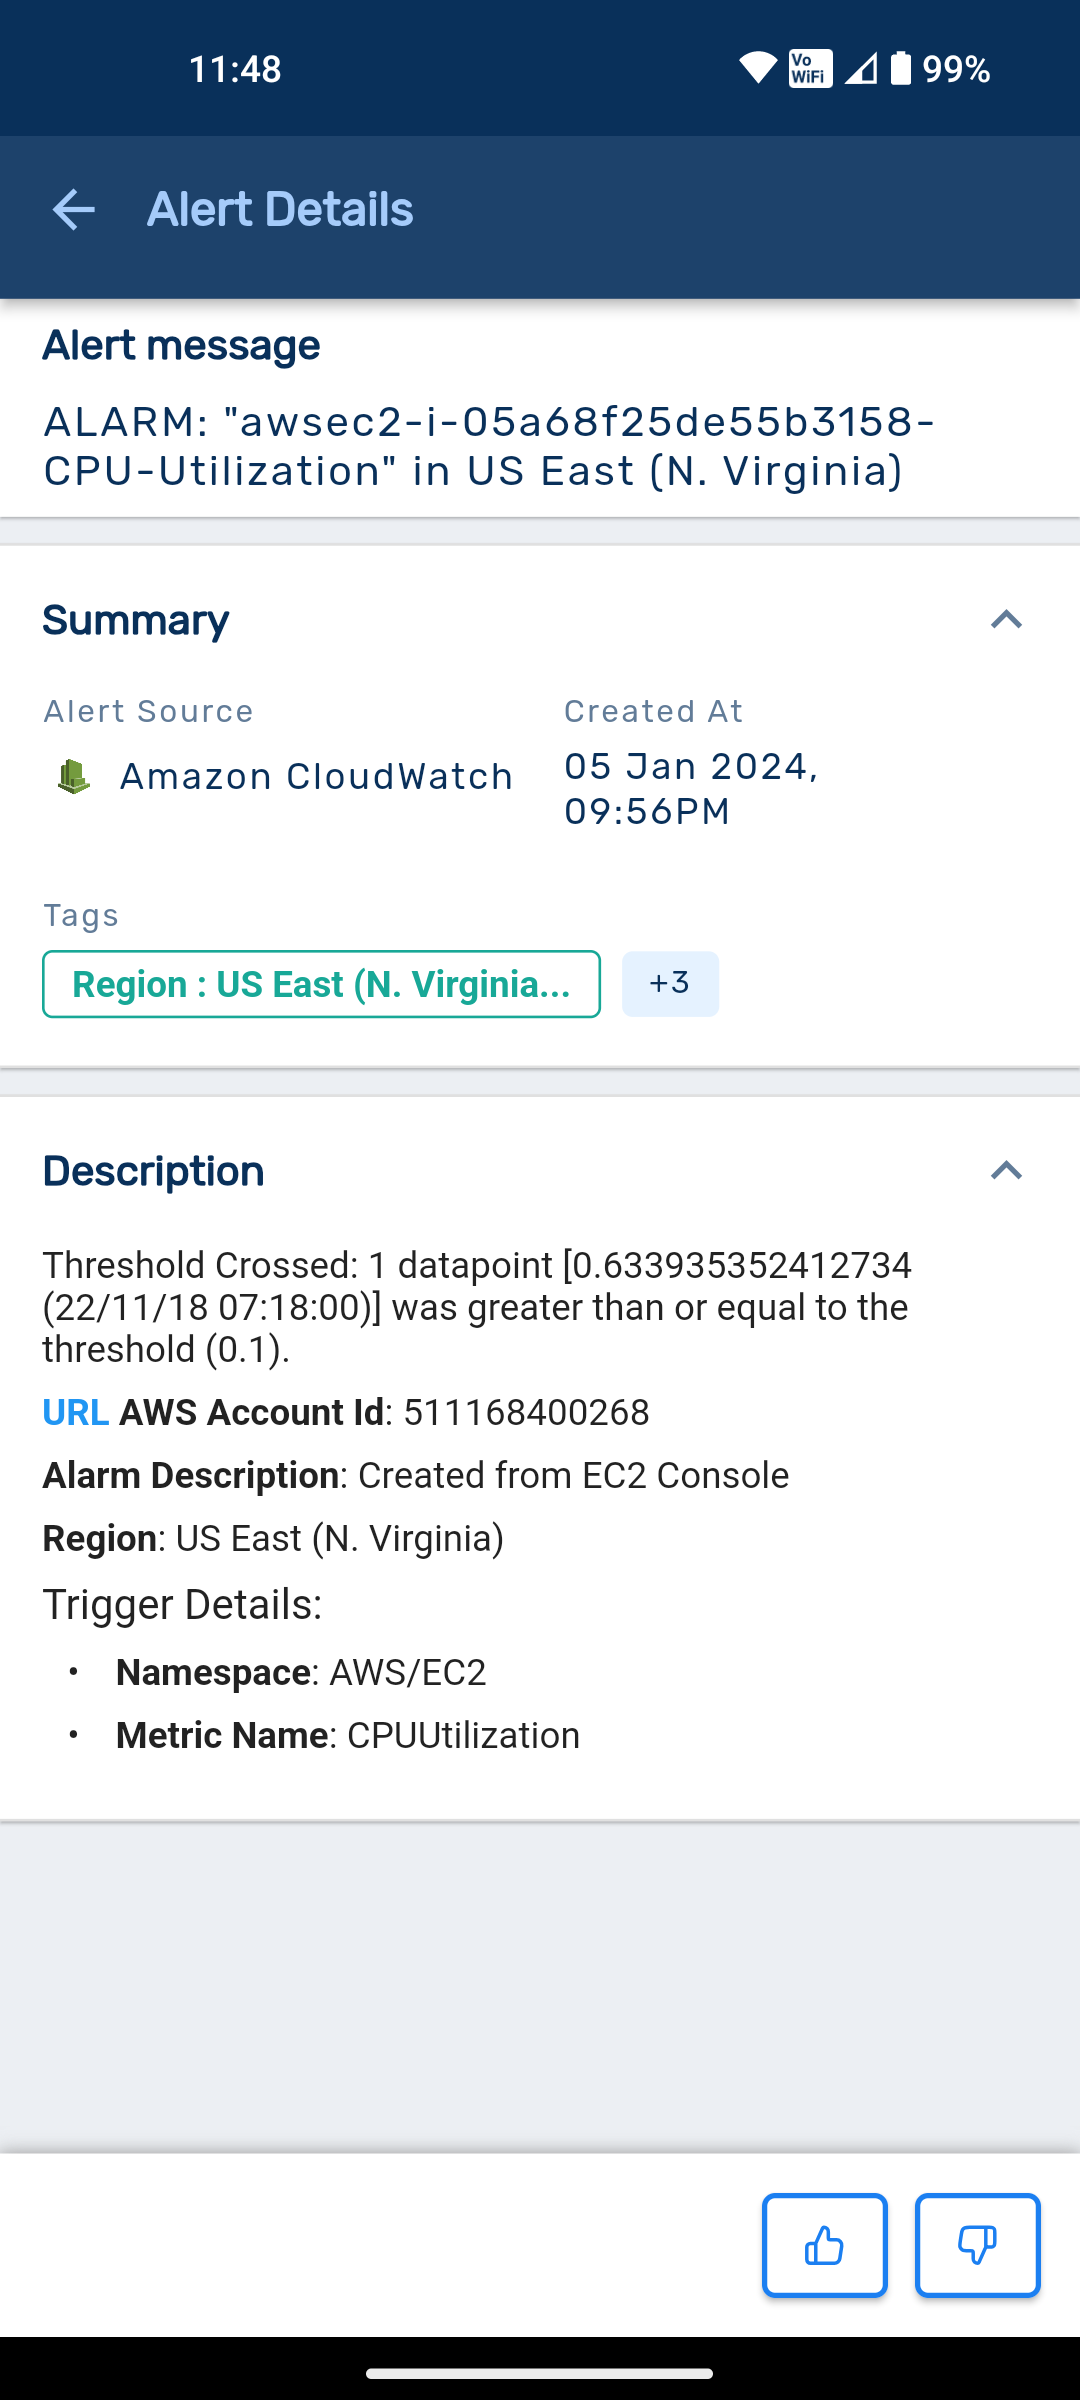
Image. Alert details
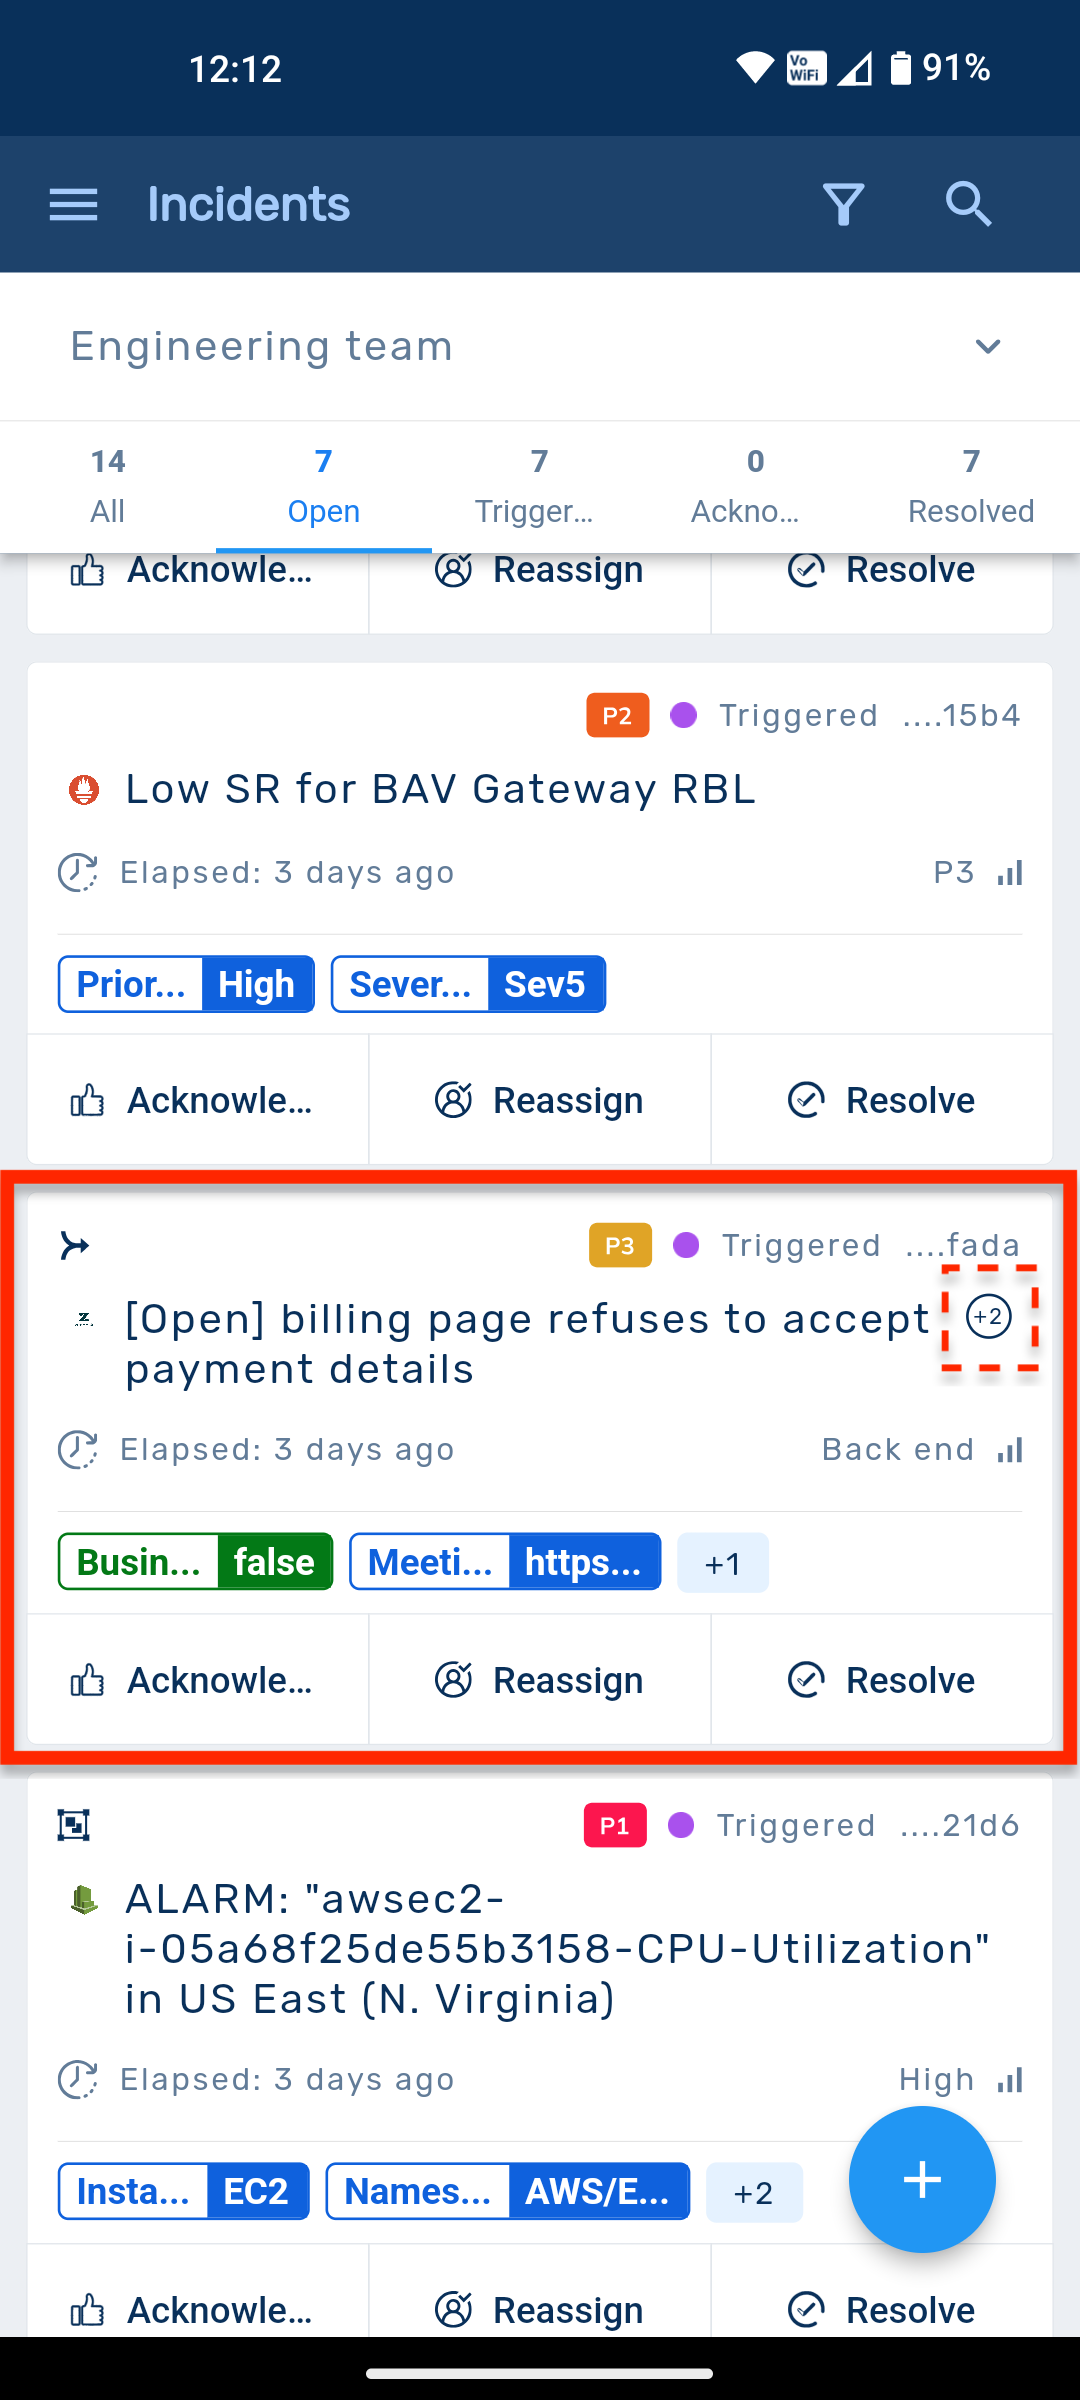
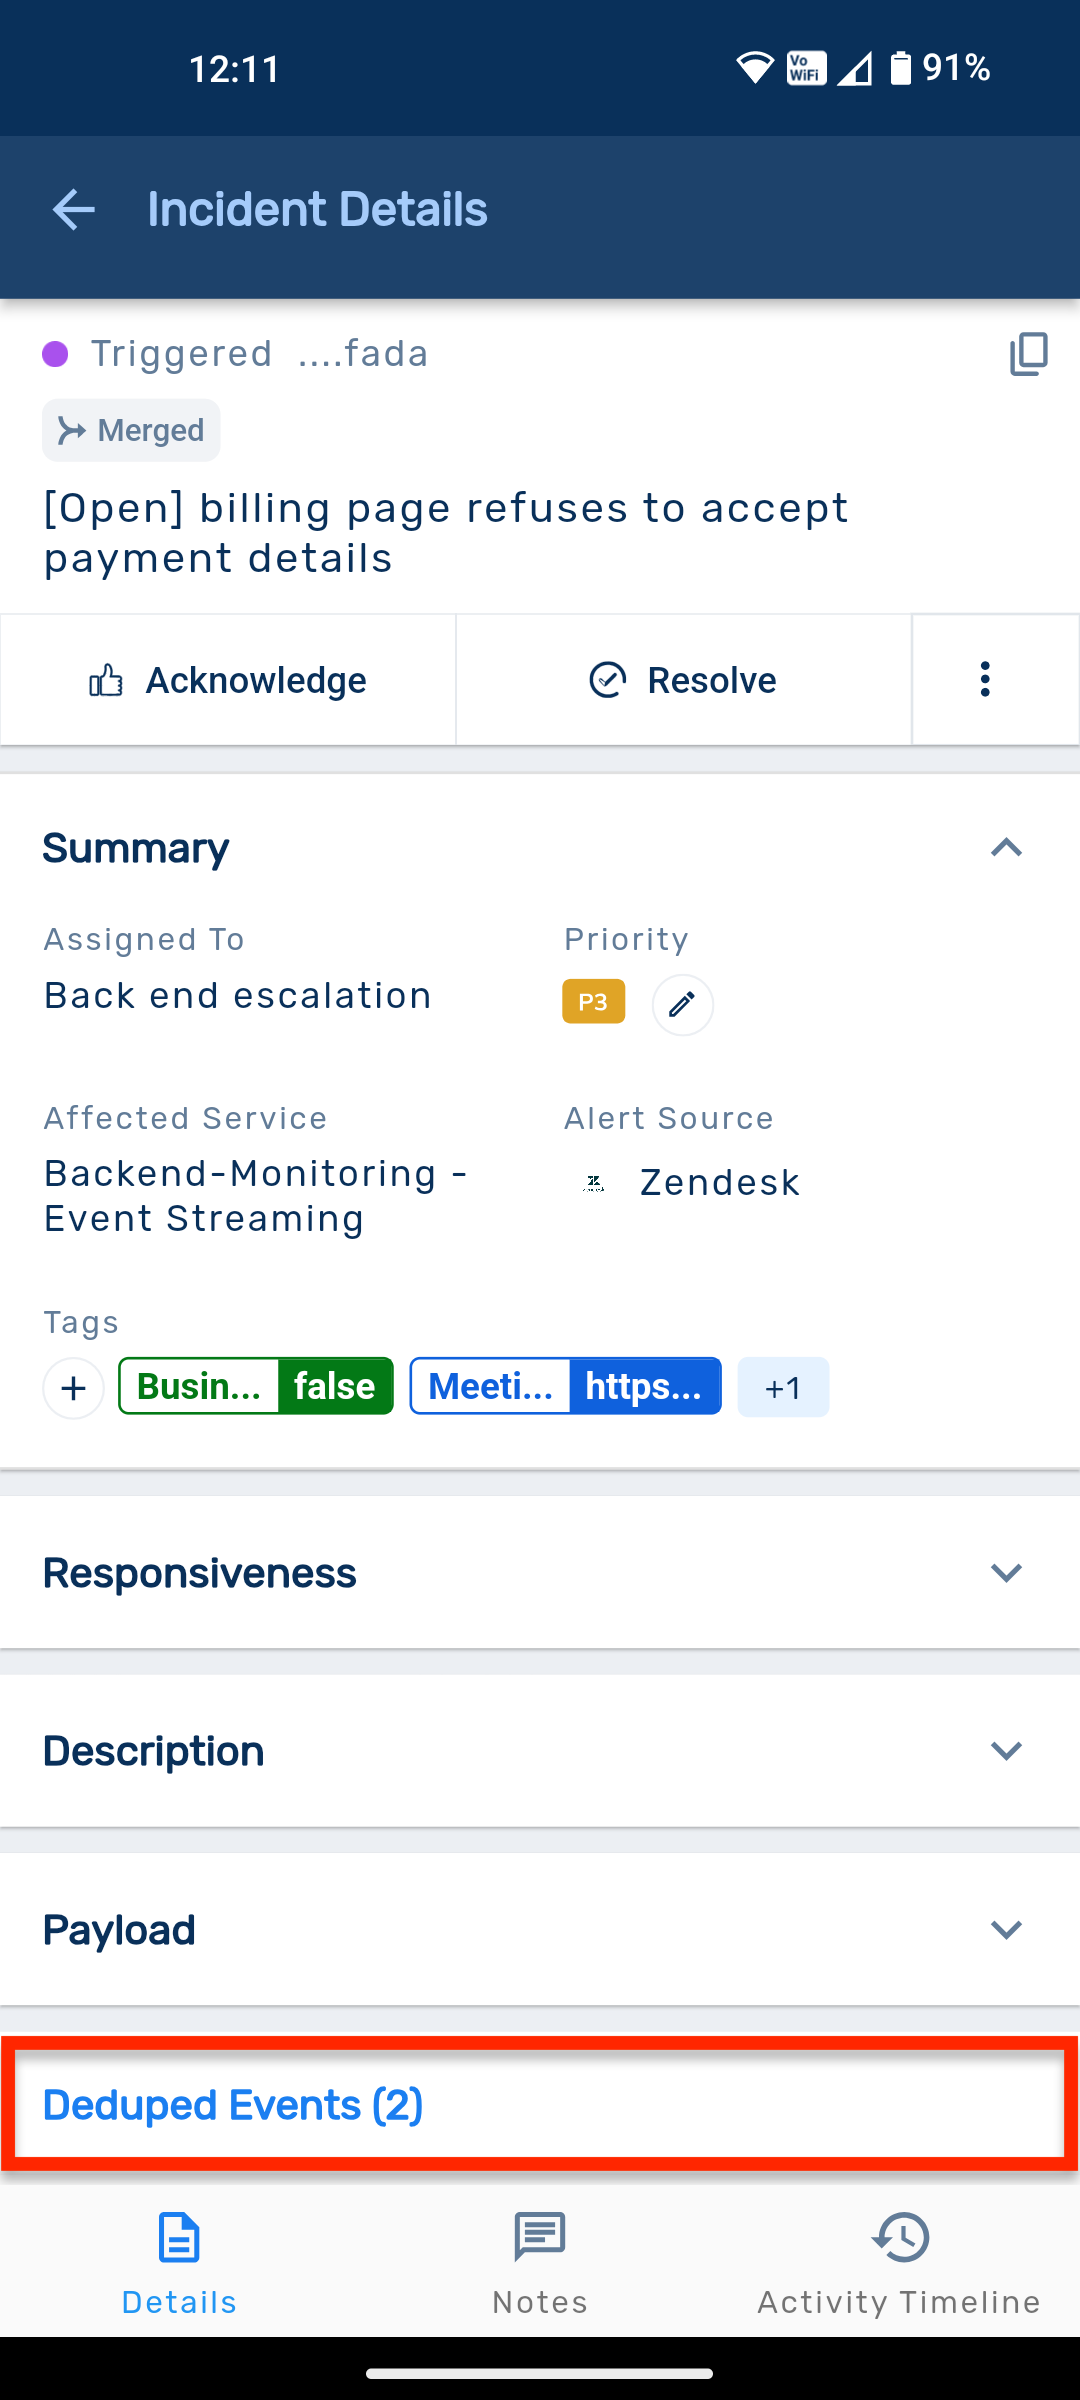
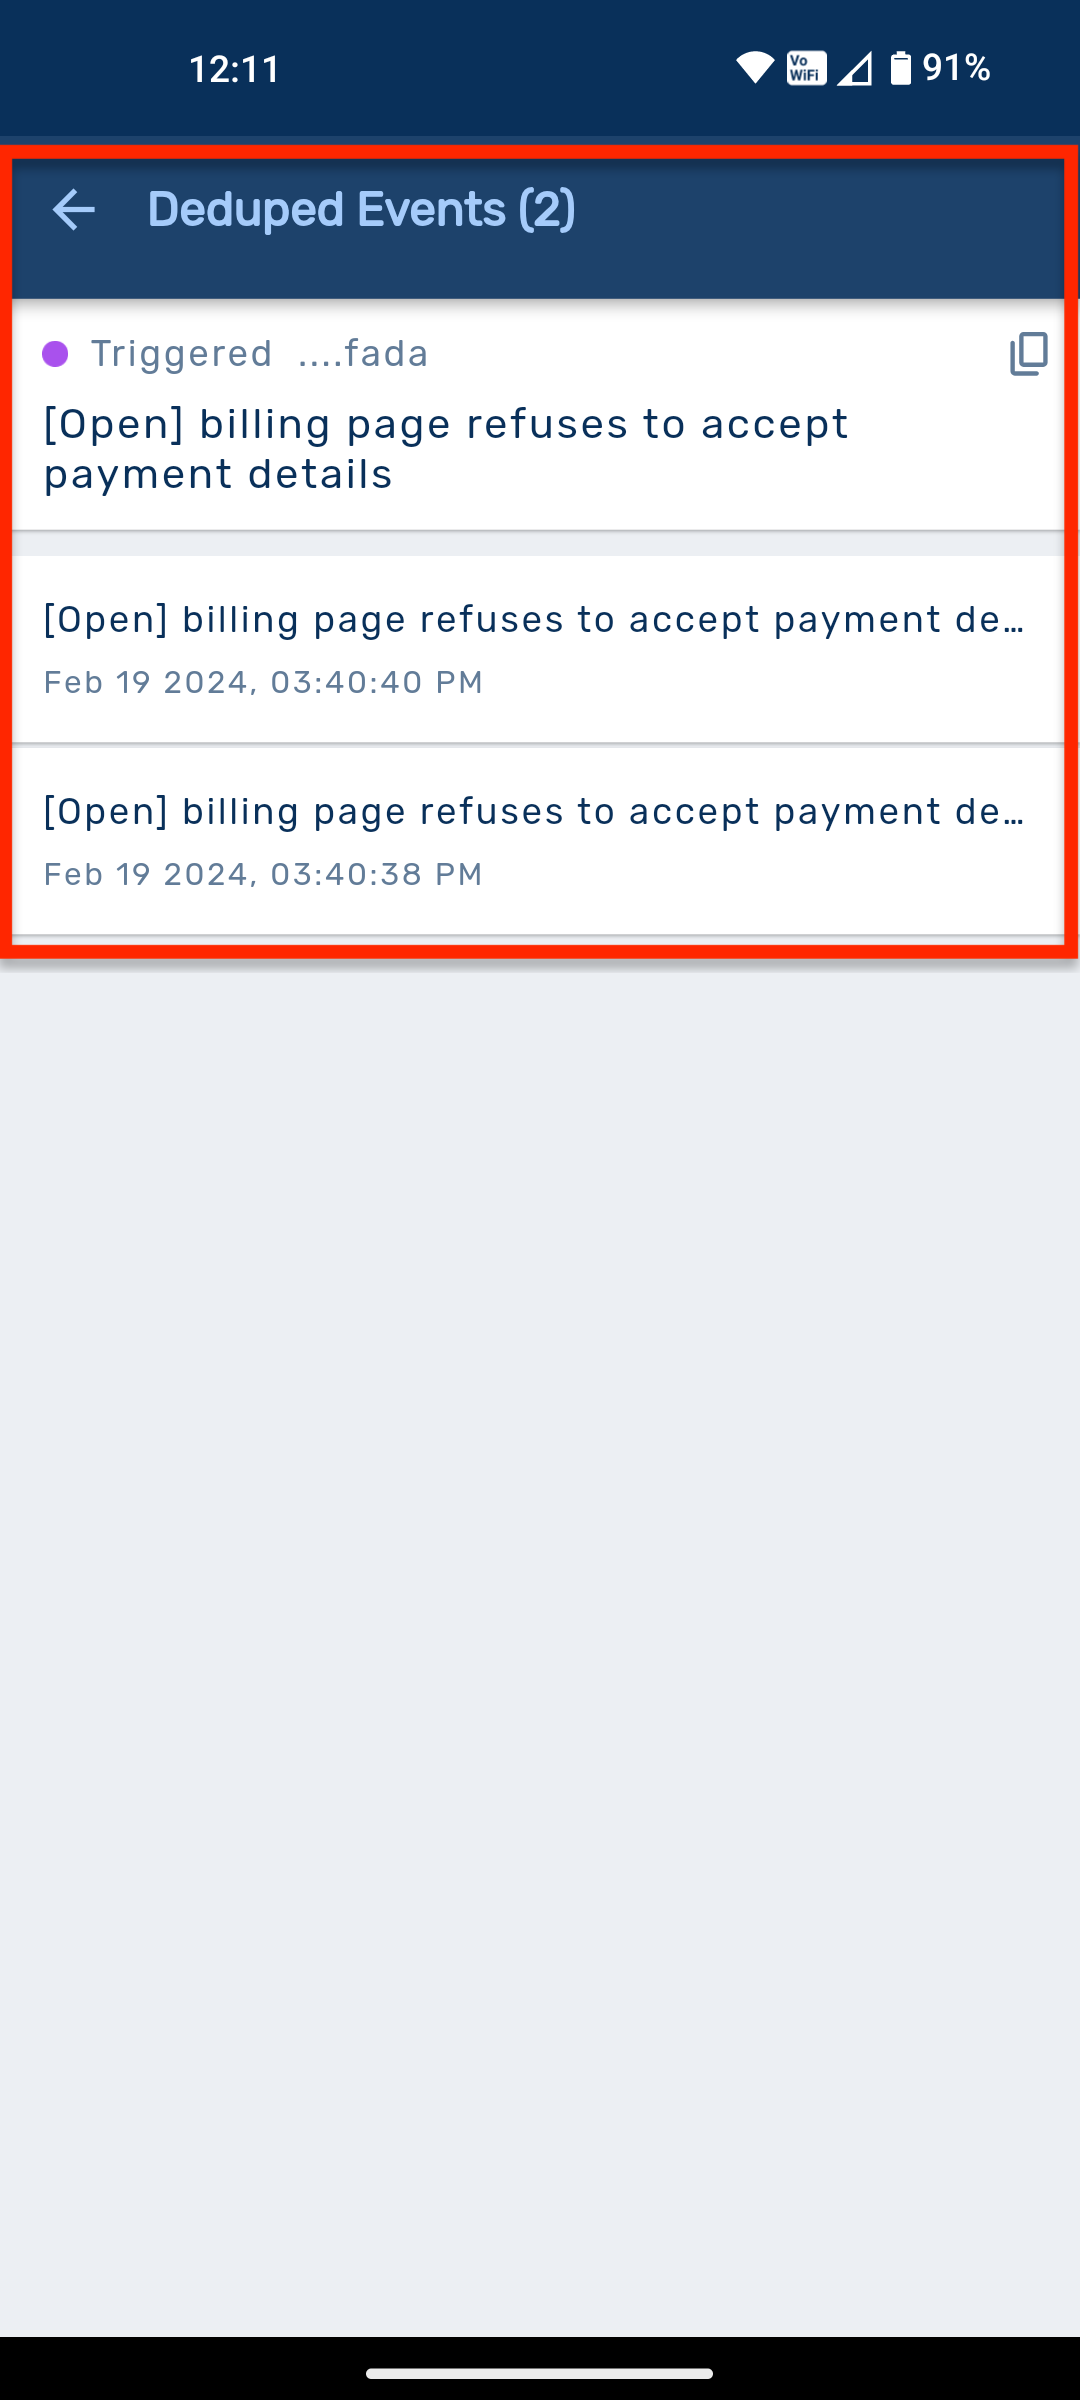

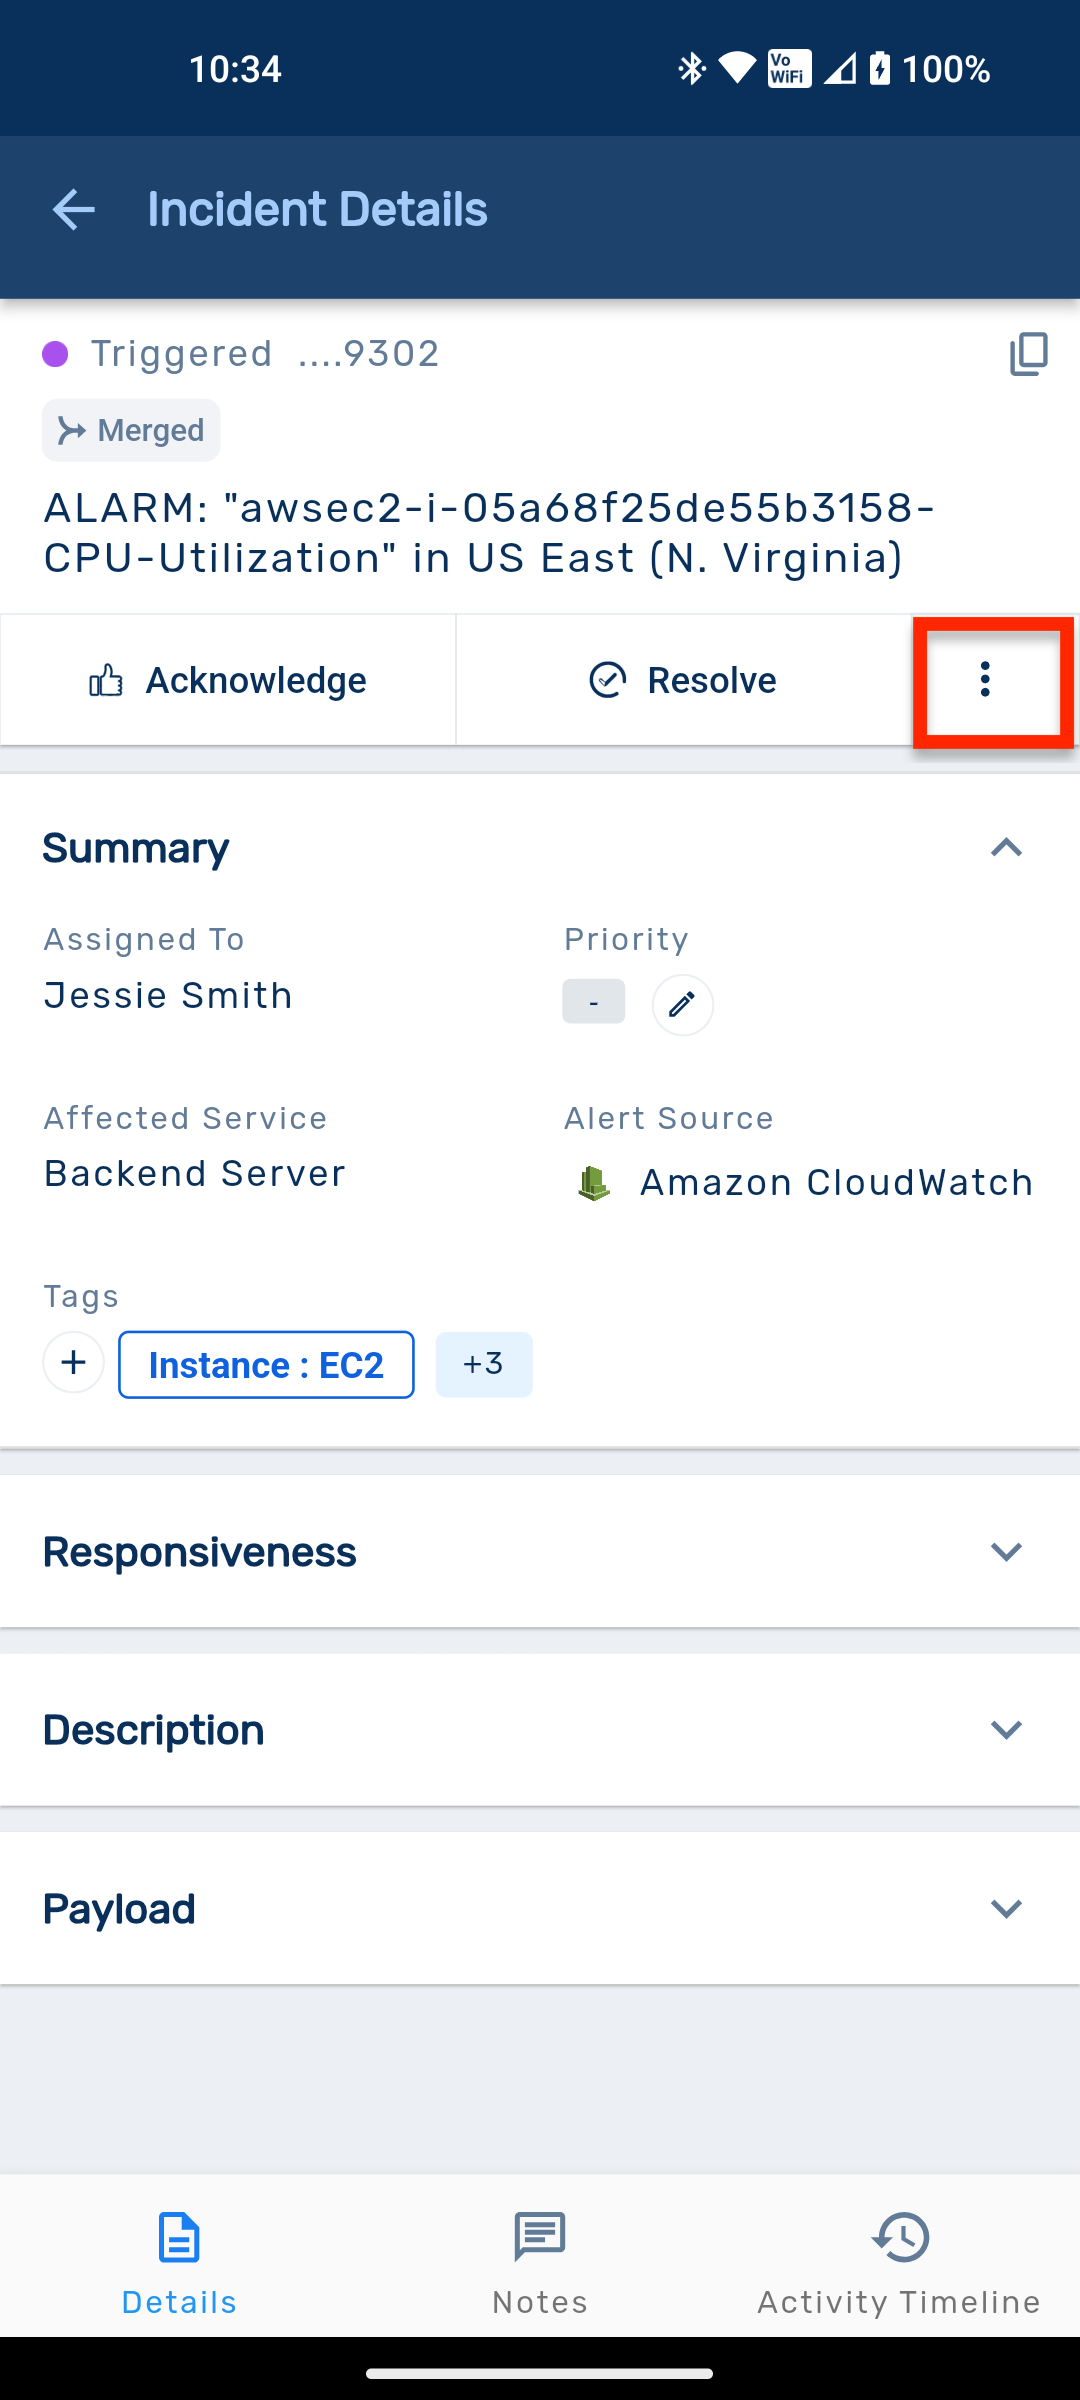
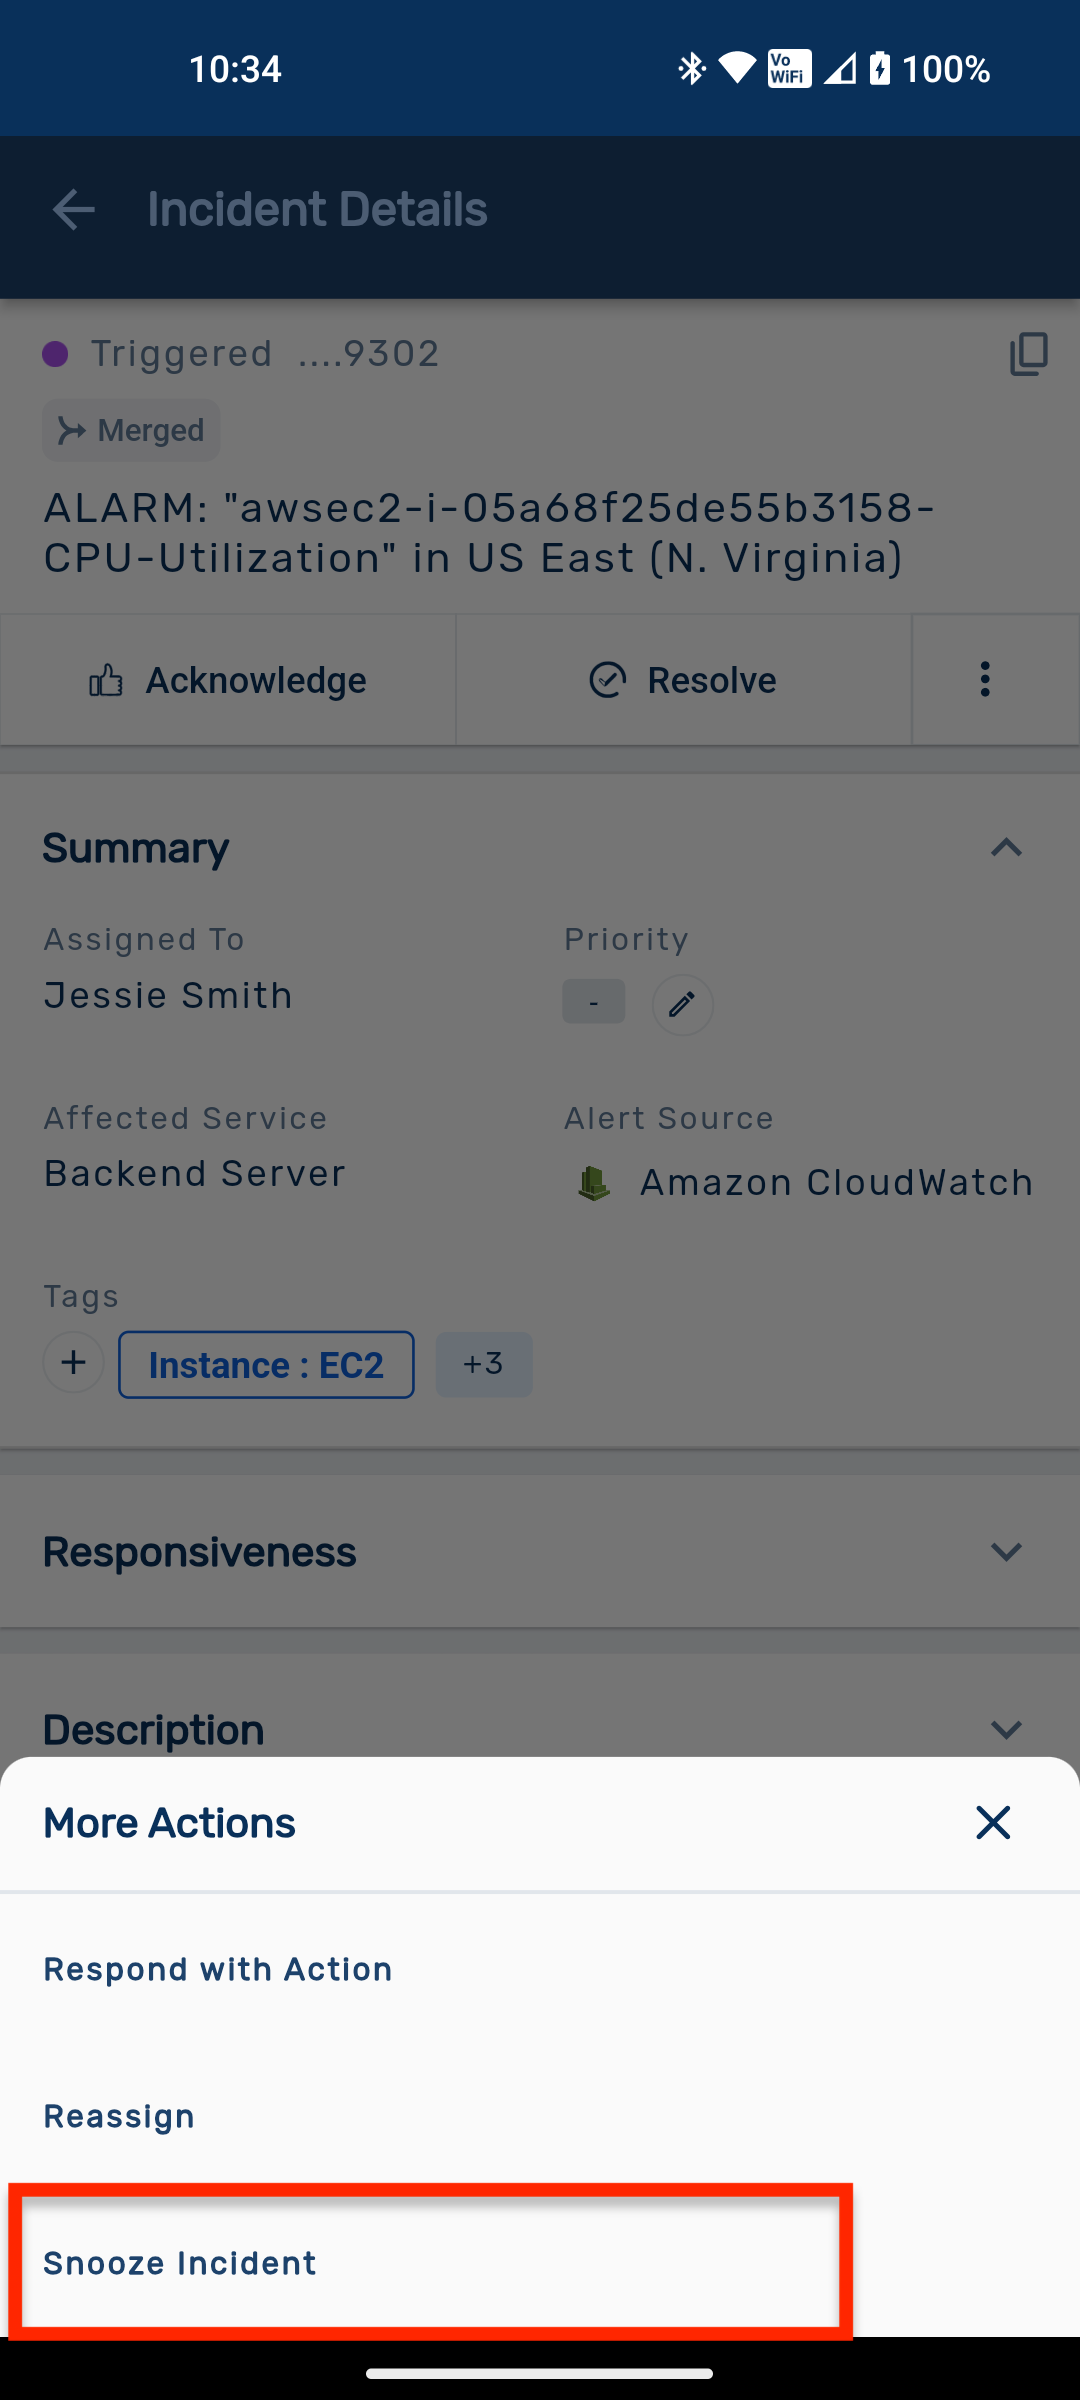
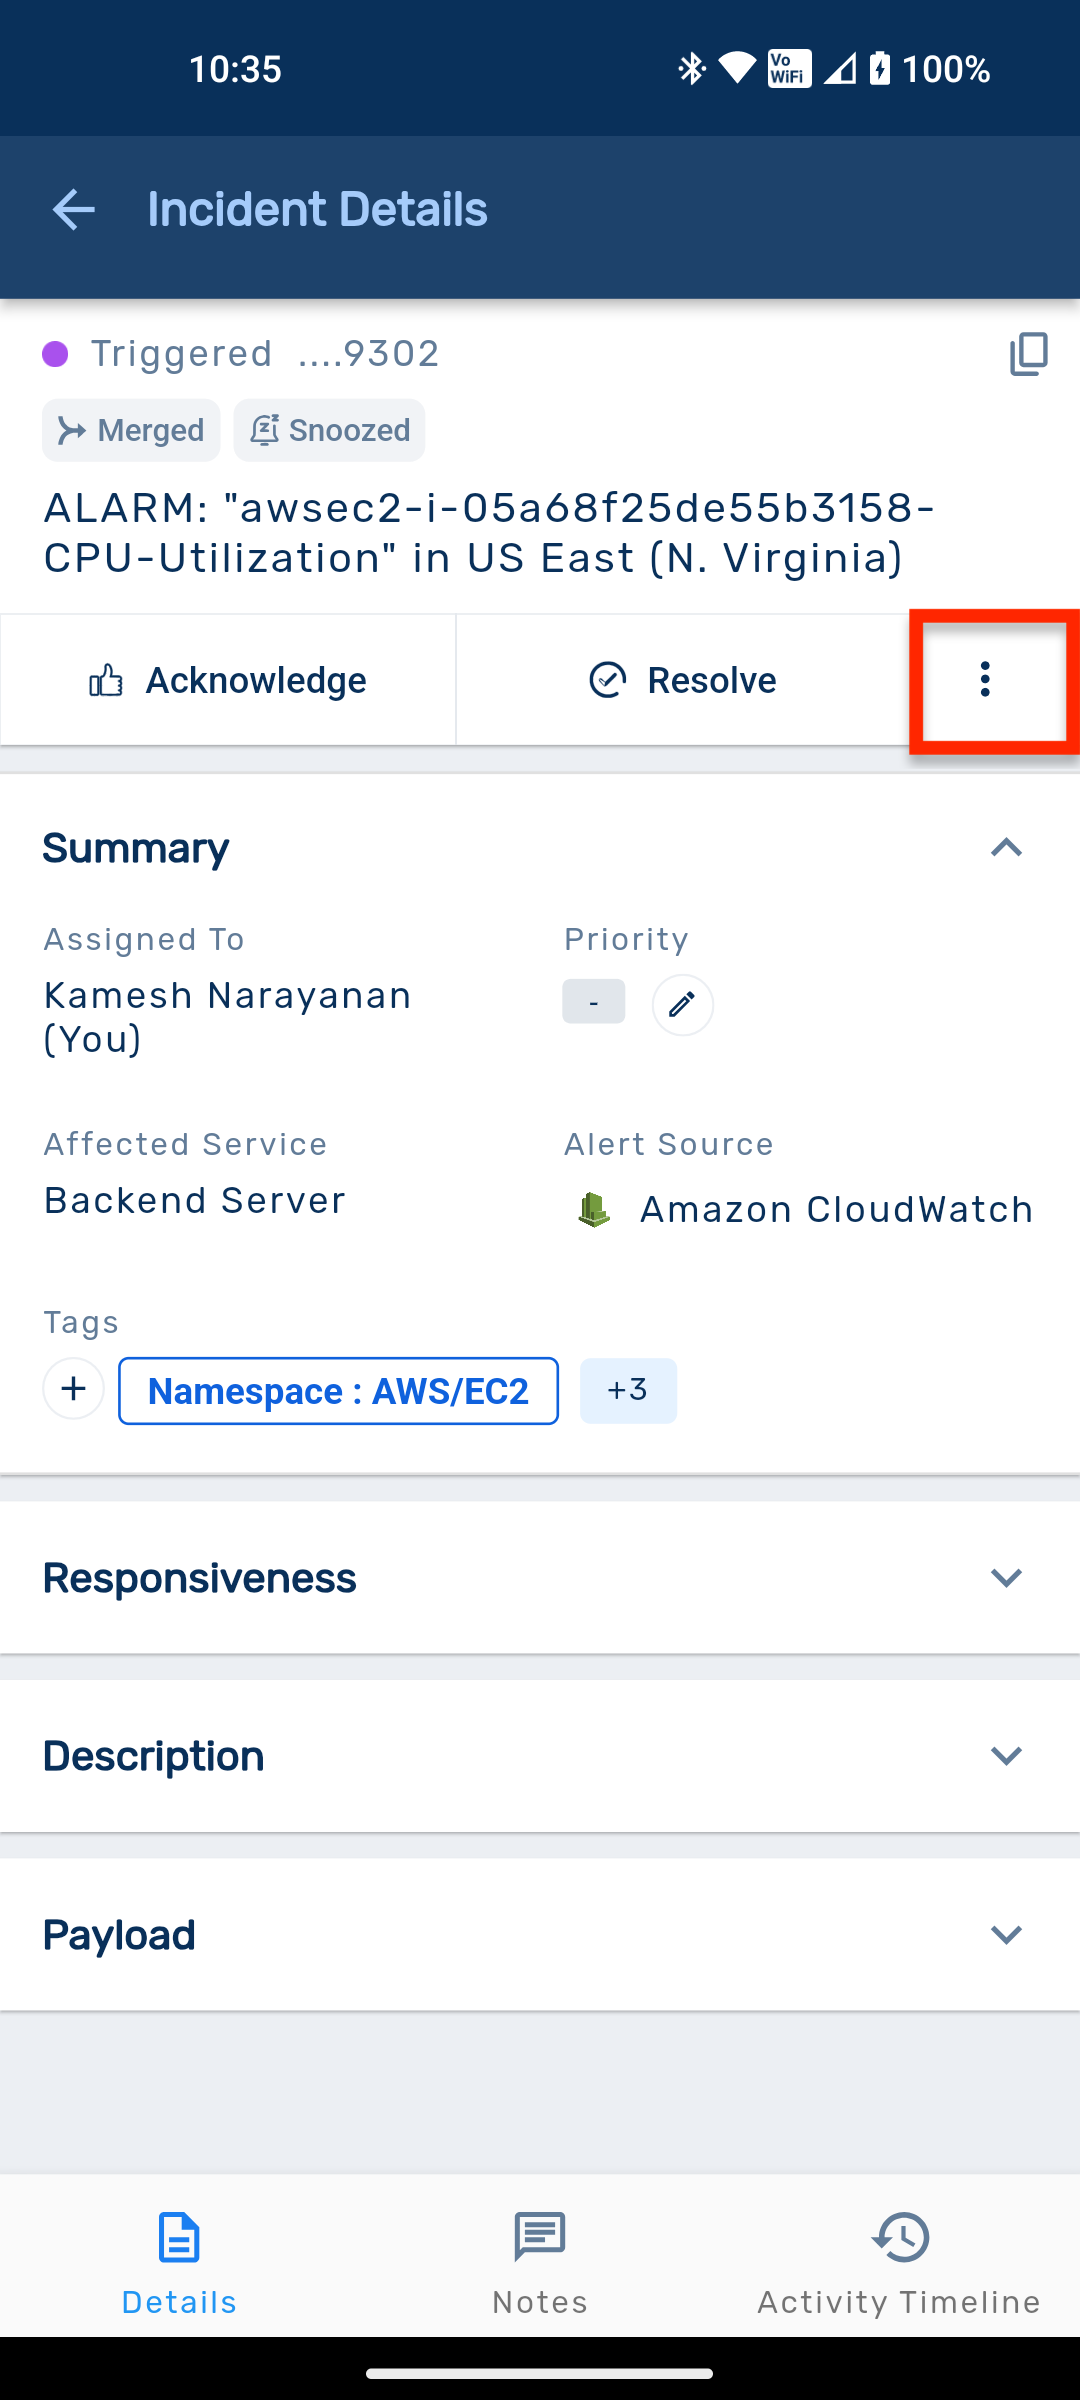

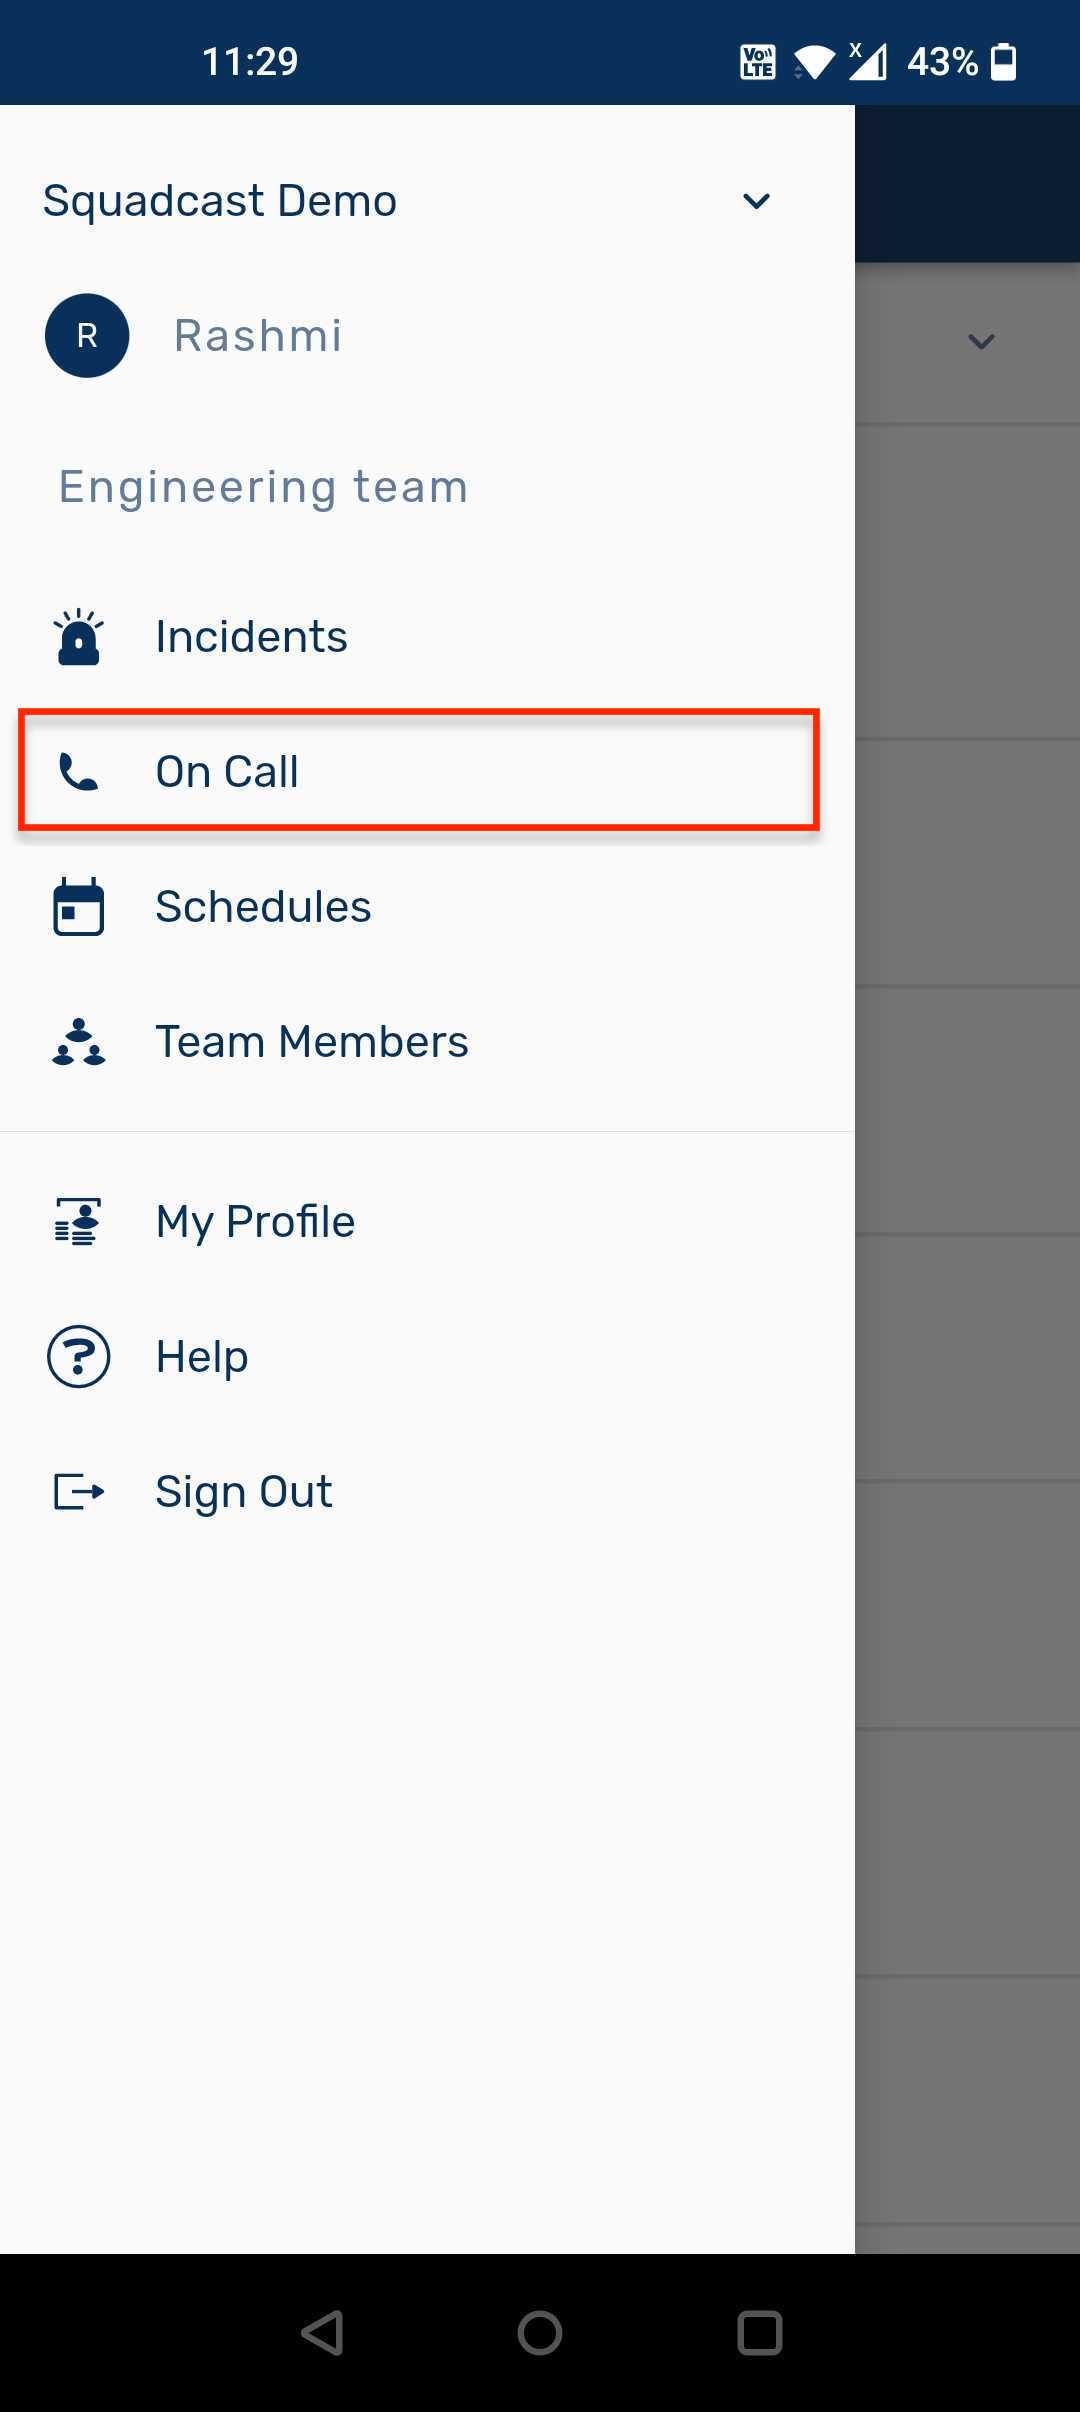
Image. Who is On Call Now
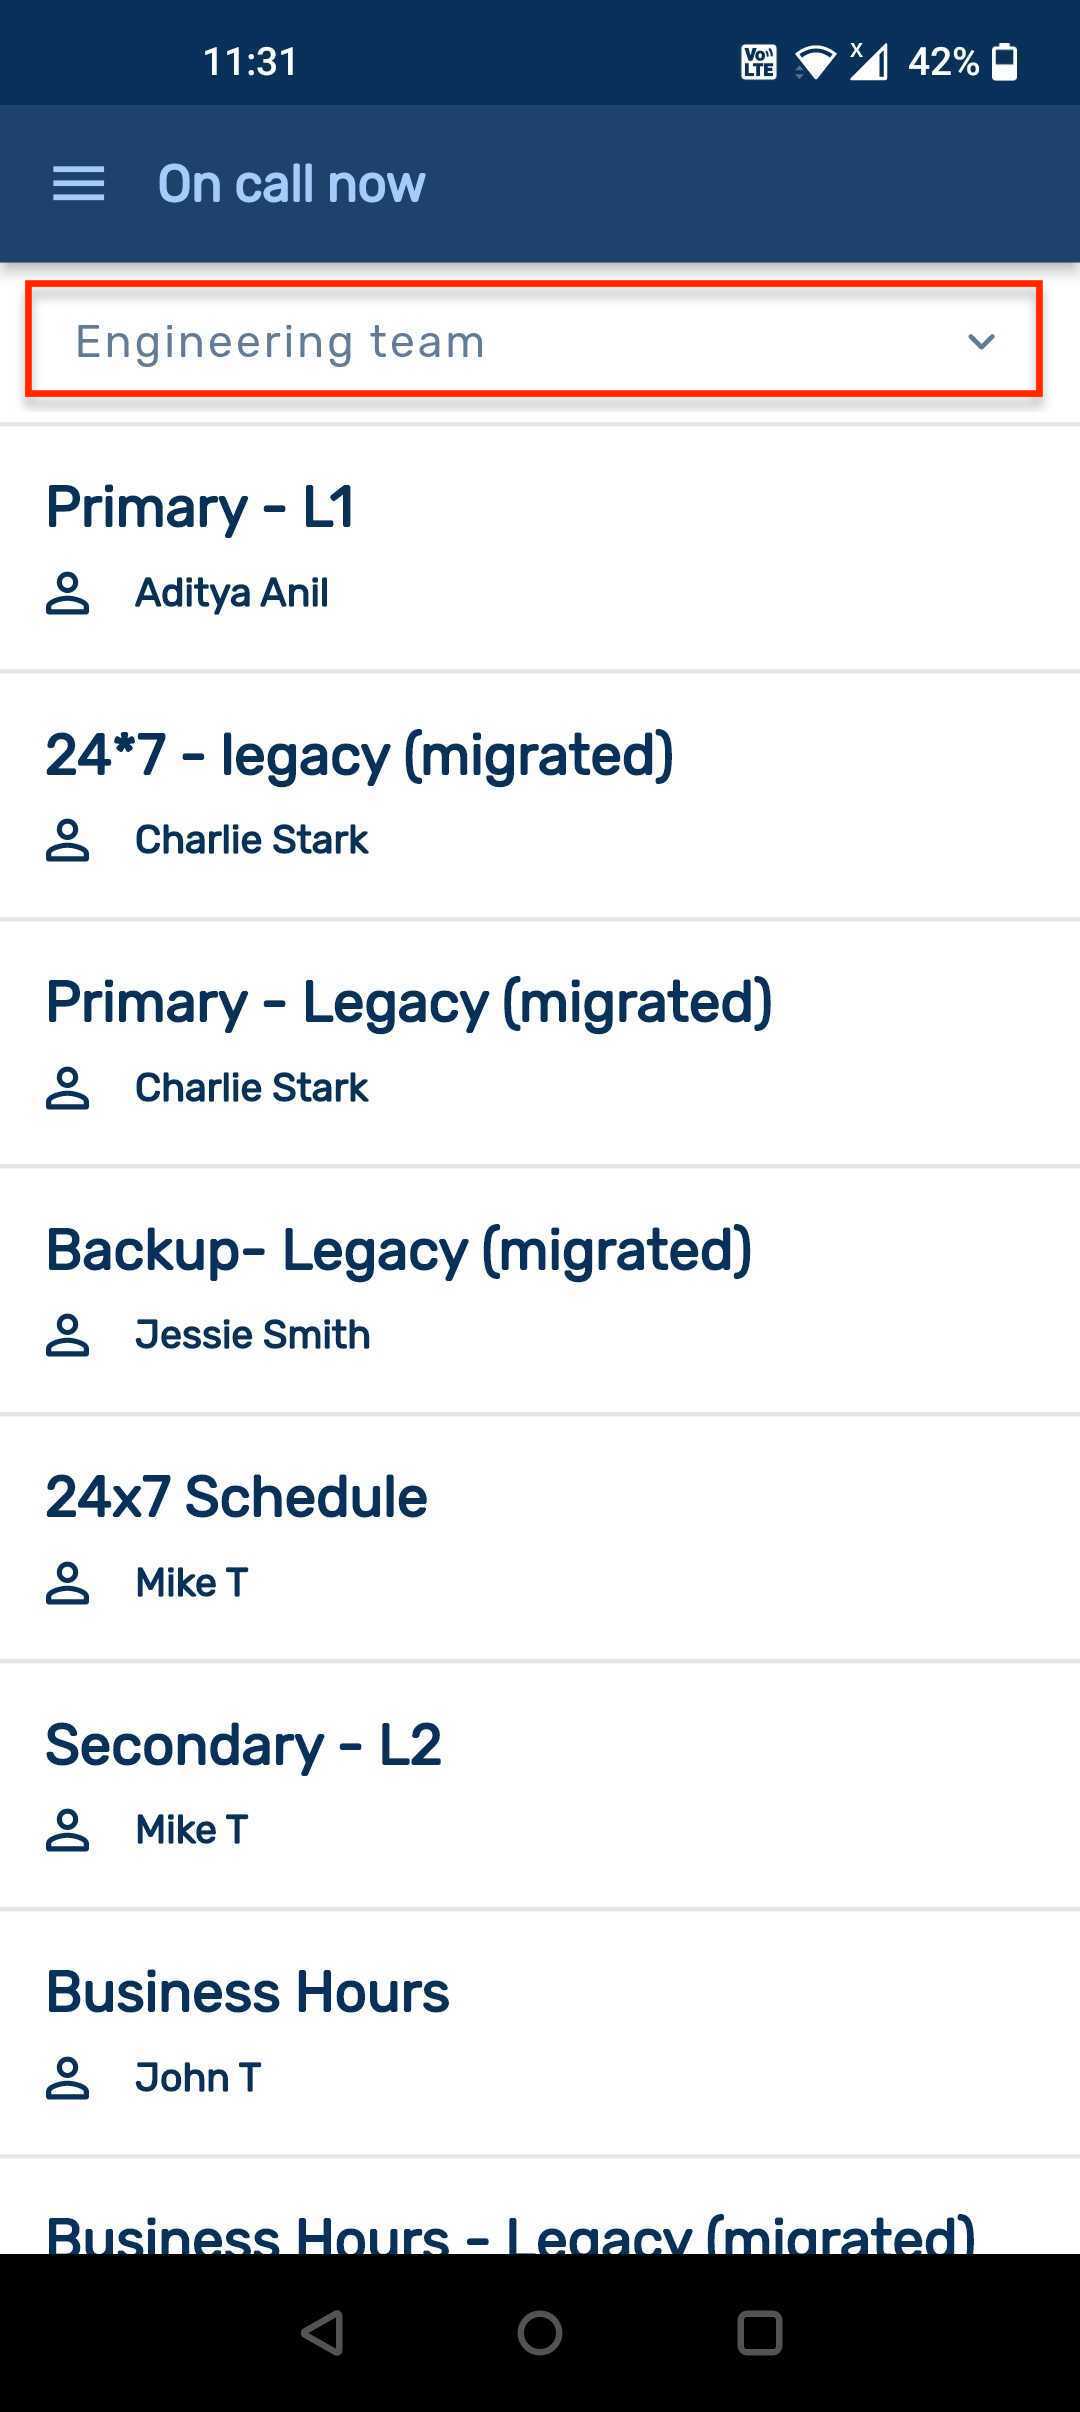
Image. On Call Now for the selected team
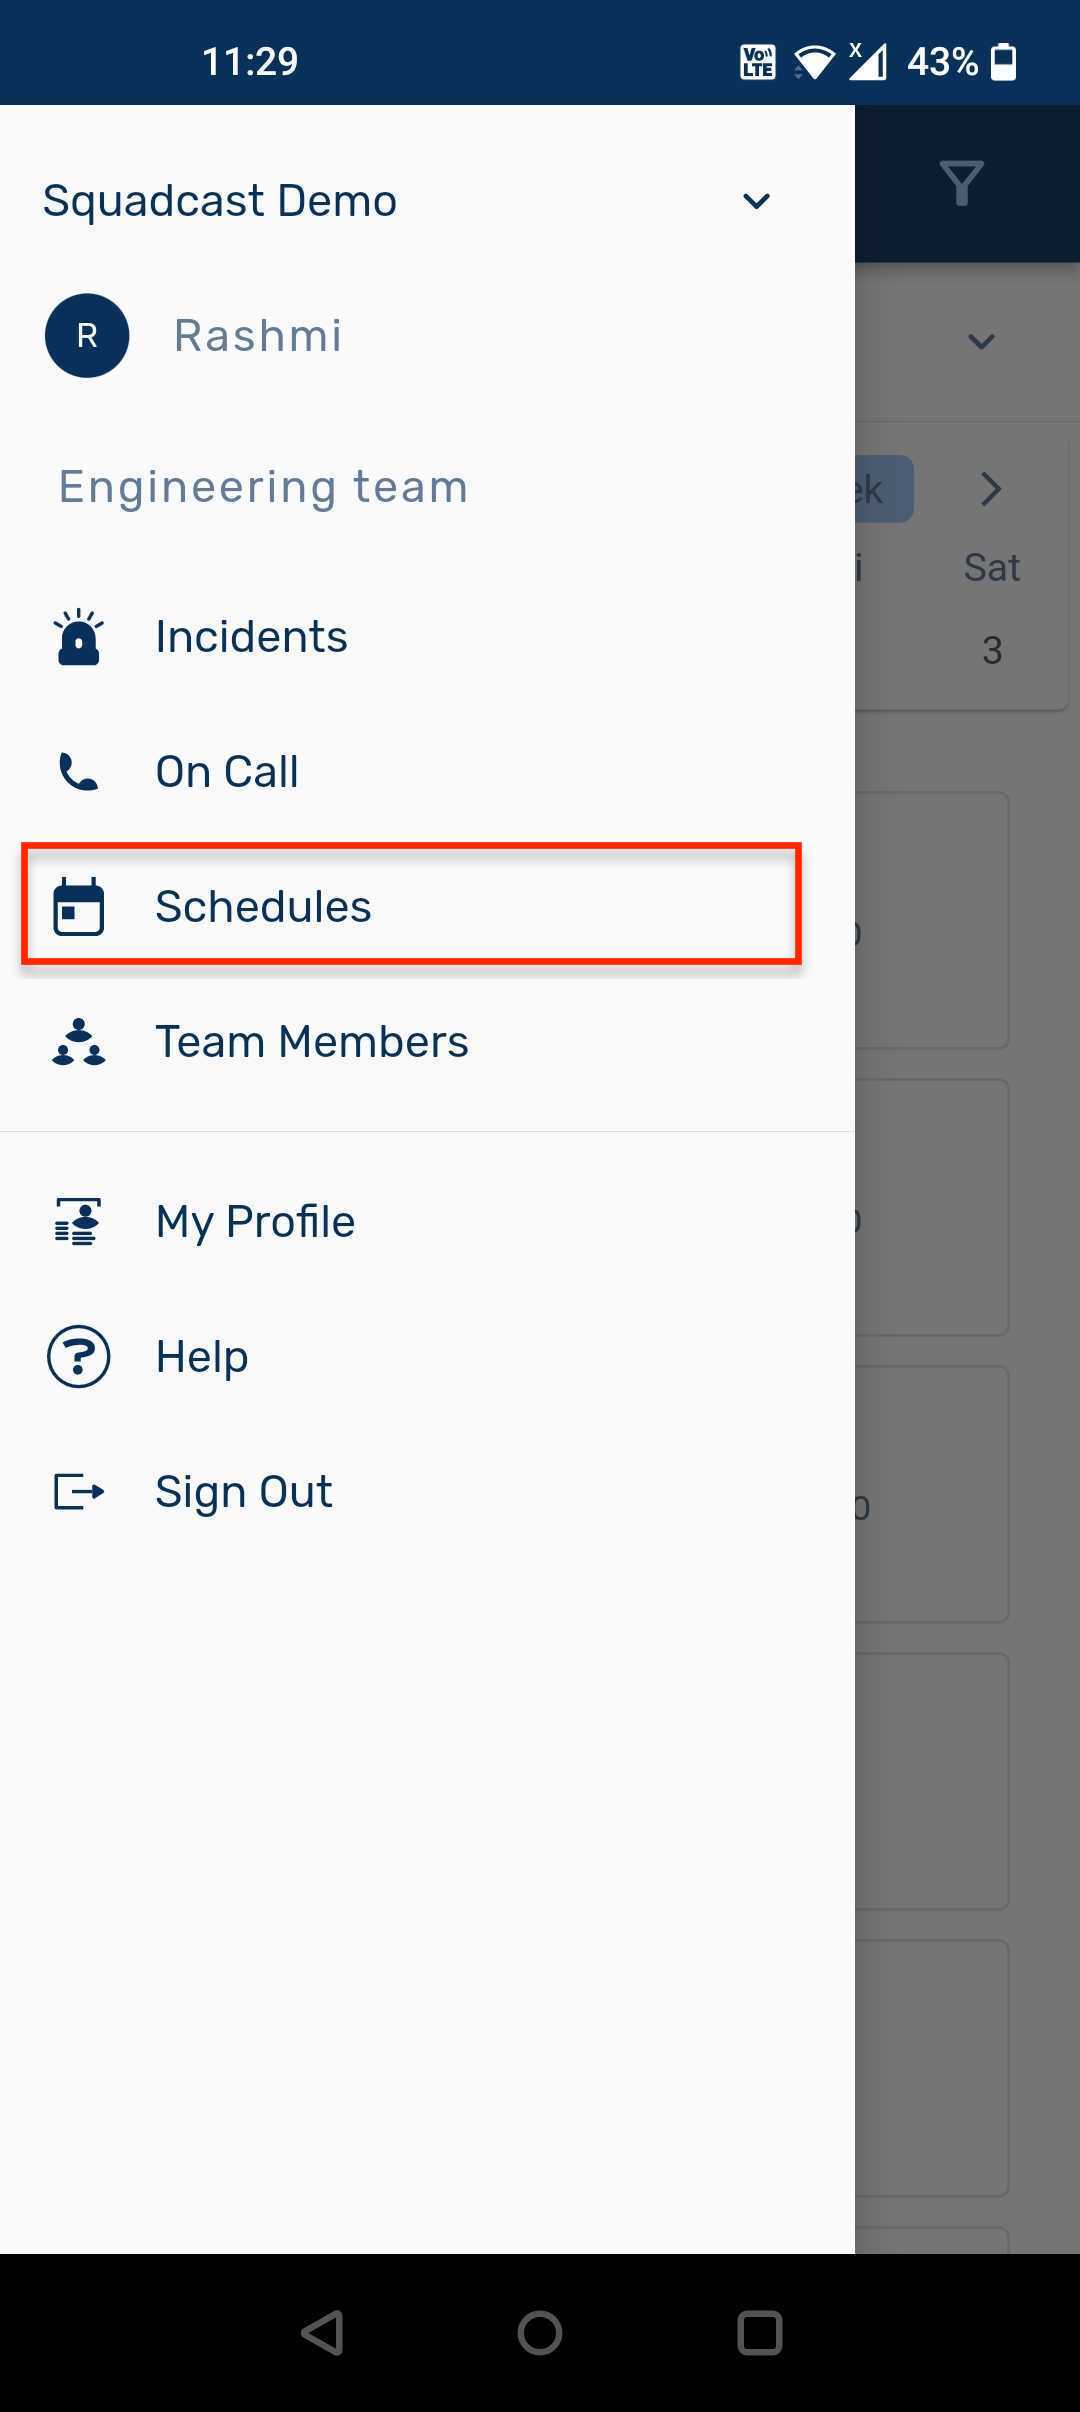
Image. View On Call shifts
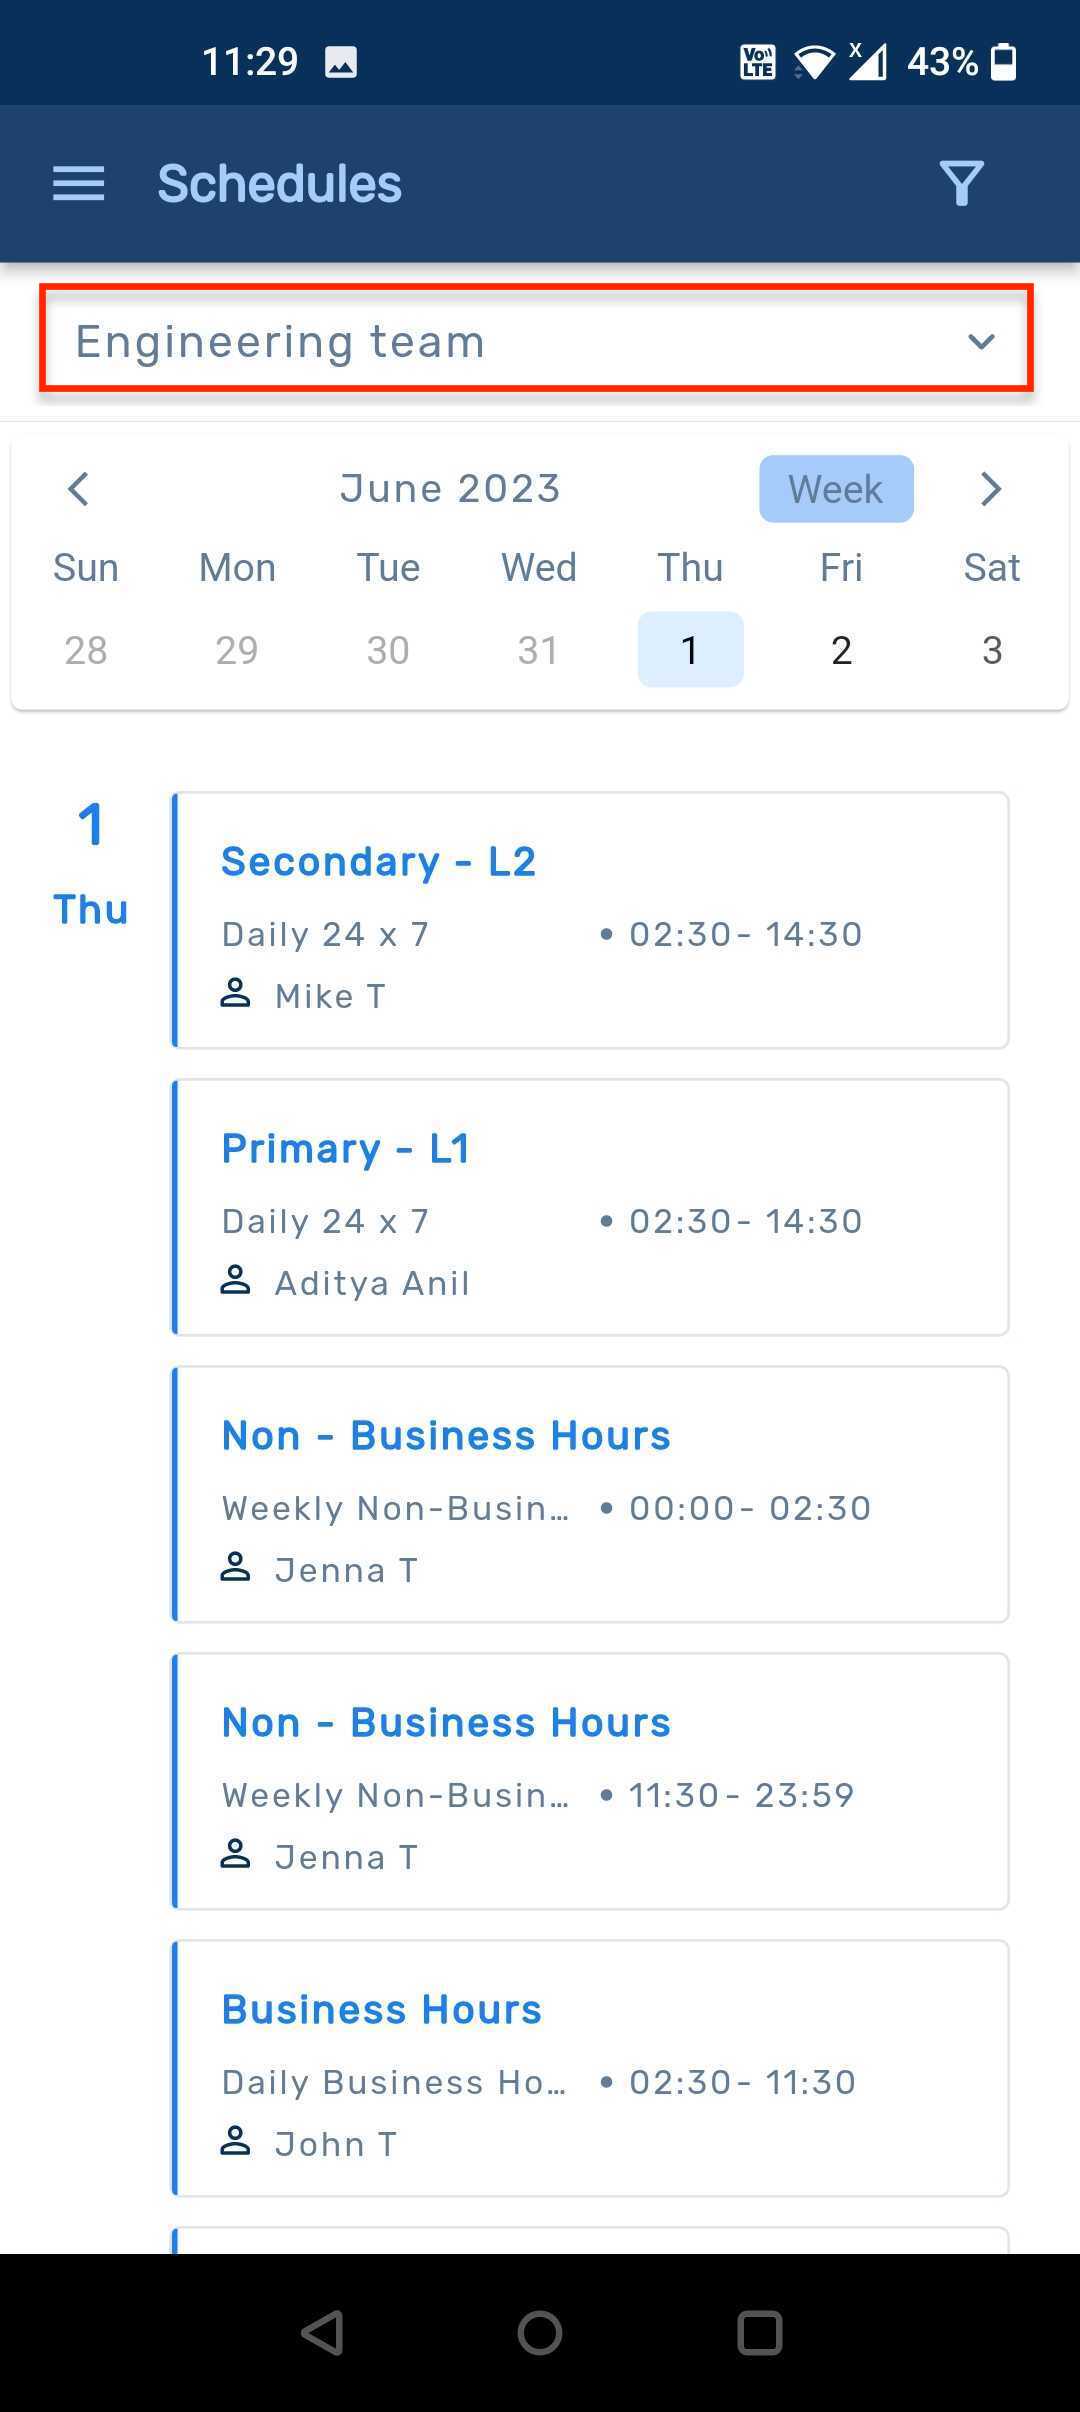
Image. View On Call shifts for the selected team
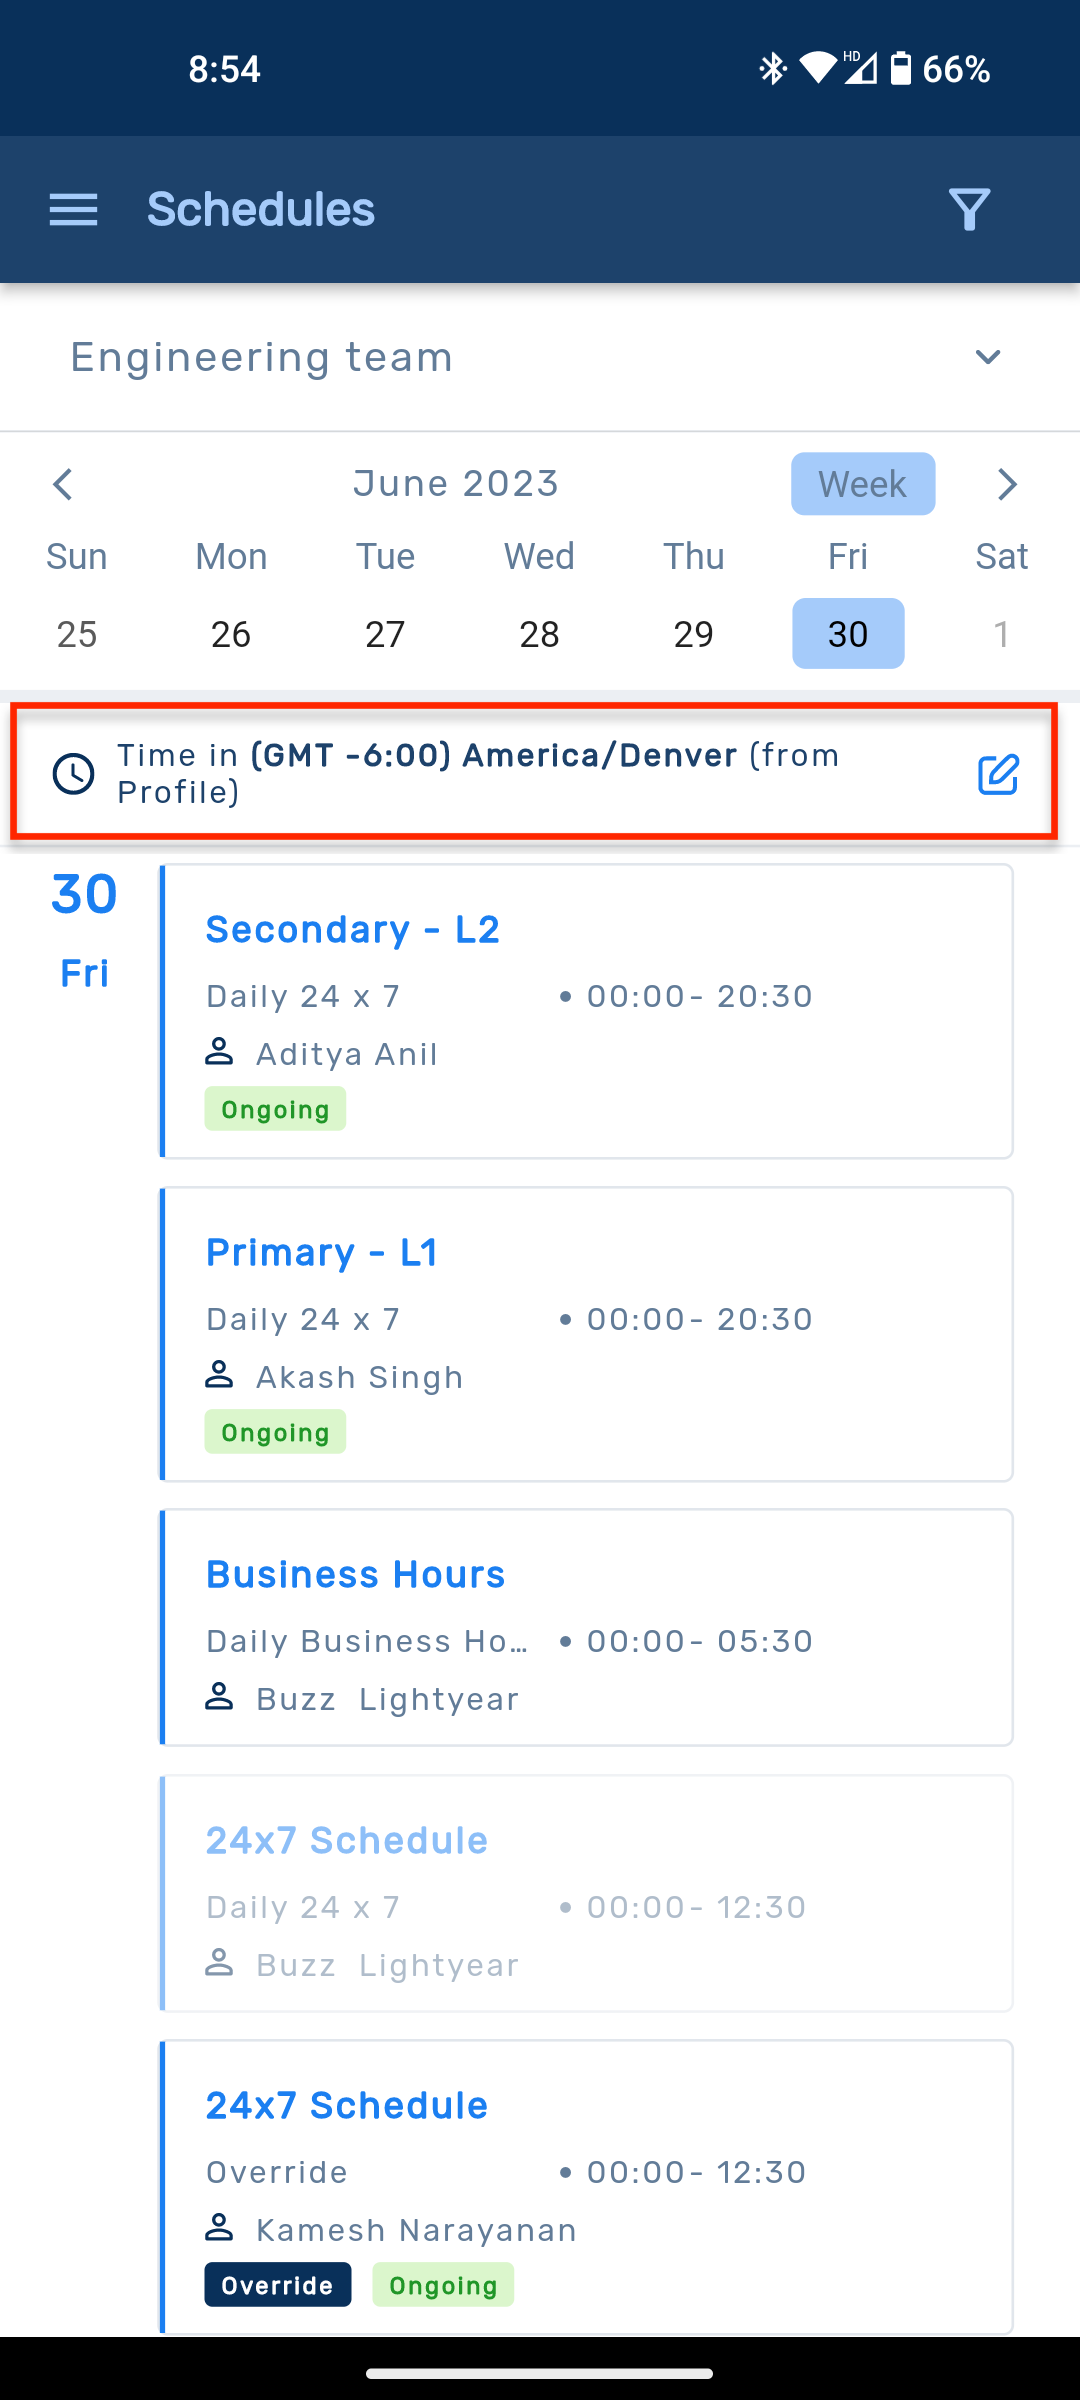
Image: To Edit Time Zone for viewing shifts
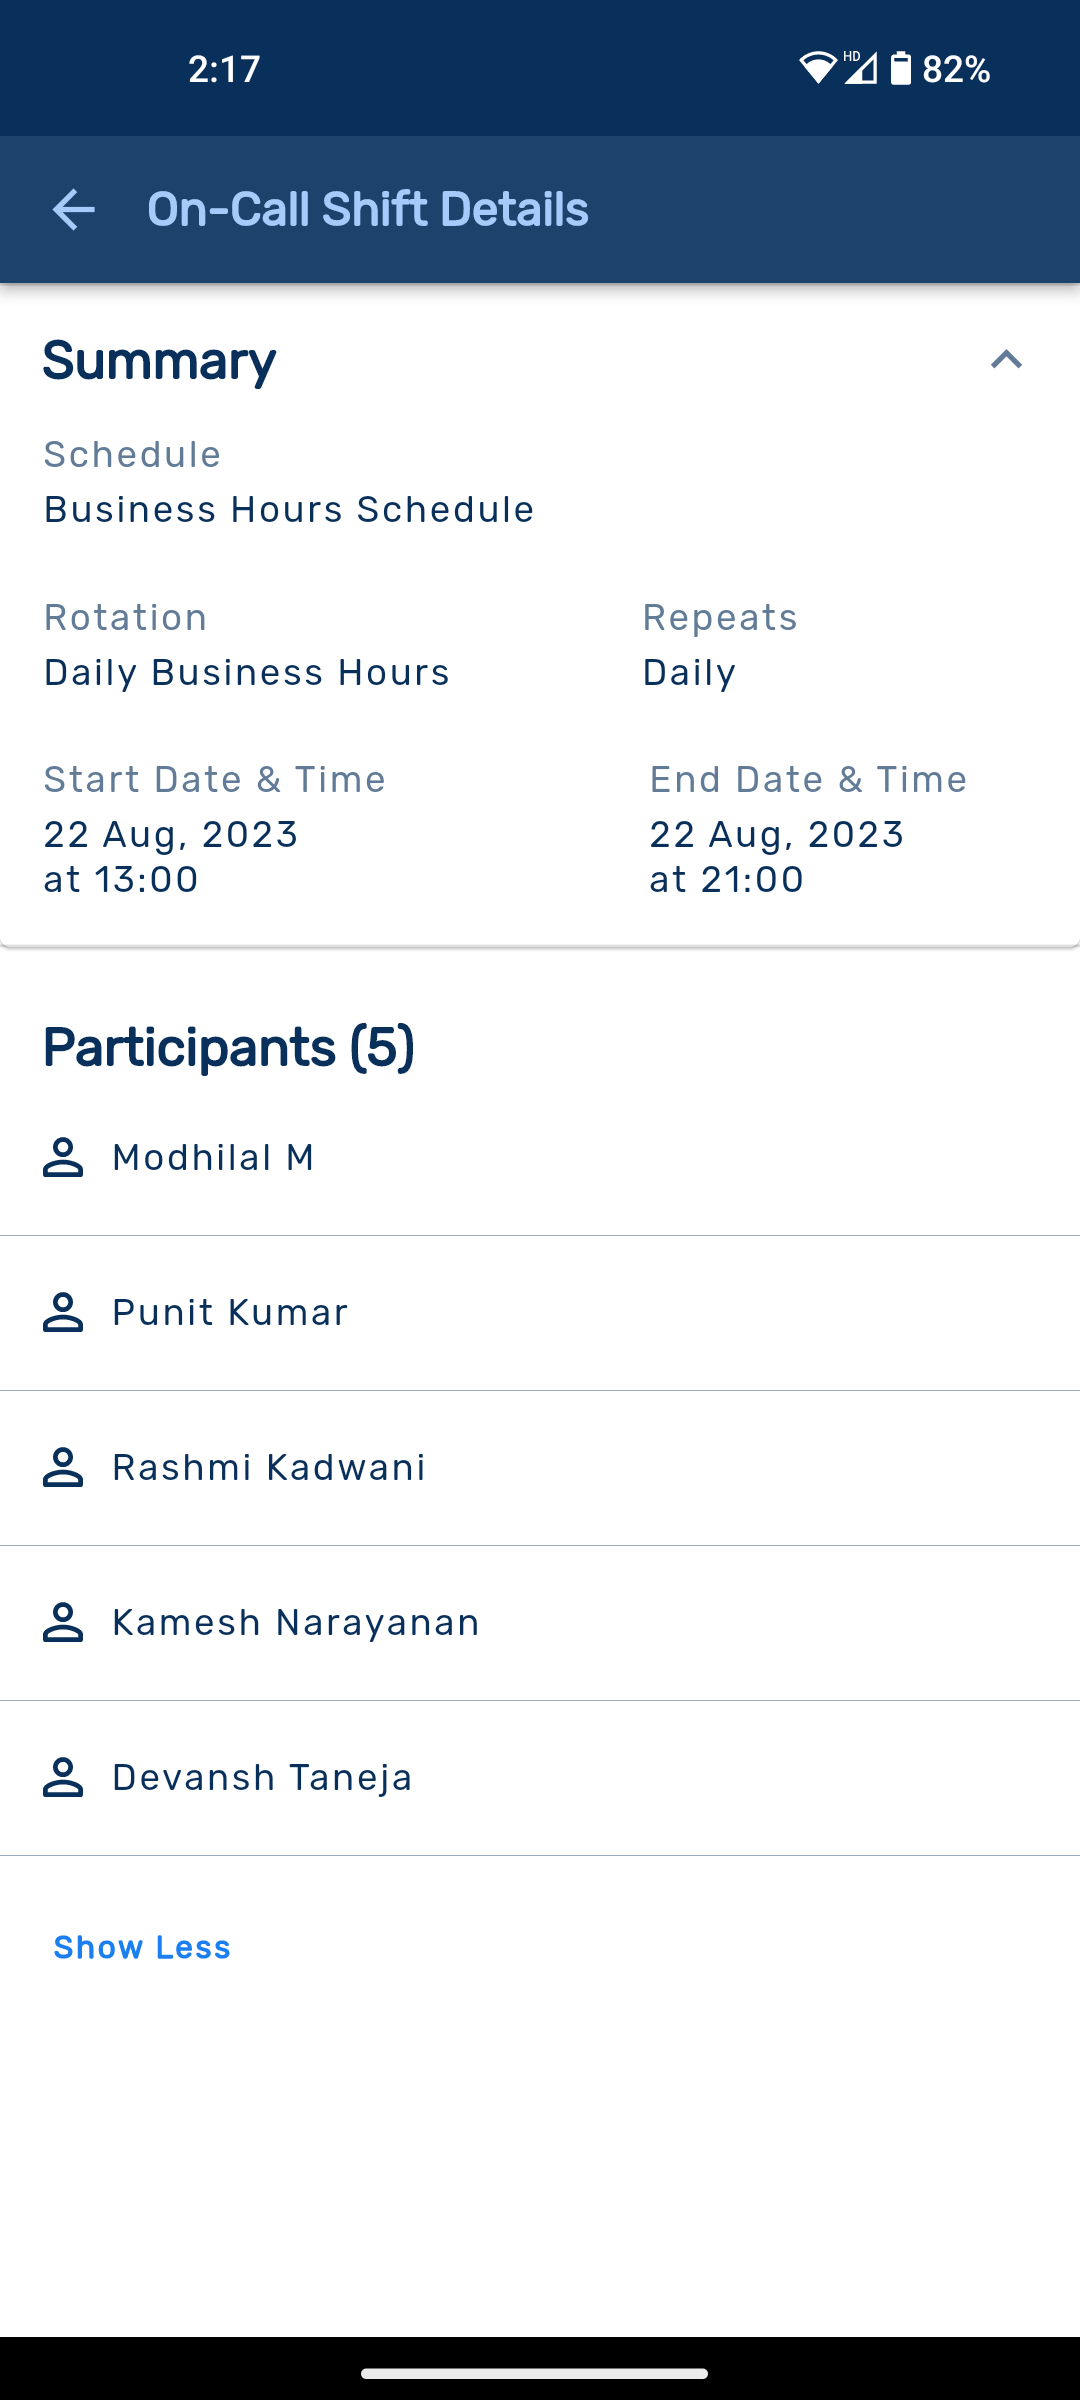
Image. Shift Details Screen
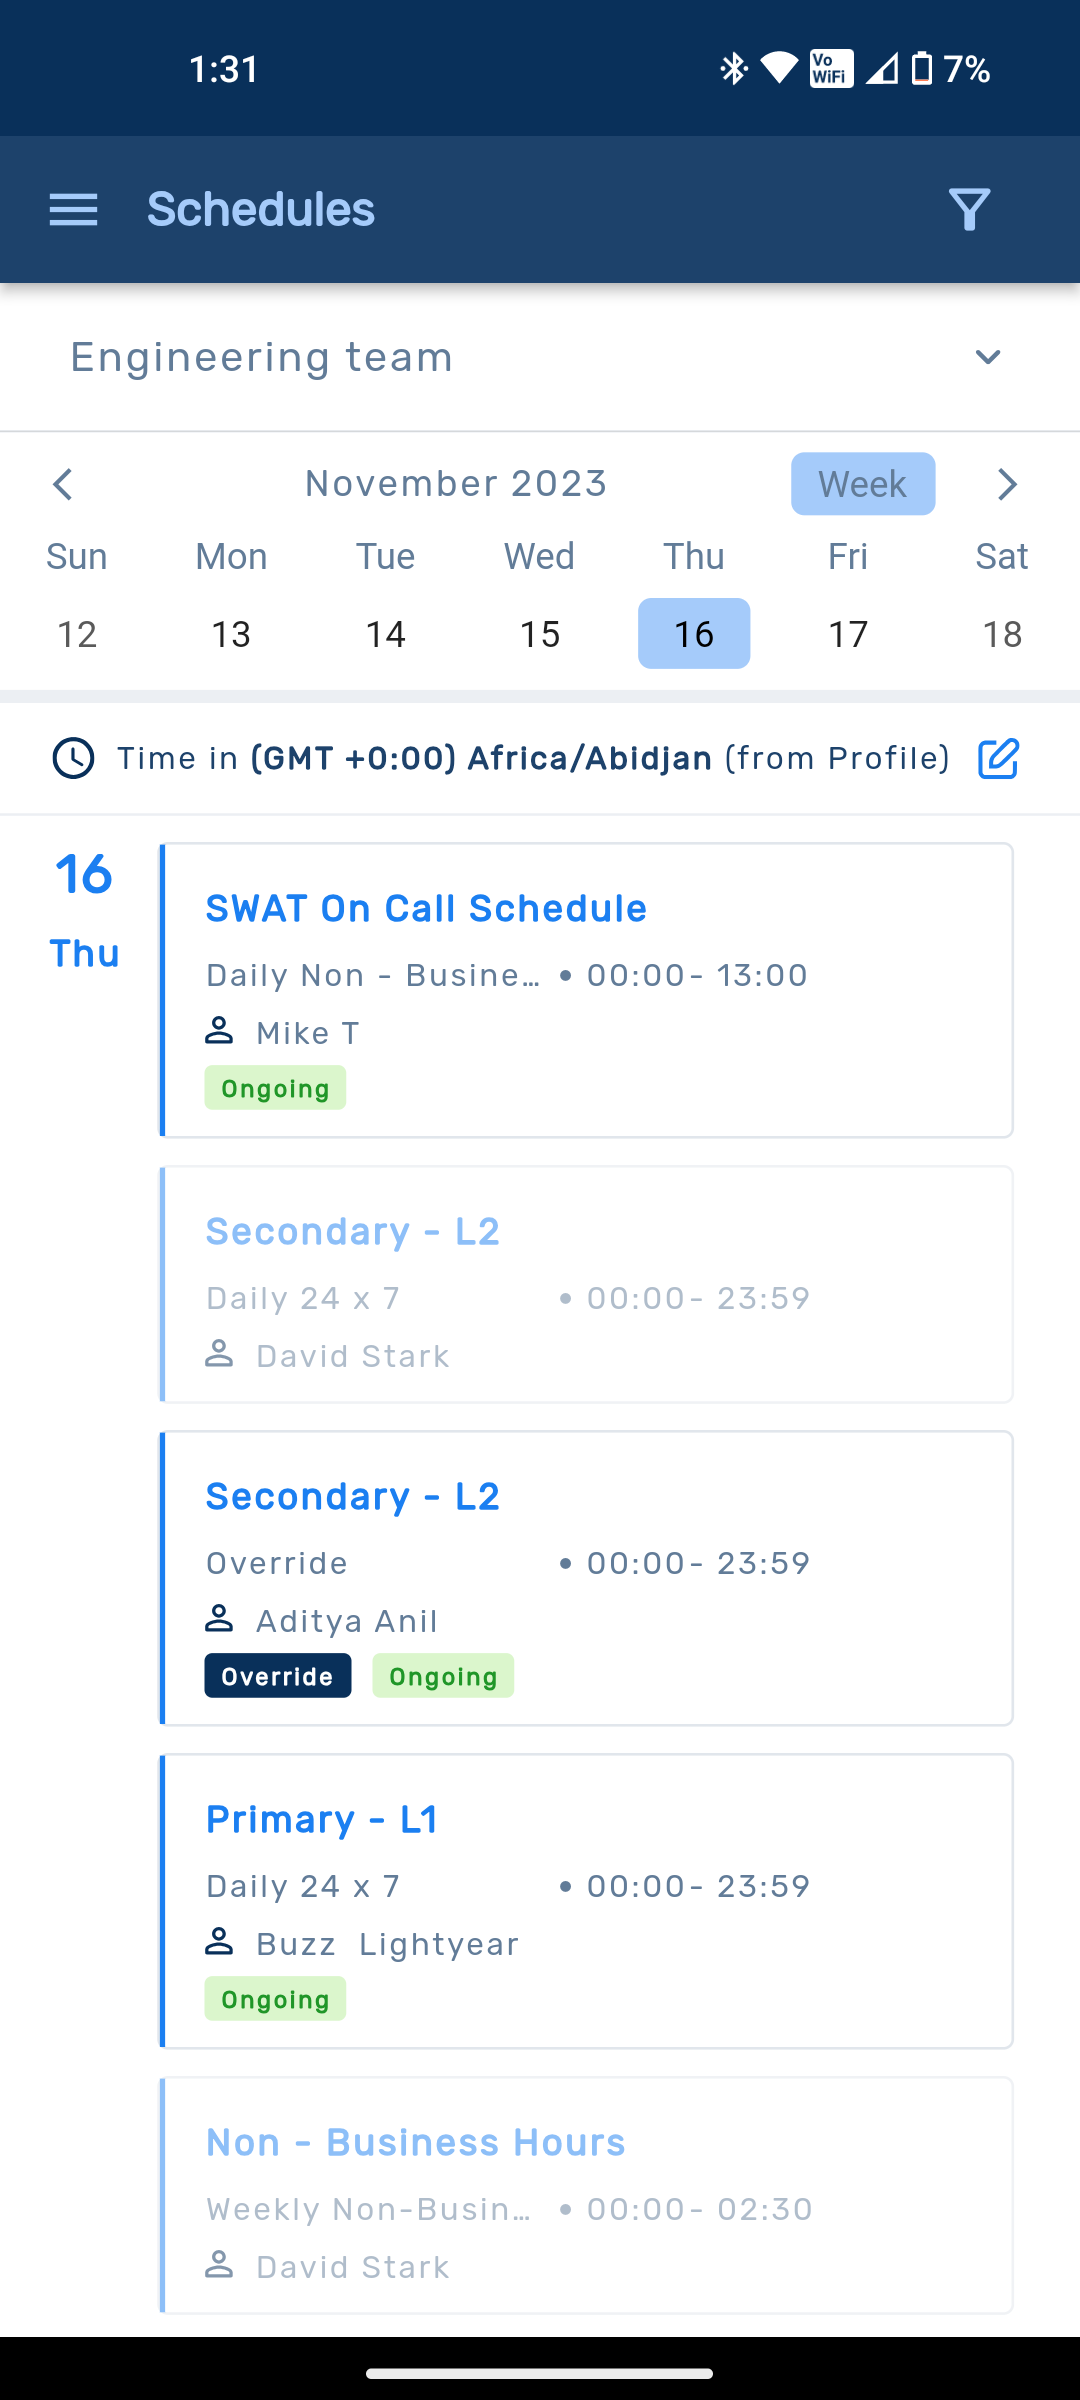
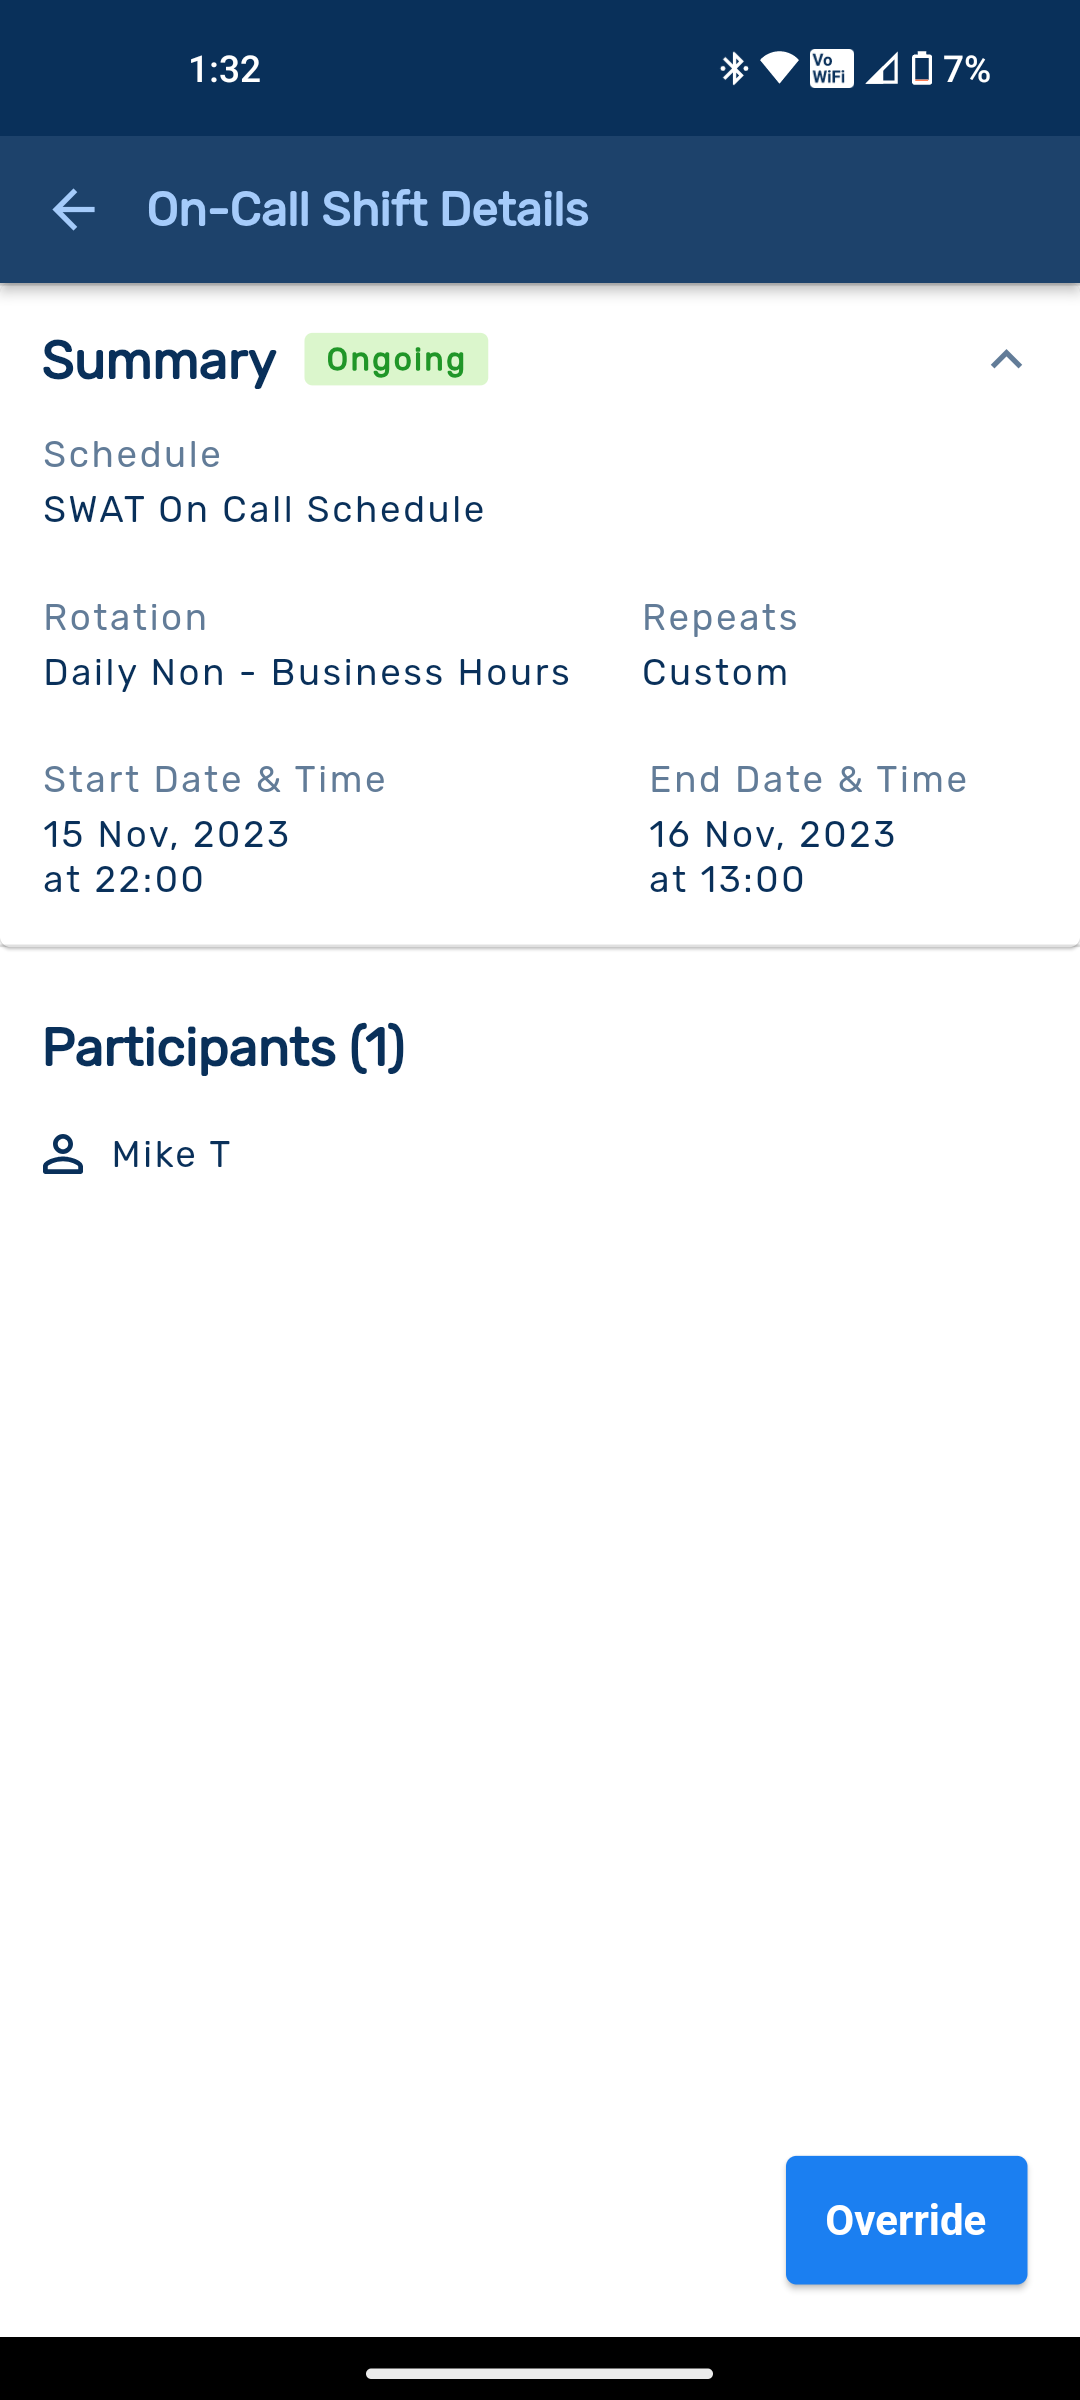
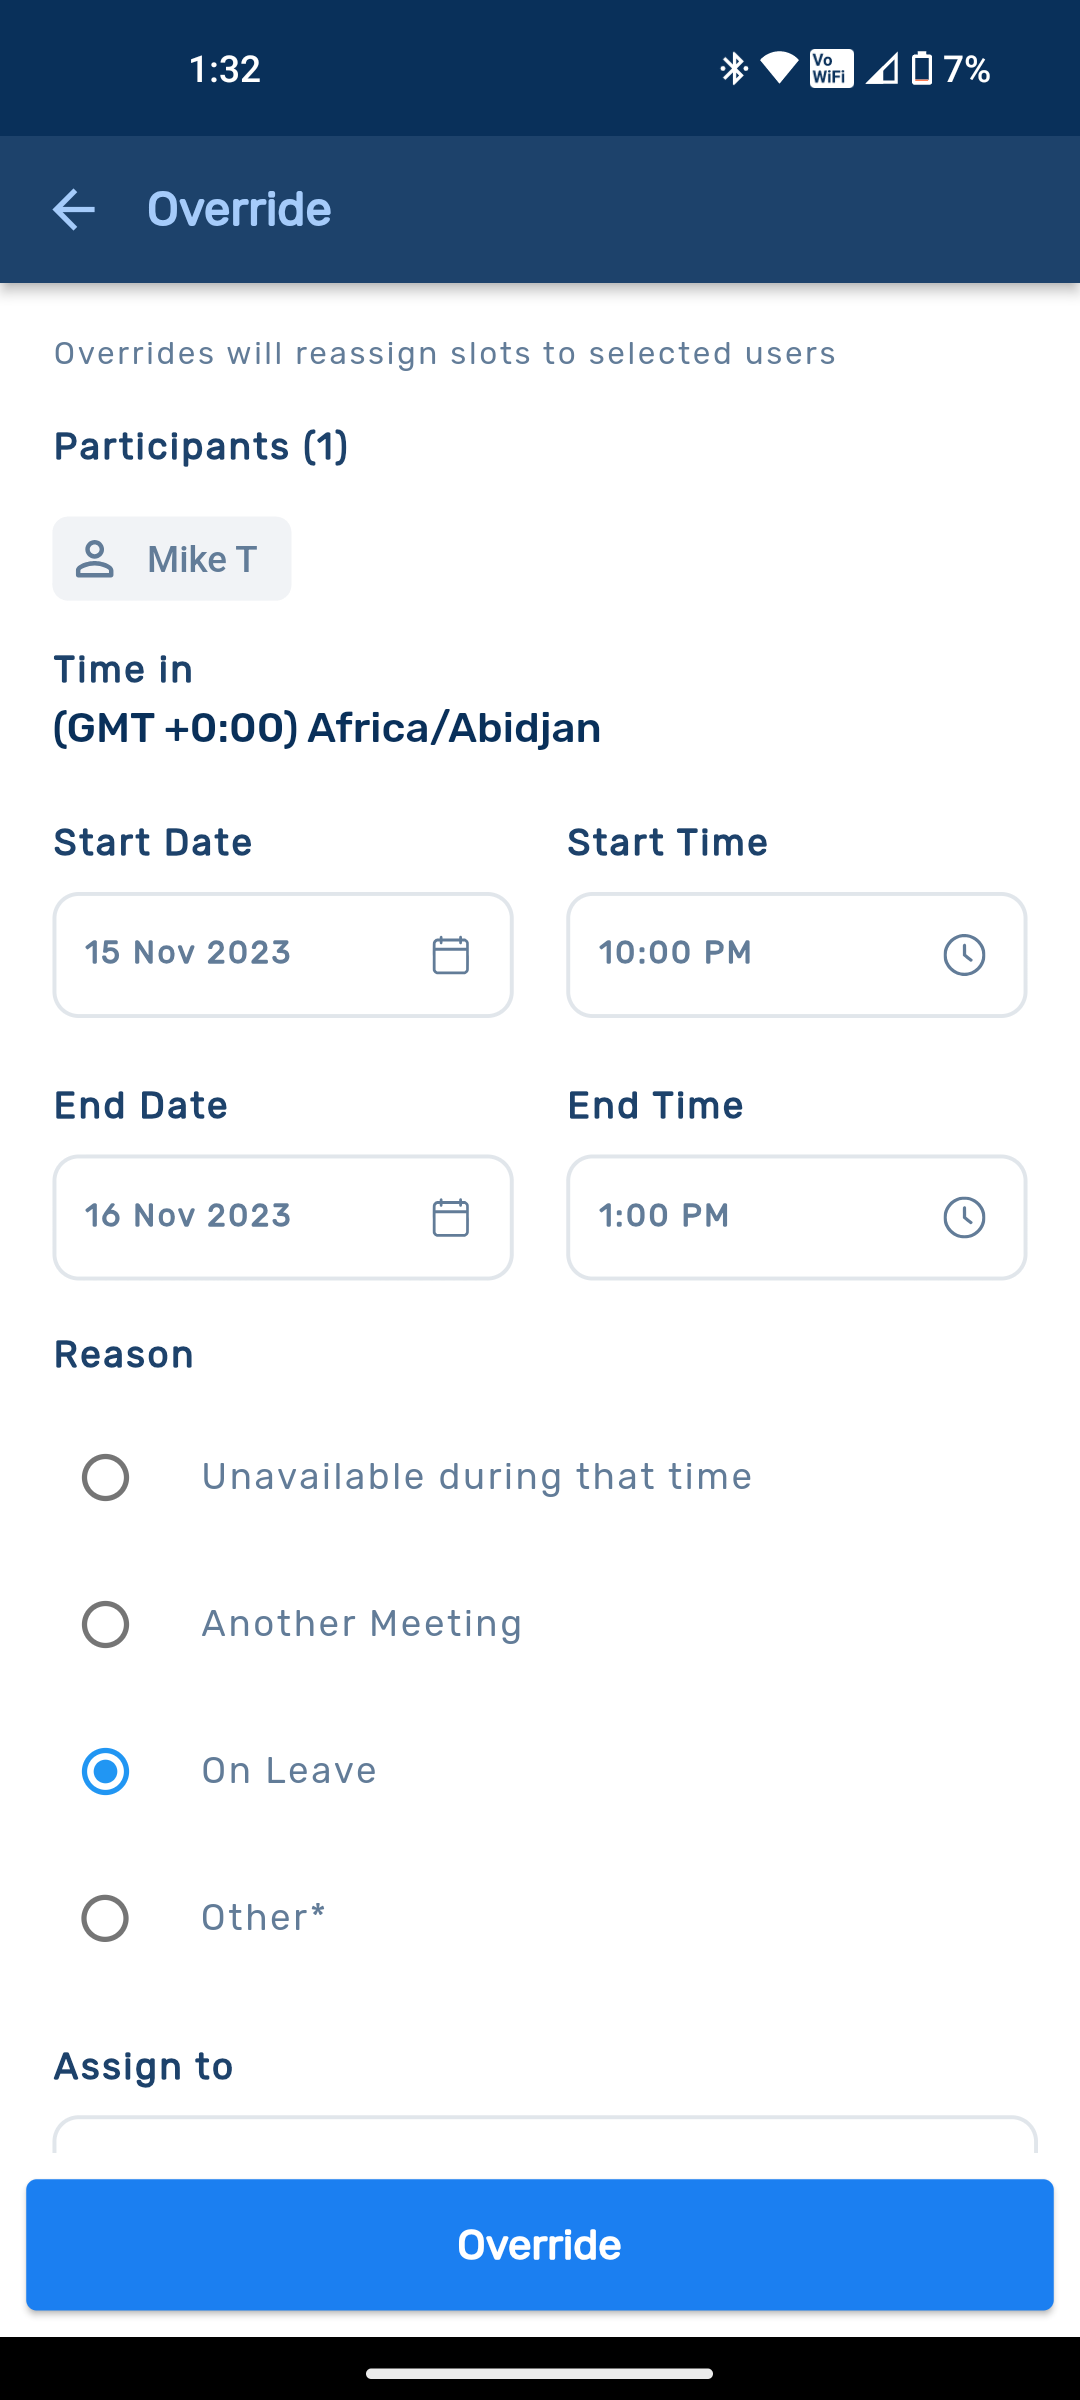
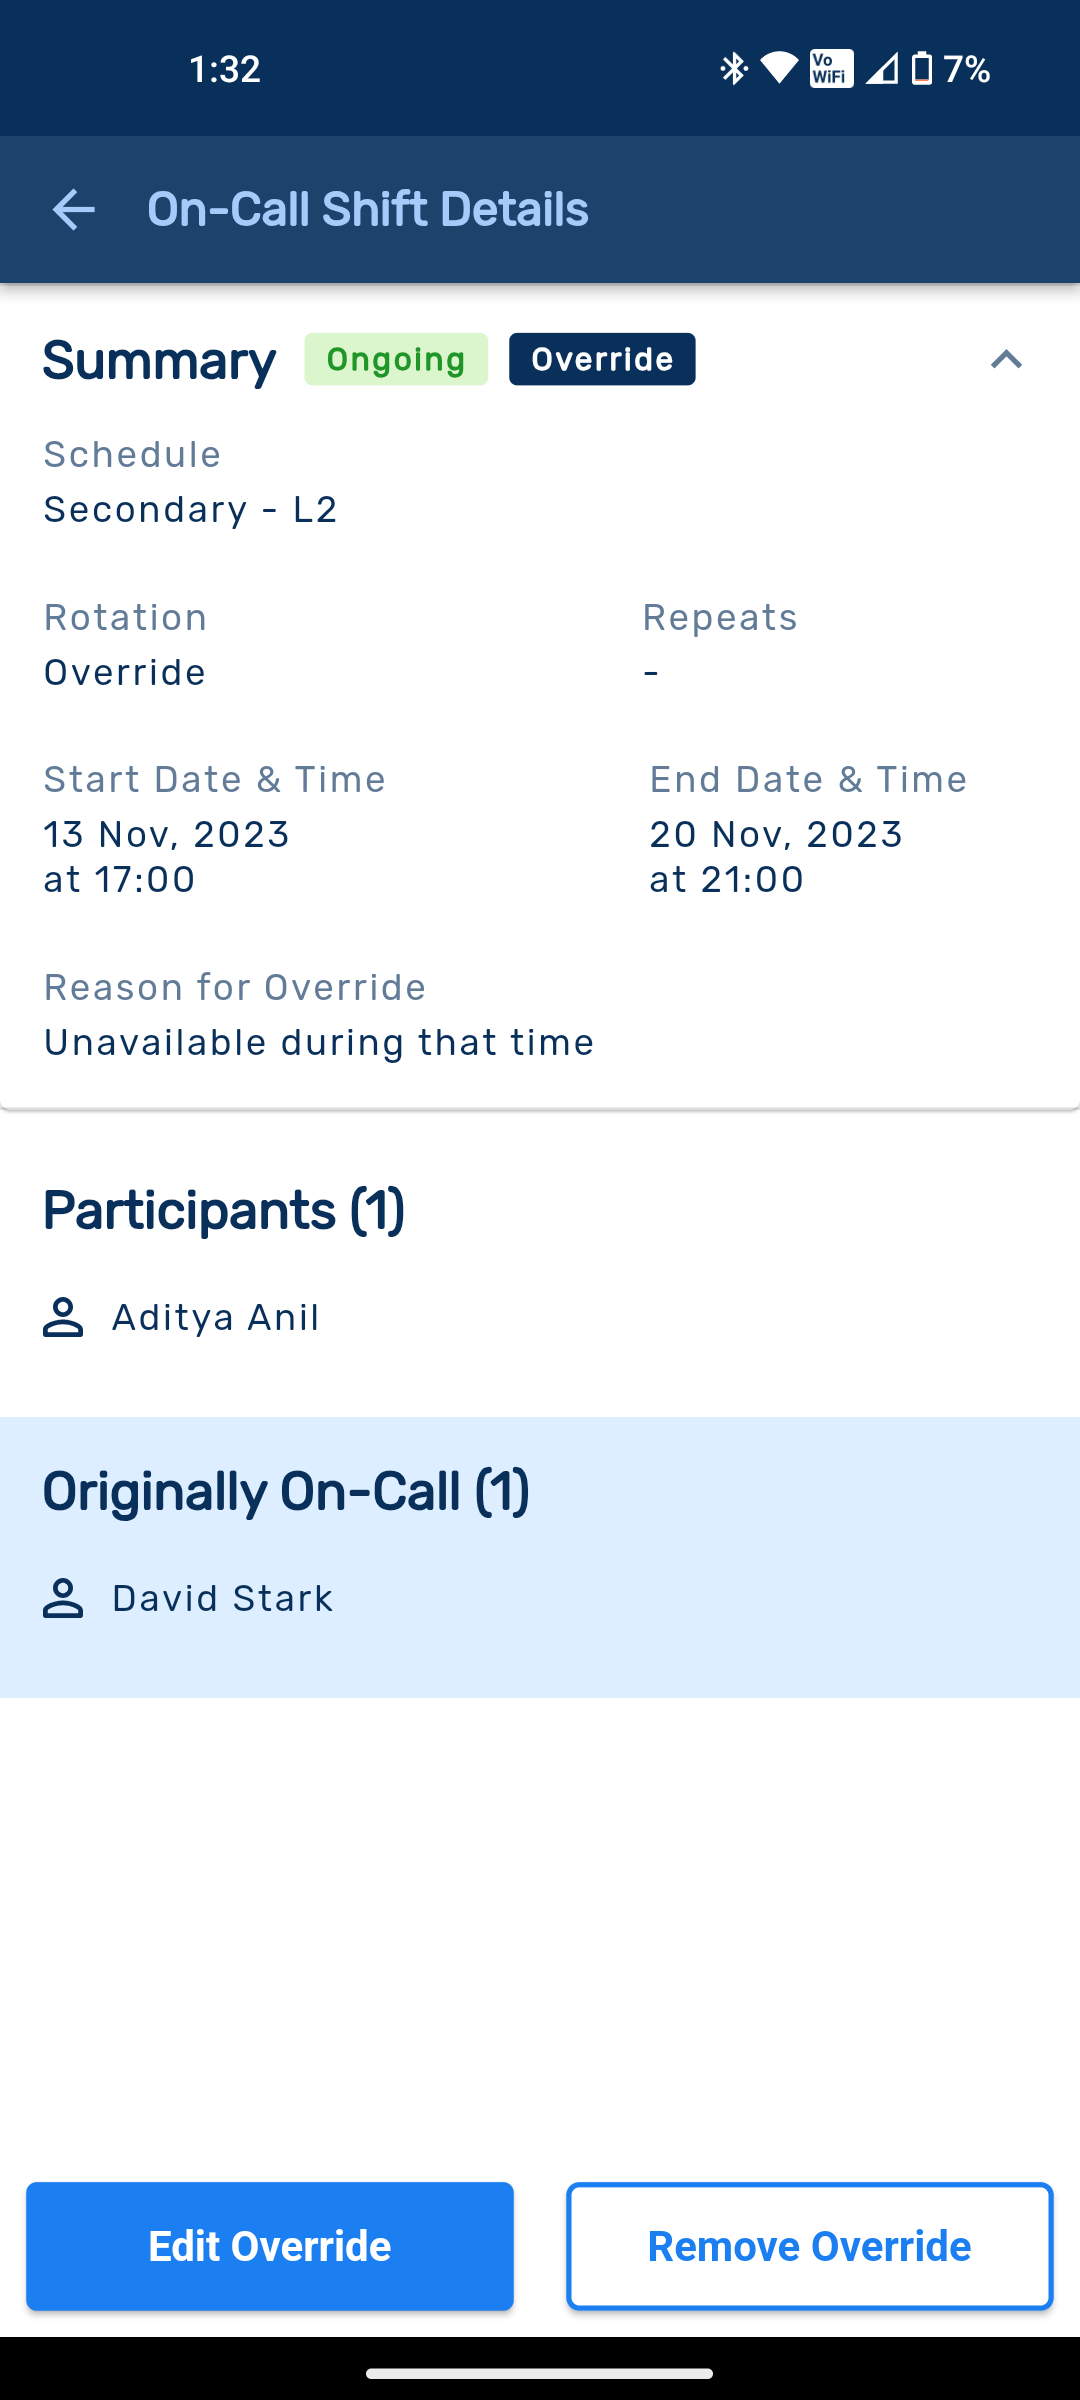
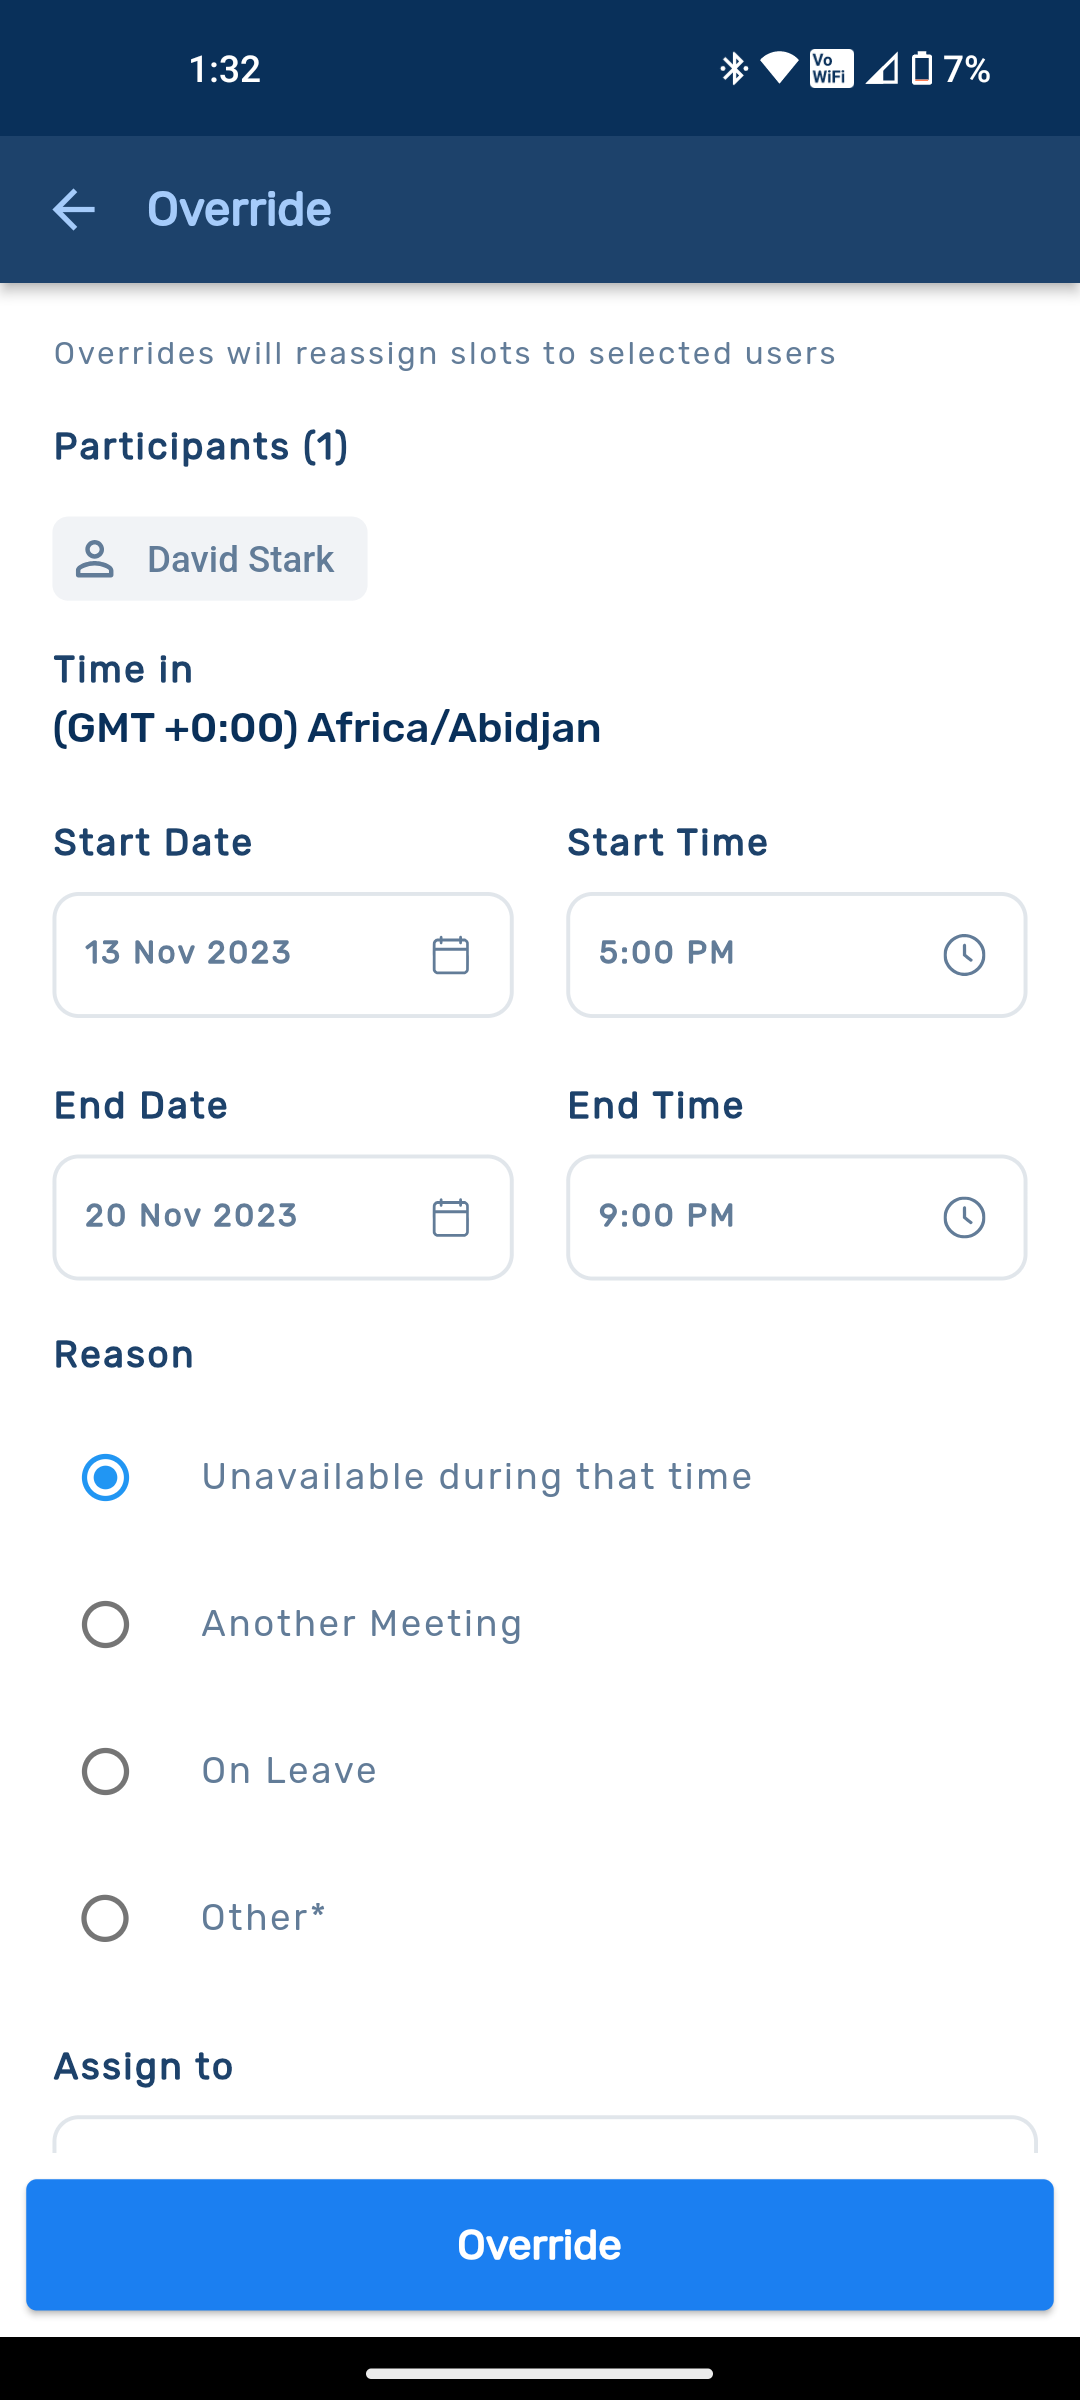
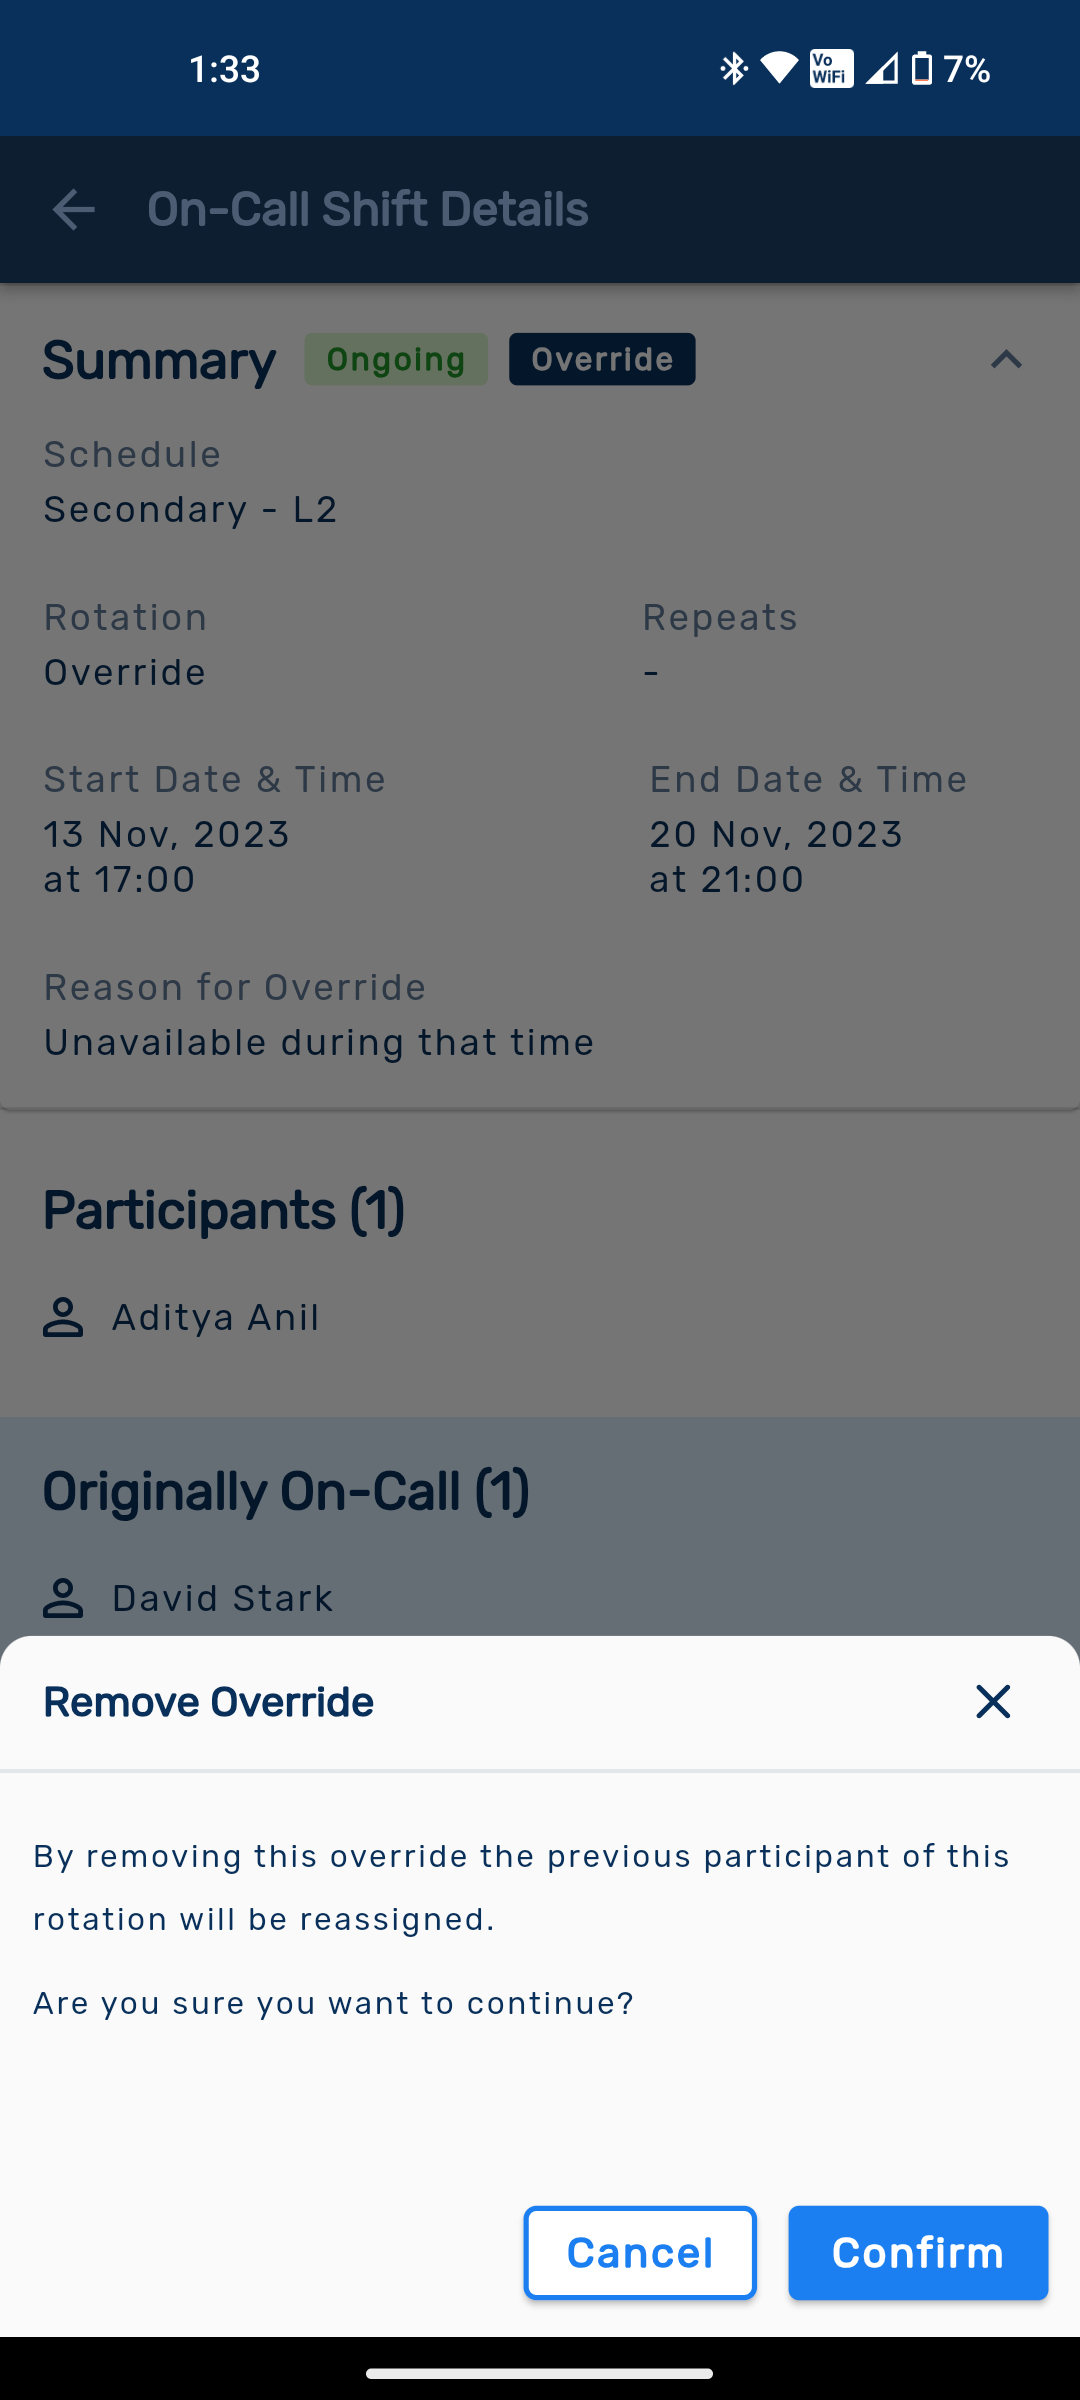
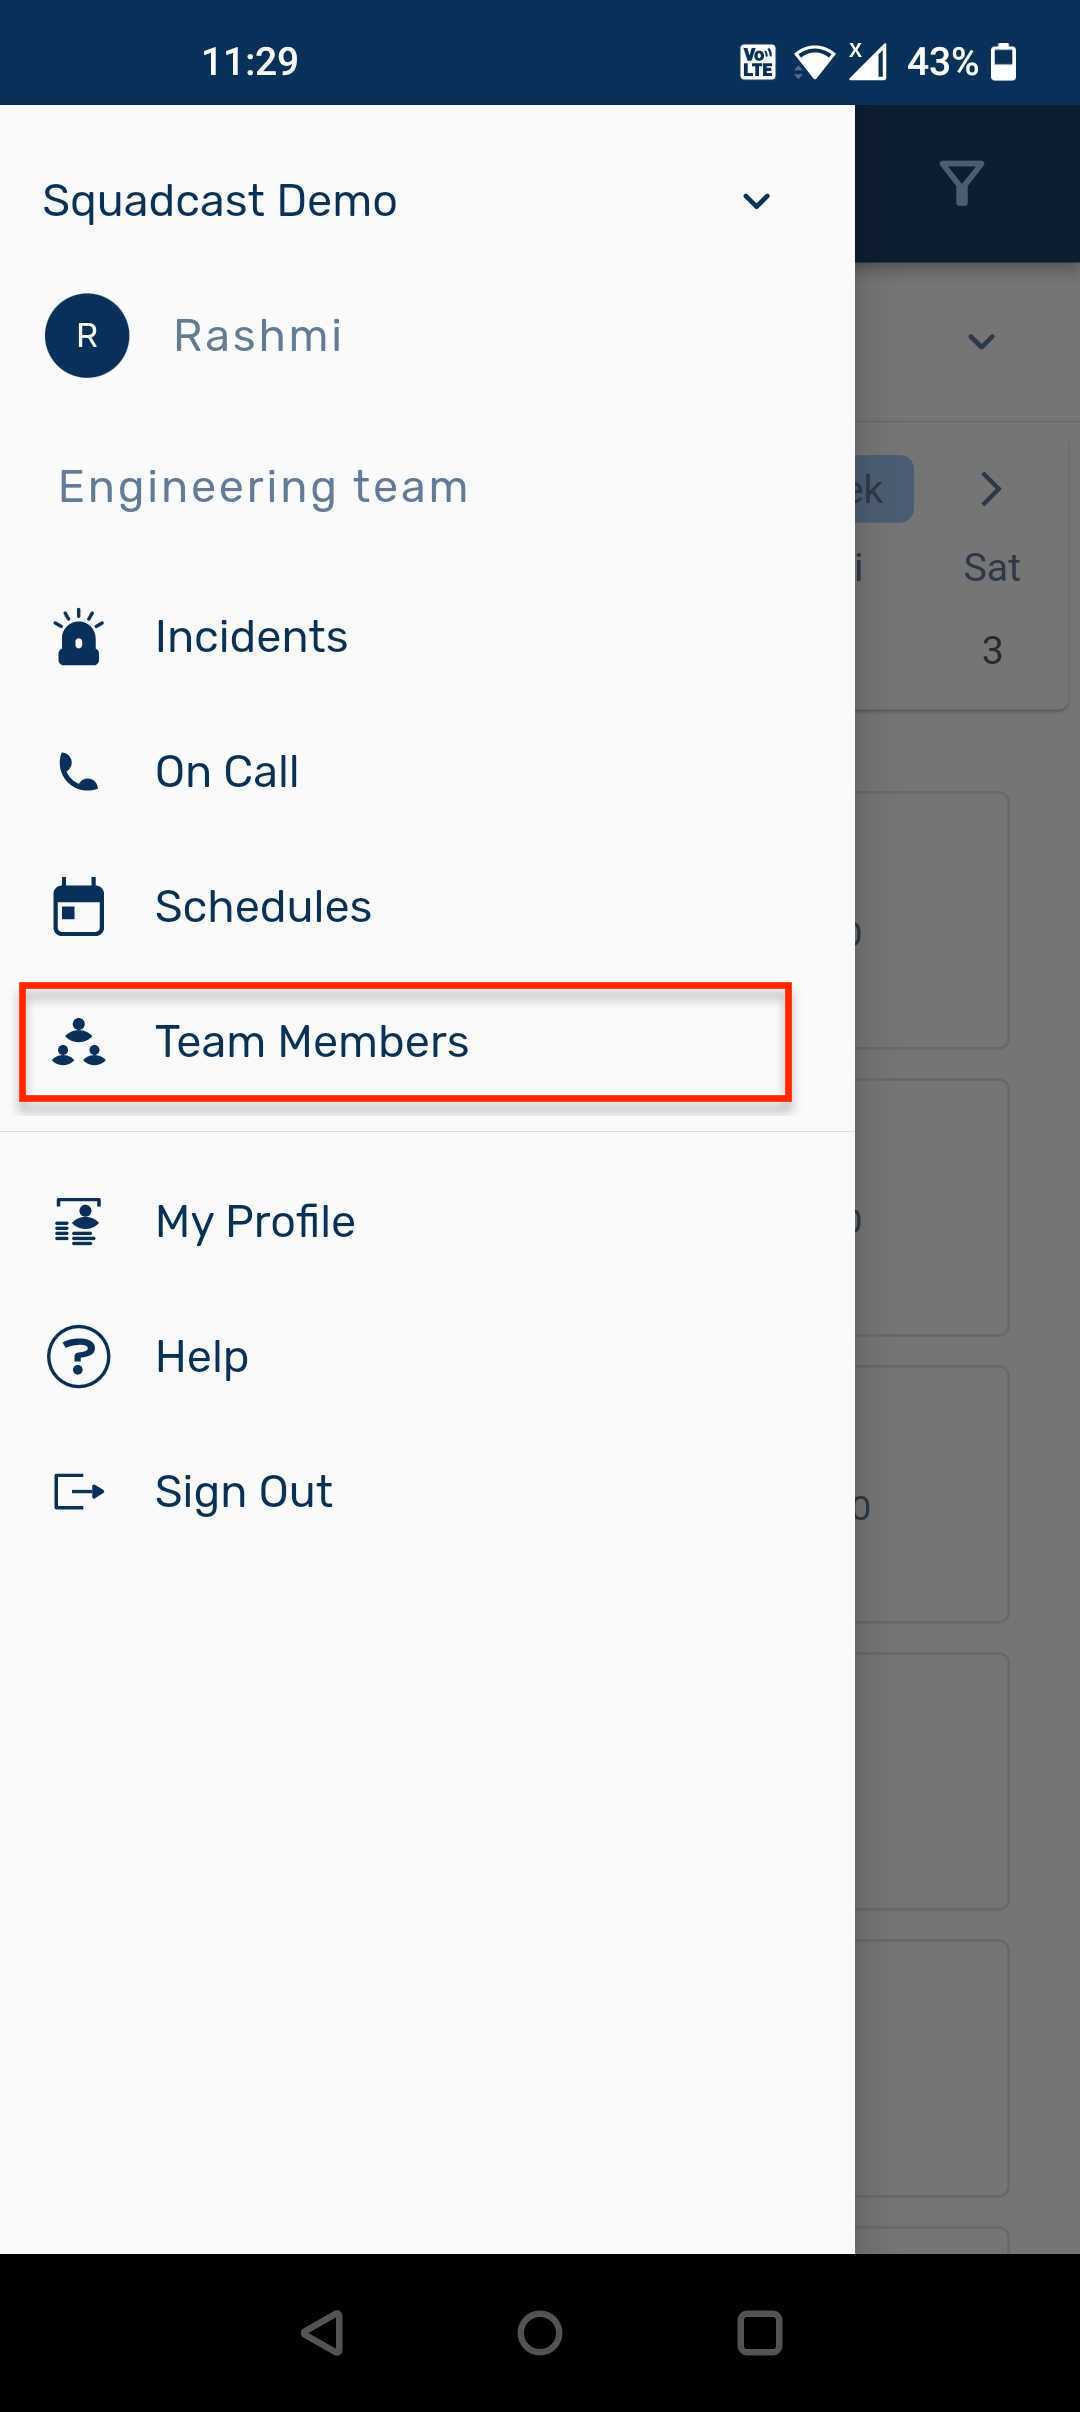
Image. Team Members section
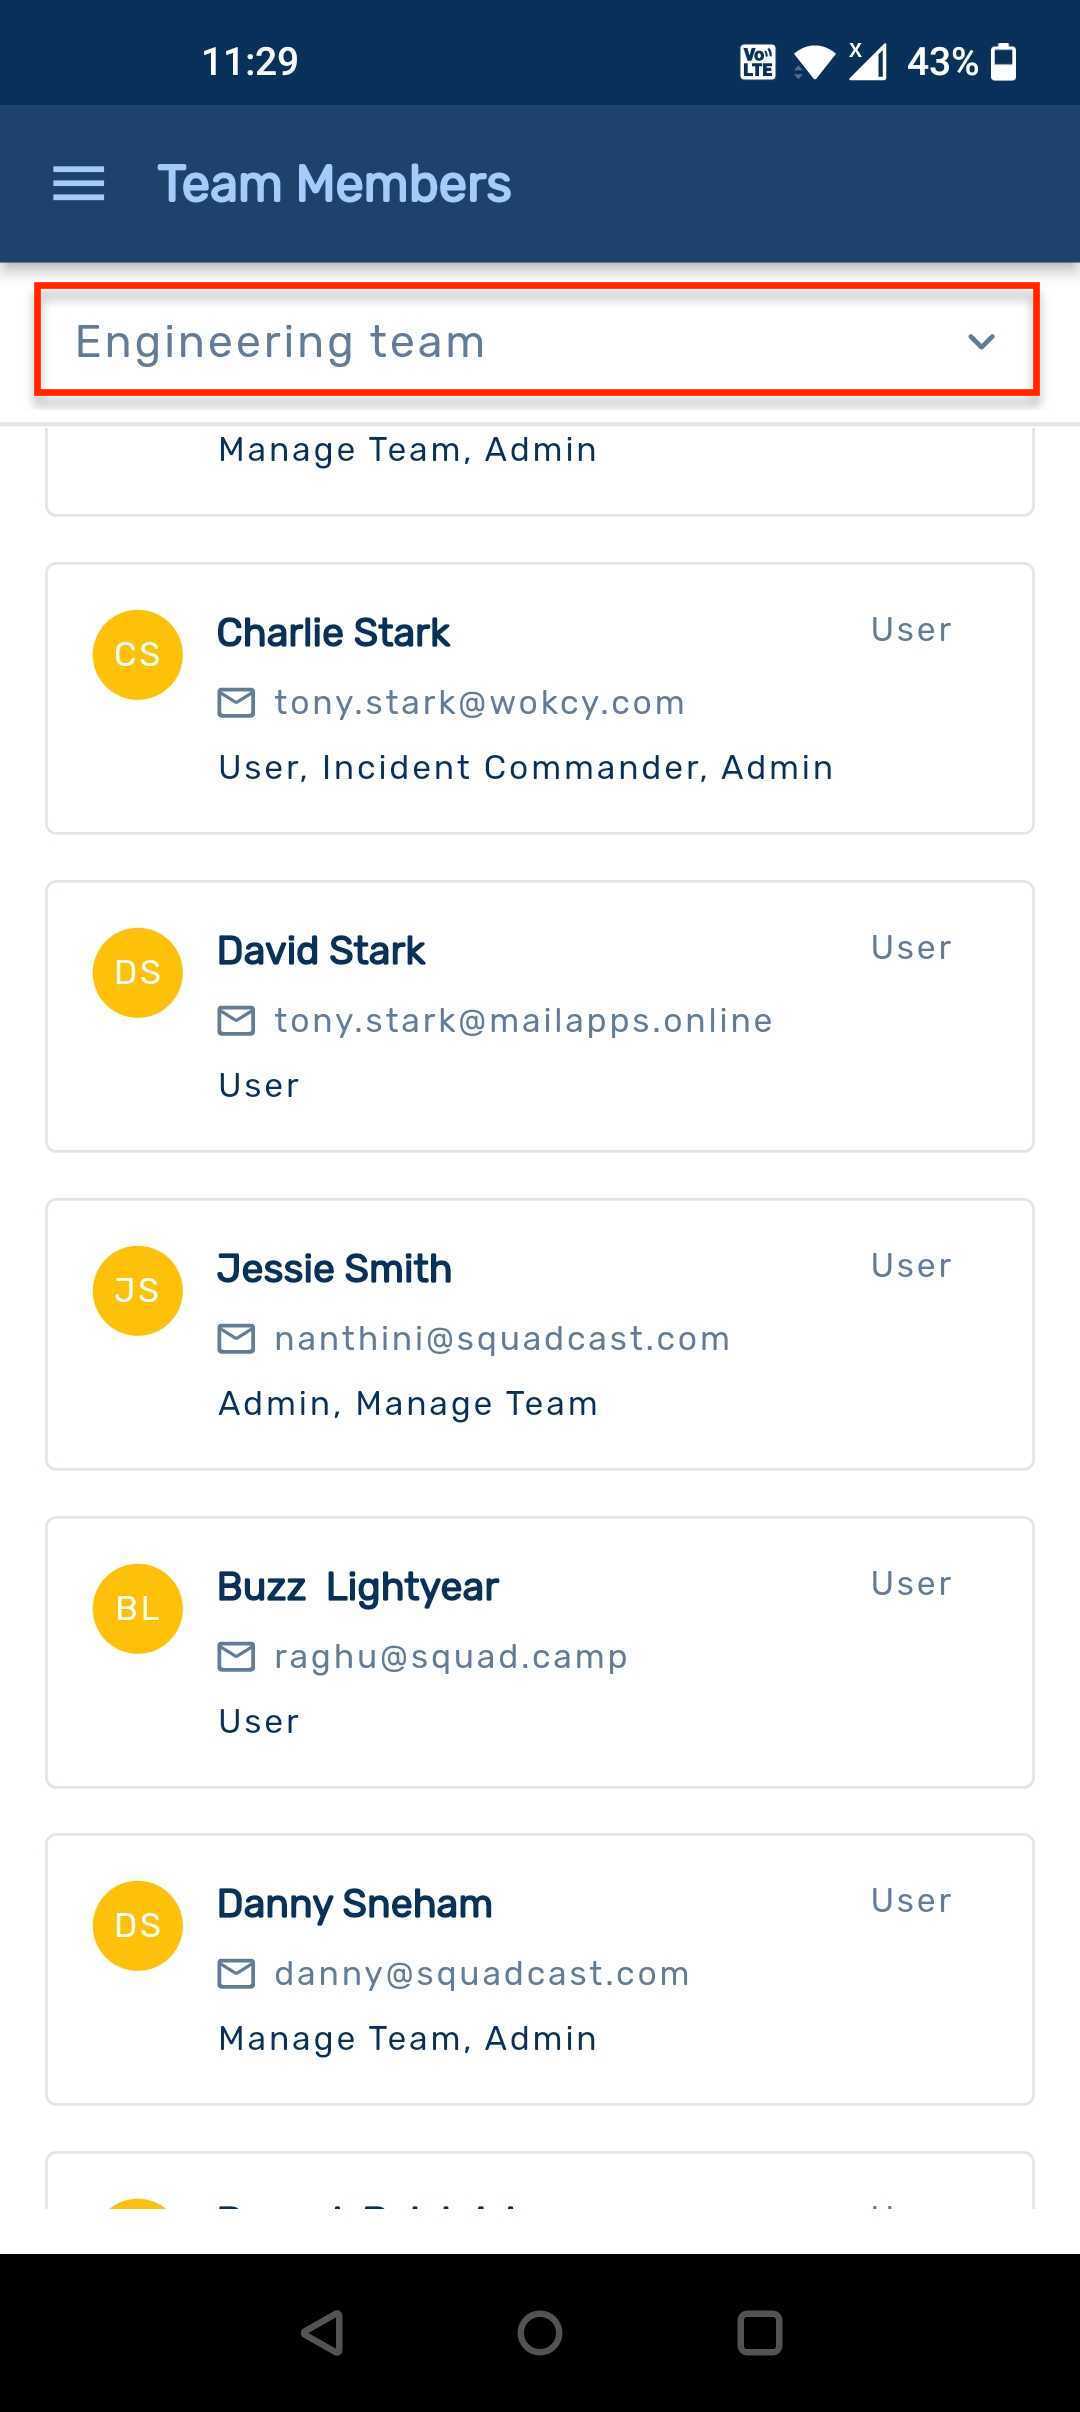
Image. Entire roster for the selected team
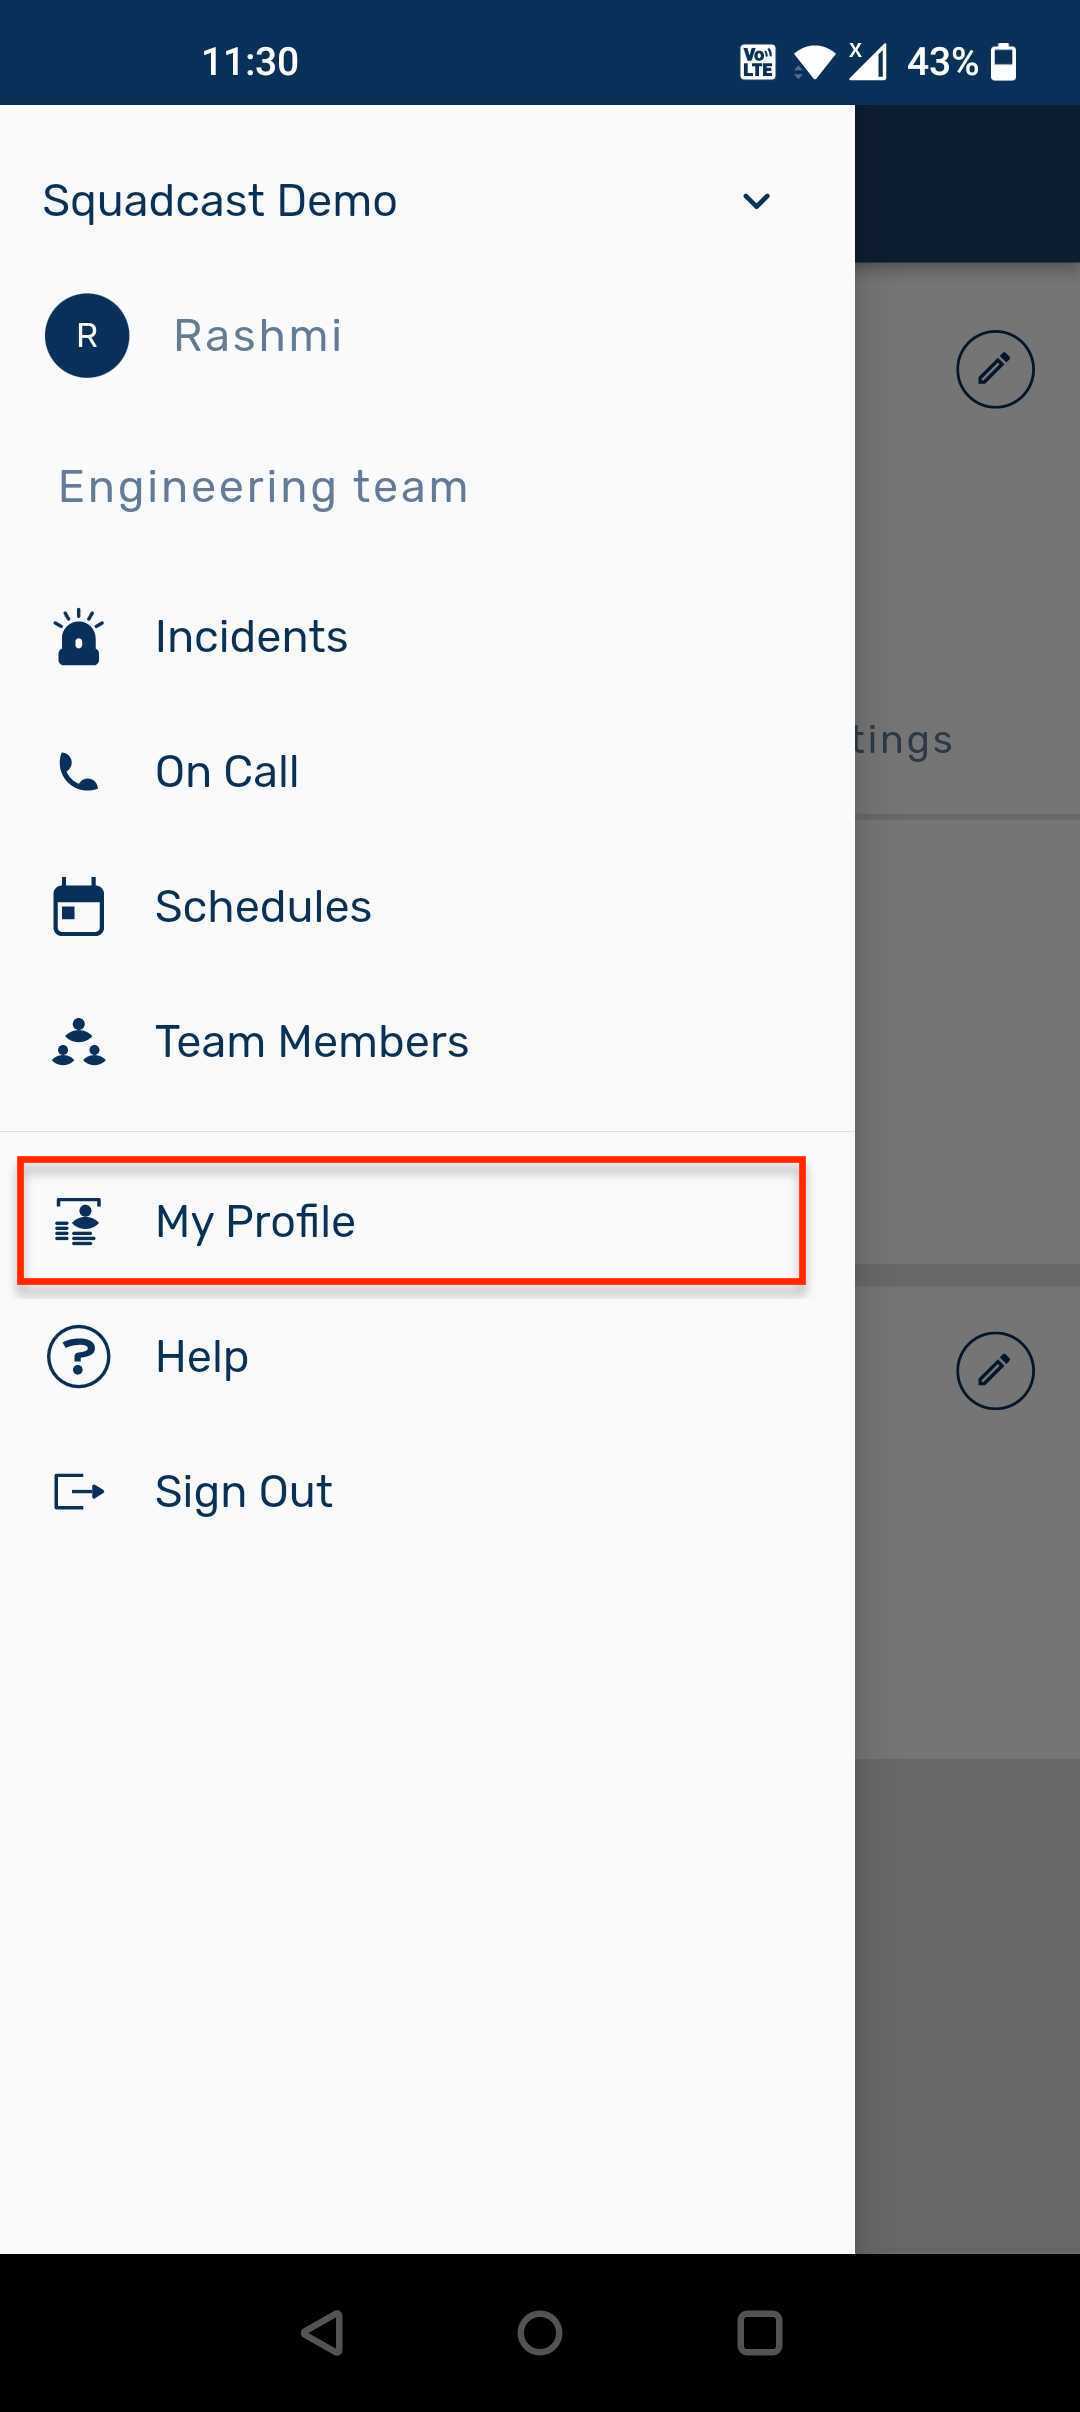
Image. Navigate to My Profile section
.png?alt=media)
Image. Edit user details
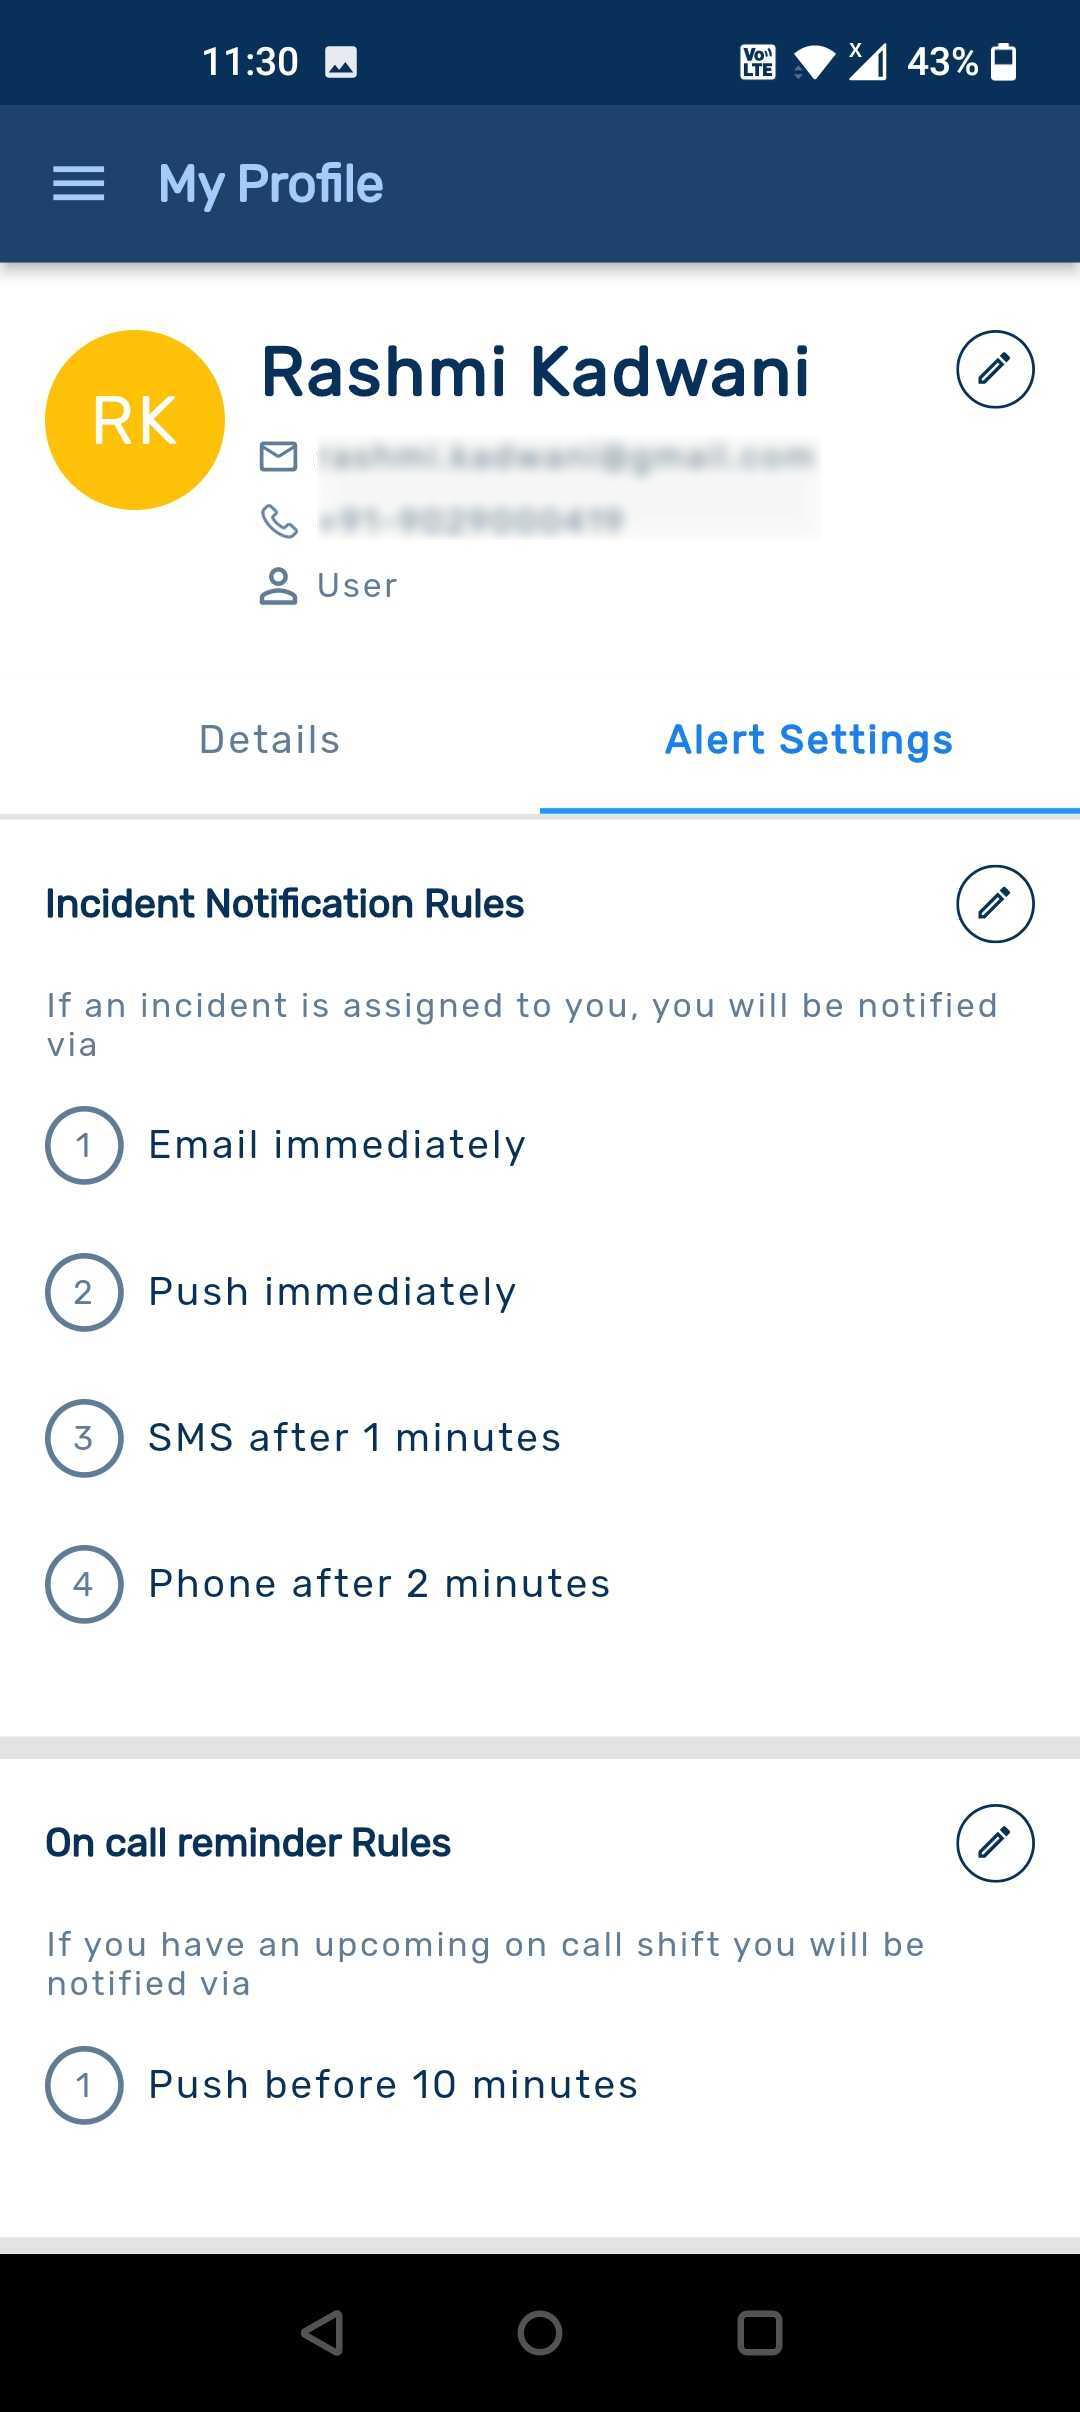
Image. Manage alert settings